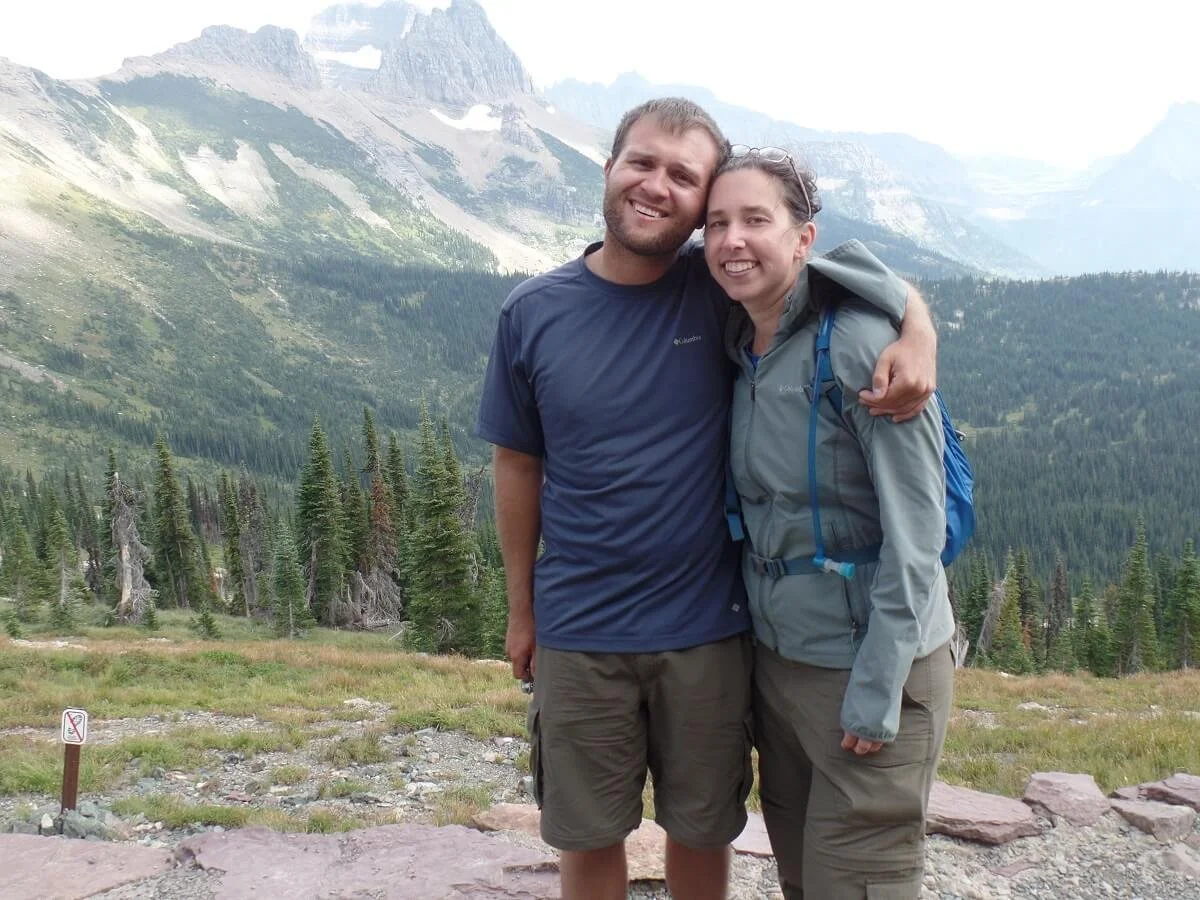
Hiking the Highline Trail: A Guide to Glacier National Park’s Best Day Hike
The Highline Trail in Glacier National Park is an epic hike from start to finish…it’s one of the park’s most famous hikes for a reason! But because it is often done as a point-to-point hike, there are some logistics and planning involved. In this post, we’ll tell you all about hiking the Highline Trail, including how to get there, park reservations, shuttle logistics, what to expect on the Highline Trail, and more!
The Highline Trail in Glacier National Park is one of the most famous and popular hikes in Glacier National Park, and, arguably, one of the park’s best hikes. For us, the Highline Trail took a (very) close second to another hike in the park (the Grinnell Glacier hike!), but we would still say that if you have time for only one hike in Glacier National Park, make it the Highline Trail.
Why? We’re glad you asked!
The Highline Trail is a Glacier National Park classic and is located right along the famous Going to the Sun Road. The hike itself traverses right through the heart of the park along the continental divide, and let me tell you - the scenery is seriously epic. And non-stop! The entire trail has open views of gorgeous mountains, glaciers, and valleys. Throw in a scenic backcountry chalet, opportunities to see some cool wildlife, and some options for side trails to more gorgeous views, and you have yourself the perfect day hike in Glacier National Park.
Logistically speaking, hiking the Highline Trail can be somewhat complicated because of the fact that it is best done as a point-to-point hike. But don’t worry, with a little planning, you’ll get to enjoy the best views that Glacier National Park has to offer! And that’s exactly what we’re here for…
In this post, we’ll cover everything you need to know about hiking the Highline Trail in Glacier National Park. We’ll go over all your options for hiking the trail, how to get to the trailhead, what to expect, what to bring, and much more. So let’s get to it!
In this Highline Trail hiking guide:
Where is the Trailhead for the Highline Trail?
As a point-to-point hike, there are multiple ways to hike the Highline Trail in Glacier National Park, which we will cover in the next section.
The main trailhead for the Highline Trail is at Logan Pass located along the famous Going to the Sun Road. Logan Pass is probably the park’s busiest place, as it is home to some gorgeous scenery, a visitor center and exhibits, and it’s the start to a few incredible hikes, including the Highline Trail.
Because it’s such a popular area in the park, the parking lot fills up early and stays filled. Expect the lot to fill before sunrise and until about 4 or 5 pm. So our best tip? Get there early!
The parking lot at Logan Pass, the trailhead for the Highline Trail hike in Glacier National Park
Do You Need a Permit to Hike the Highline Trail?
There is no specific permit needed to hike the Highline Trail!
However, there is a different kind of obstacle to getting to the Highline Trail hike. Starting in 2021, the park began implementing a reservation system to drive the Going to the Sun Road in order to help reduce all the crowding and congestion in the park at peak times. So let’s get into that now…
Going to the Sun Road reservations in Glacier National Park
On your way to the Highline Trail in Glacier, you’ll get amazing views from the Going to the Sun Road!
Getting reservations to enter Glacier via the Going to the Sun Road is definitely something you’ll have to plan ahead for if you want to hike the Highline Trail, so here is everything you need to know!
Reservations for the Going to the Sun Road are required to enter the park at two points on the western side of the park (the West Entrance and the Camas Entrance) and at the Rising Sun Entrance gate which is 6 miles west of the St. Mary entrance to the Going to the Sun Road.
Here are the important dates:
West Entrance and Camas Entrance: Reservations are required from May 26th to September 10th
Rising Sun Entrance: Reservations are required from July 1st to September 10th
So basically this means you can access the Going to the Sun Road until July 1st without a reservation, as long as you enter from the St. Mary (eastern) side.
During the reservation period, reservations are required to drive the Going to the Sun Road between 6 am to 3 pm. You have to get them in advance online at recreaton.gov (not at the park!). One reservation is $2 and is good for three consecutive days!
There are two important reservation windows to be aware of when trying to drive the Going to the Sun Road to do the Highline Trail:
One set of reservations are released about 120 days (four months) in advance in block fashion.
February 1st, 8 am MST: May 26th - June 30th dates are released for reservation
March 1st, 8 am MST: All July dates are released for reservation
April 1st, 8 am MST: All August dates are released for reservation
May 1st, 8 am MST: September 1-10th dates are released for reservation
A portion of reservations are released 24 hours in advance (8 am MST the day before)
These reservations are likely to go fast as soon as they are released! Be sure to have your recreation.gov account ready, and be logged on before 8 am to have your best chance of securing one!
Can I hike the Highline Trail without reservations?
Given that it’s notoriously hard to get any sort of reservations in Glacier because of how popular it is, the question becomes, can you hike the Highline Trail without a reservation for the Going to the Sun Road?
And the answer is yes! There are a few ways it’s possible:
You can always come to the park outside of the reservation period, however, counting on hiking the Highline Trail too early or late in the season can be risky because, depending on the season, snow can keep trails and the Going-to-the-Sun Road closed. So if this is your plan, keep your fingers crossed!
You also don’t need a reservation in order to hike the Highline Trail if you come outside of the 6 am to 3 pm window. Getting there before the 6 am timeframe is probably a good idea anyway simply to find parking at Logan Pass, as it fills up very early. Coming after 3 pm (though not too much after!) is a possibility, but you won’t be able to rely on the shuttle to transport you between trailheads, so you won’t be able to hike the Highline Trail as a point-to-point hike unless you have a second car in your group and can stage the two cars at either end (we’ll talk more about the logistics of the hike below). You won’t want to get there too much after 3 pm either because depending on how you do it, it can be a long hike and you might not finish before the sun sets.
If you have reservations inside the park along the Going to the Sun Road, such as for campgrounds, lodging, or Lake McDonald boat tours, then you also don’t need a reservation to drive the Going to the Sun Road. You can present your service reservation in lieu of the park reservation, and it will be good only for the dates of your service.
Finally, you can still access the Going to the Sun Road in order to hike the Highline Trail without a reservation by using the free park shuttle! This is only possible from the St. Mary (eastern) side of the Going to the Sun Road. Because reservations are not checked until the Rising Sun entrance, people without reservations can still go to the St. Mary Visitor Center and hop on the park shuttle here to get to Logan Pass and the start of the Highline Trail.
Speaking of the shuttle, let’s get into that now…
Using the Glacier National Park Shuttle to Hike the Highline Trail
If you don’t want to drive to the start of the Highline Trail hike and want to avoid the chaos and congestion at Logan Pass, Glacier National Park has an awesome free shuttle service that drives the entirety of the Going to the Sun Road. Yup, it’s free!
Check out the NPS website for more information about the various stops, times, and transfer spots for the park shuttle. Generally, the shuttle runs between Lake McDonald on the west end of the Going to the Sun Road and St. Mary’s on the east end, making stops at most major points of interest along the Going to the Sun Road (including Logan Pass) roughly every 15 to 30 minutes.
But, here’s the catch…
Because Glacier National Park itself is super crowded as it is, that means, naturally, the shuttle is going to be as well. So relying on the shuttle won’t necessarily mean you can sleep in a little later than if you were to drive early to the park (sorry!).
Our big tip: You basically want to try and be on the first shuttle of the day (around 7am, but be sure to check the schedules beforehand), and ideally get on it at the very first stop (so either at the Apgar Visitor Center at Lake McDonald on the west or at St. Mary on the east). This will likely get you a seat on the shuttle. This is because the shuttle will likely fill up right here at this first stop, or within the first few stops. If you try to get on at a stop further down the Going to the Sun Road, by the time the shuttle gets to you there might be only 1-2 seats available, or none at all. And if you’re 10th in line at the shuttle stop, that means you might have to wait for 4 or 5 shuttles (and the better part of an hour!) to come and go before you even get a seat on one!
Getting an early start is exactly what we did…we hopped on the first shuttle of the day at Apgar, which filled up right away and we were met with many disappointed people along the route who were unable to get on.
The other challenge with not driving into Logan Pass and instead relying on the shuttle to hike the Highline Trail in Glacier National Park is that you have to make sure you are a fast enough hiker to be off the trail in time to catch the last shuttle to get back to your car (and hope there is a spot on it!), which is about 6 pm.
With that in mind, let’s get into the different hiking options available for hiking the Highline Trail and how long they are so you can plan your time, and the shuttle, right!
Hiking Routes for the Highline Trail in Glacier National Park
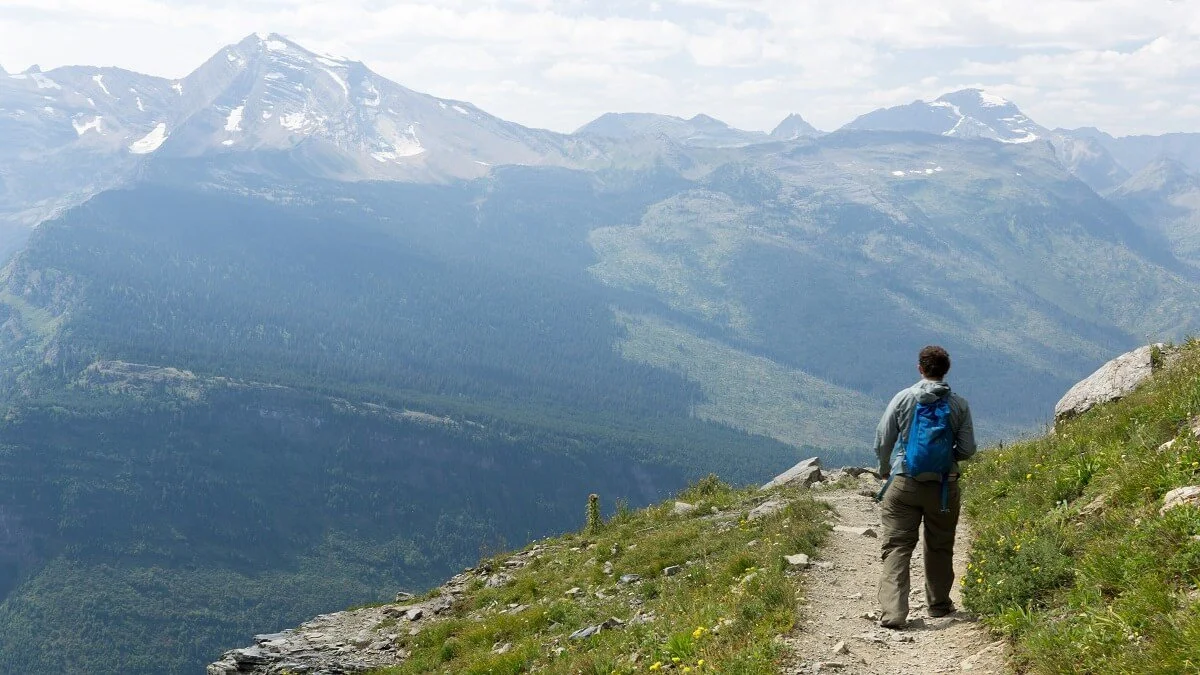
Views along the Highline Trail!
There are a few different options when it comes to hiking the Highline Trail in Glacier National Park, which we’ll describe below, and which give you the choice of different distances and challenges.
To hike the Highline Trail, you can choose to:
Complete a point-to-point hike from Logan Pass to The Loop (this is the most popular option!)
Do an out and back hike from Logan Pass to one of several turnaround points
Add on additional side trips to either Grinnell Lookout or Swiftcurrent Pass
Let’s get into these Highline Trail options in more detail.
Map of the Highline Trail hike
Below is a map of the Highline Trail in Glacier National Park, located off the Going to the Sun Road. The blue line highlights the complete Highline Trail from Logan Pass to the Loop, while the purple lines show the location of some optional spur trails that you might want to consider. We’ll talk about all these options now!
Map of Glacier National Park hikes from the National Park Service, with the Highline Trail highlighted for reference. Blue is the main Highline Trail, while purple shows optional side hikes off the Highline Trail.
Hiking the Highline Trail as a point-to-point hike
As we said above, the Highline Trail itself beings at Logan Pass. It traverses nearly 8 miles alongside the Continental Divide to the Granite Chalet, where it meets up with the Granite Park Trail (also known as the Loop Trail) that heads back down to the Going to the Sun Road at The Loop parking lot.
This is a popular way to hike the Highline Trail. Doing it this way, you can complete the entire Highline Trail without having to backtrack all the way back to Logan Pass, which would make for a much longer hike. You will also get to experience the back half of the Highline Trail (past Haystack Pass, described below), which sees much less traffic, as many people opt for an out and back hike of the Highline Trail from Logan Pass.
How long is the Highline Trail point-to-point hike?
Here are the trail stats of the Highline Trail:
Distance: 11.8 miles
Elevation Gain: 700 feet
Here are some one-way mileage points along this trail when hiking from Logan Pass to the Loop:
3.6 miles to Haystack Pass from Logan Pass
6.9 miles to Garden Wall Trail from Logan Pass
7.8 miles to Granite Park Chalet from Logan Pass
A note on going in the other direction: You can also hike the Highline Trail in Glacier National Park by starting at the Loop and hiking towards Logan Pass, but going this way means much more elevation gain…about 2,200 feet of it! This is because The Loop sits at a much lower elevation along the Going to the Sun Road as the road weaves its way down into the valley from Logan Pass. So hiking in this direction would make for a much tougher day on the trail. The good part of hiking this direction, though, is there will be way less people going your way!
How to hike the Highline Trail as a point-to-point hike
Because this version of the Highline Trail is a point-to-point hike, it’s a little bit more complicated to plan, but not too bad! The easiest thing to do is to have two cars and stage a car at the start and end of the Highline Trail hike (at Logan Pass and The Loop).
If you don’t have two cars, then you’re going to be relying on the Glacier National Park shuttle to hike the Highline Trail. For this, you have two options:
Park at Logan Pass, hike to the Loop, and catch the shuttle back to your car.
Park at The Loop, catch the shuttle to Logan Pass, and hike back to the Loop and your car.
We definitely suggest the second option for the Highline Trail hike. That way, you don’t have to worry about rushing through the hike to get to The Loop and catch a shuttle before they stop running for the day. This will give you plenty of time to complete the whole hike and maybe even a side trip or two.
Another plus of this option is that you will only be parking at The Loop, which is significantly less crowded than the lot at Logan Pass. Don’t get me wrong, you still want to get there early (the lot is pretty small), both to grab a spot and catch an early shuttle, and to give yourself enough time to complete the hike.
Hiking the Highline Trail as an out and back hike
If you aren’t up for a nearly 12 mile hike or just don’t want to deal with the hassle of arranging a point-to-point hike, another very popular option is to hike the Highline Trail as an out and back hike from Logan Pass.
Many people opt to go out to Haystack Pass, which is nearly the highest point along the trail, sitting at just about 7,000 feet. This point sits between the Garden Wall (continental divide) and the prominent Haystack Butte. From here, you get awesome views over either side of the pass. It’s a great place to stop for lunch and turnaround.
Roundtrip, this Highline Trail out and back hike is 7.2 miles, and still has most of the elevation gain that you would have if you were to do the entire Highline Trail. This is because the biggest climb along the whole Highline Trail is the climb up to Haystack Pass from Logan Pass. But, it does shorten the hiking distance quite a bit and allows you to hike right back to your car without having to worry about the shuttle.
Another option for hiking the Highline Trail out and back is to hike all the way out to the Granite Park Chalet and back from Logan Pass. This would be a 15.2 mile hike, and I would only suggest this if you had no options for doing a point-to-point hike (if the shuttle is not in service and you don’t have a second car).
Extending the Highline Trail hike with side trails
If 11.8 miles isn’t enough for you, then you’ve got options! As you hike the Highline Trail in Glacier National Park, there are two very worthy side trails that go to some epic views.
Grinnell Lookout Trail
The side trail to Grinnell Lookout is found 6.9 miles down the Highline Trail from Logan Pass. It is a short but very steep herd path up the side of the Garden Wall. We’re talking climbing 900 feet in 0.9 miles kind of steep. But the reward is worth it as you top out on the Garden Wall and look over the other side down to the Grinnell Lakes and the Salamander Glacier.
This adds 1.8 miles to your day on the Highline Trail, and I would leave about 1.5-2 hours to complete this side trip because of how steep it is.
If you wanted to do an out and back hike to the Grinnell Lookout from Logan Pass, you’re looking at a 15.6 mile day!
Swiftcurrent Pass
A short 0.6 mile trail from the Granite Chalet leads to Swiftcurrent Pass with awesome views over the heart of Glacier National Park.
Best Time to Hike the Highline Trail
The Highline Trail traversing above the Going to the Sun Road
The best time to hike the Highline Trail in Glacier National Park is really dictated by when the Going to the Sun Road is open.
The road is usually closed for the winter between late June to mid to late October (you can check the status of the road on the NPS site).
Still, in late June or late September or October, there can be lingering snow, so be sure to check trail conditions and be comfortable with that and prepared with the right gear before heading out.
The Highline Trail Hike in Glacier National Park: An Overview
No matter which way you’re hiking the Highline Trail – as a point-to-point or an out-and-back trek – get ready for one of the most breathtaking trails you’ll ever hike!
Here’s what you can expect along the Highline Trail in Glacier National Park. We’re describing the Highline Trail hike as a point-to-point hike from Logan Pass to The Loop, as this is the exact way we did it, but this overview will show you what to expect no matter which way you choose to hike it!
The start of the Highline Trail is across the street from Logan Pass at a well-marked trailhead (and there will be plenty of people there, so you can’t miss it). It starts just across the street from the sign that marks the Continental Divide, and you’ll be following right alongside this divide as you begin the hike.
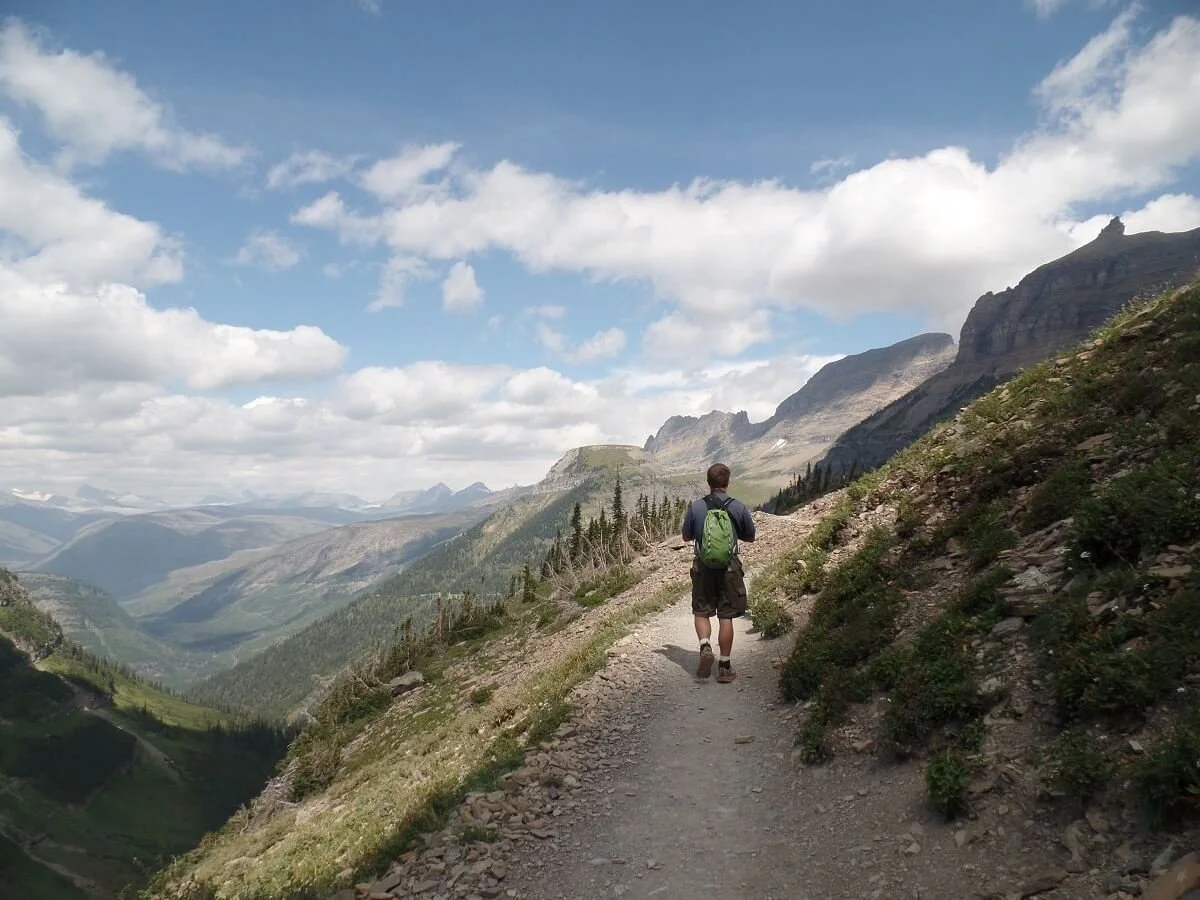
The Highline Trail begins innocently enough, with beautiful views greeting you right from the start, and if you can believe it, they only get better from here!
The views from the Highline Trail start right at the trailhead across from Logan Pass
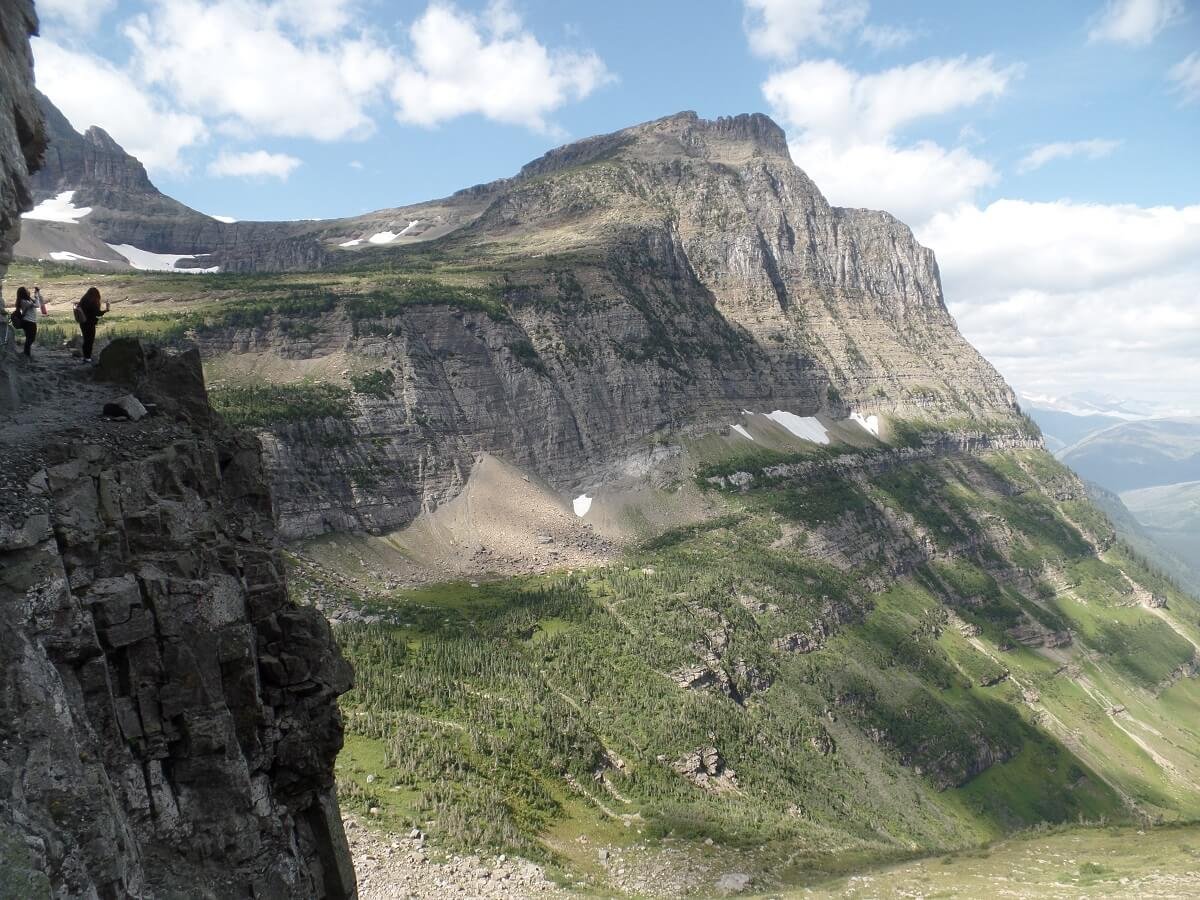
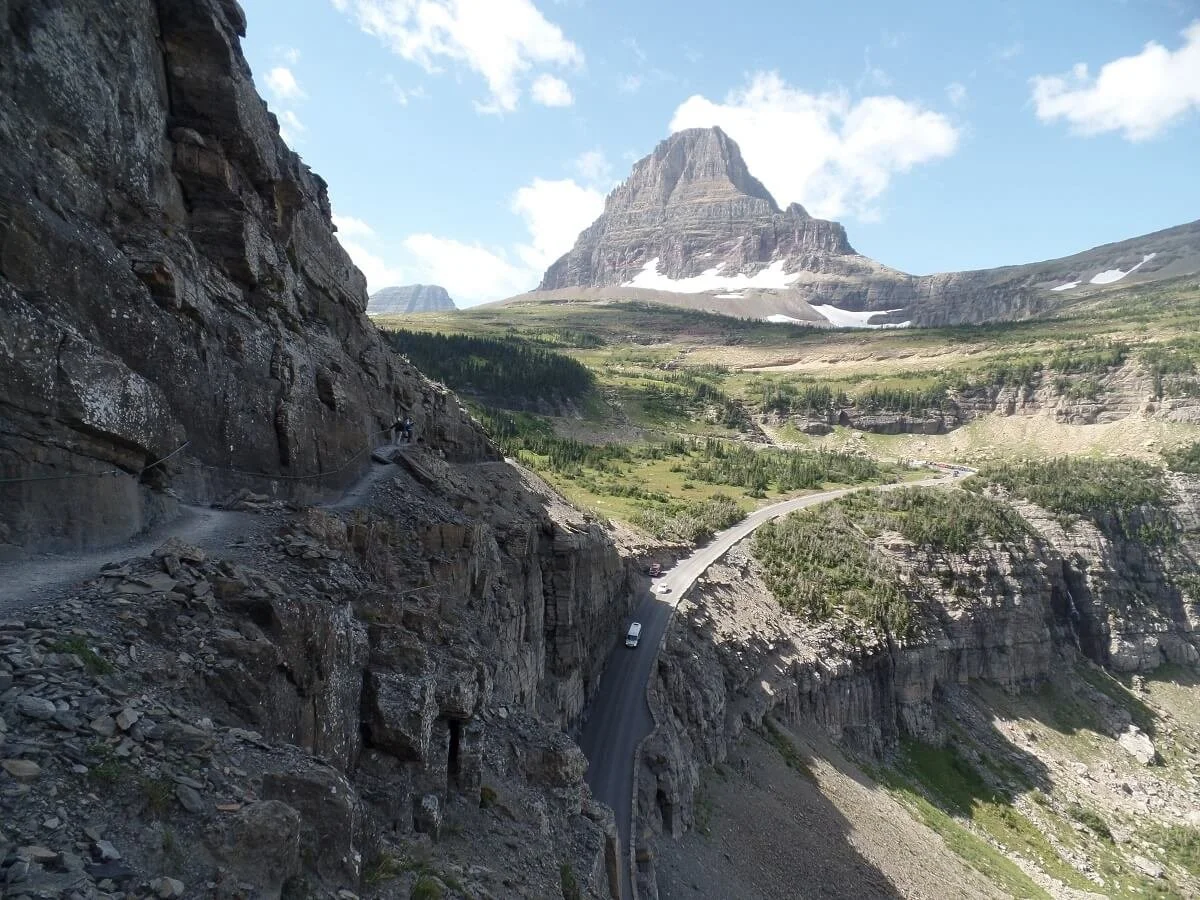
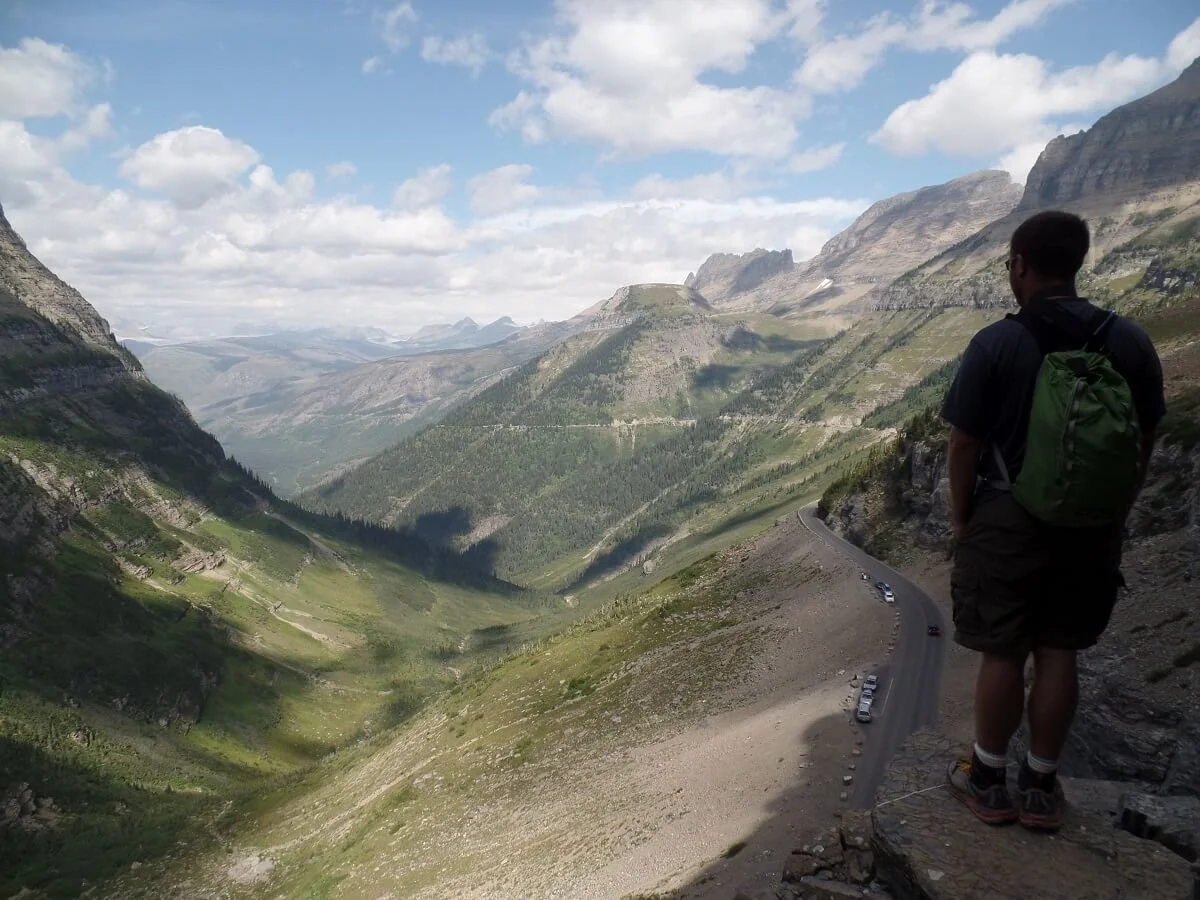
About a quarter mile from the trailhead, however, comes the most harrowing part of the entire hike along the Highline Trail. Here, the trail becomes essentially a narrow ledge carved into the mountainside. To your right is the cliffside of the Garden Wall, which makes up the continental divide. To your left is a steep drop off where you can see the Going to the Sun road weaving its way through the valley directly below you.
The narrow and exposed portion of trail at the beginning of the Highline Trail hike
Fortunately, for the majority of this section of the Highline Trail, there is a chain running along the cliffside for you to hang on to and give you an extra sense of security, but the path can be a little nerve-wracking and vertigo-inducing for someone who is afraid of heights. However, the path is quite wide most of the way, and this lasts for only about a quarter of a mile. Plus, the views help to take your mind off of any nerves you might be feeling.
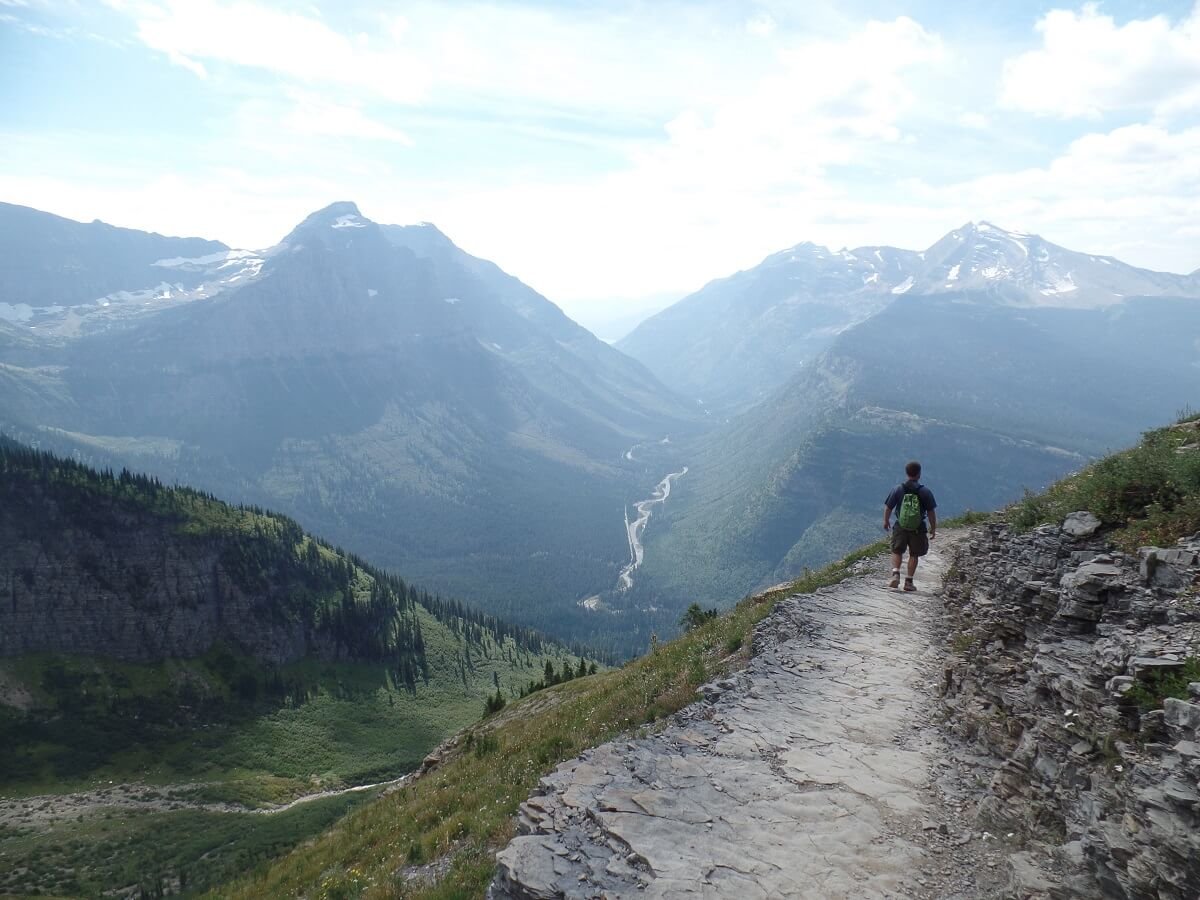
Looking out over the Going to the Sun Road from the Highline Trail
The chain section along the Highline Trail…it can’t be that bad if I’m smiling like that, right?
The chains eventually disappear when you’re still along the ledge, but here the trail gradually becomes less harrowing until the ledge melds into a normal dirt trail traversing across wild-flower filled meadows. There is a bit of exposure all along the Highline Trail, but never quite as stark as the cable section at the beginning, so if you got through that, it’s smooth sailing from here!
Admiring the views from the Highline Trail
During the first part of the Highline Trail, the path pretty much parallels the Going to the Sun Road, but with a better vantage point for seeing all those epic views. Be sure to keep your eyes peeled for wildlife. We were in search of some fluffy white mountain goats, but we saw some cute bighorn sheep instead searching for food in a gully along the trail.
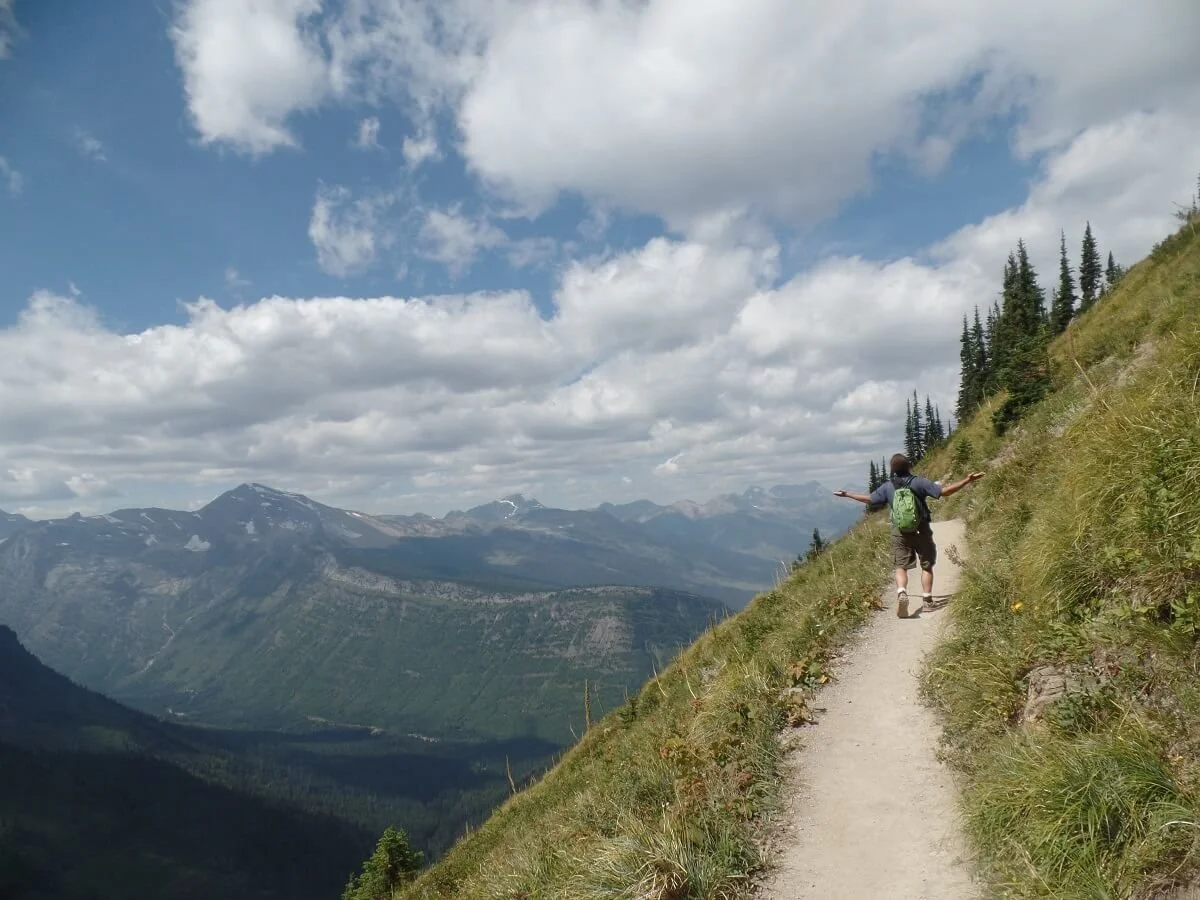
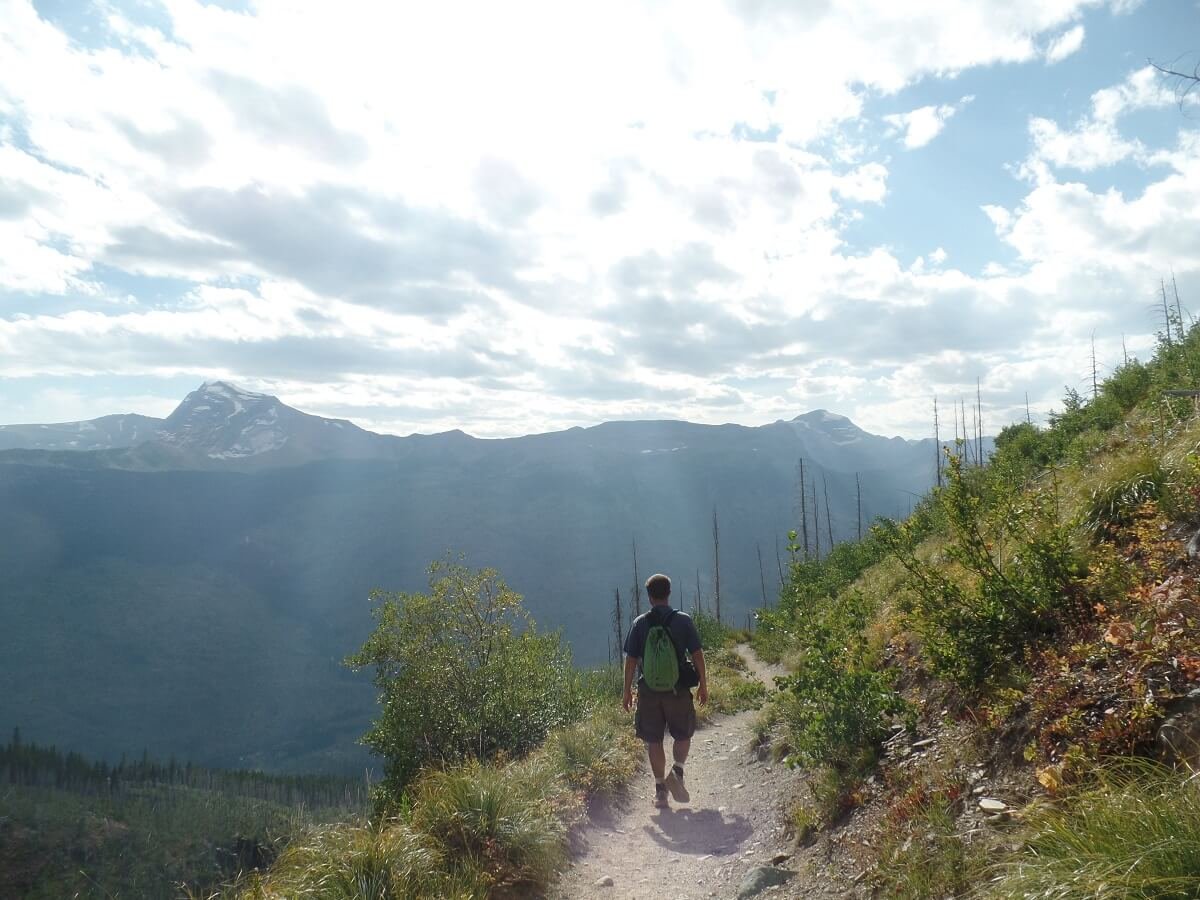
And just in case we didn’t say it enough already (don’t worry, we’ll keep saying it), it’s views like these the entire way.
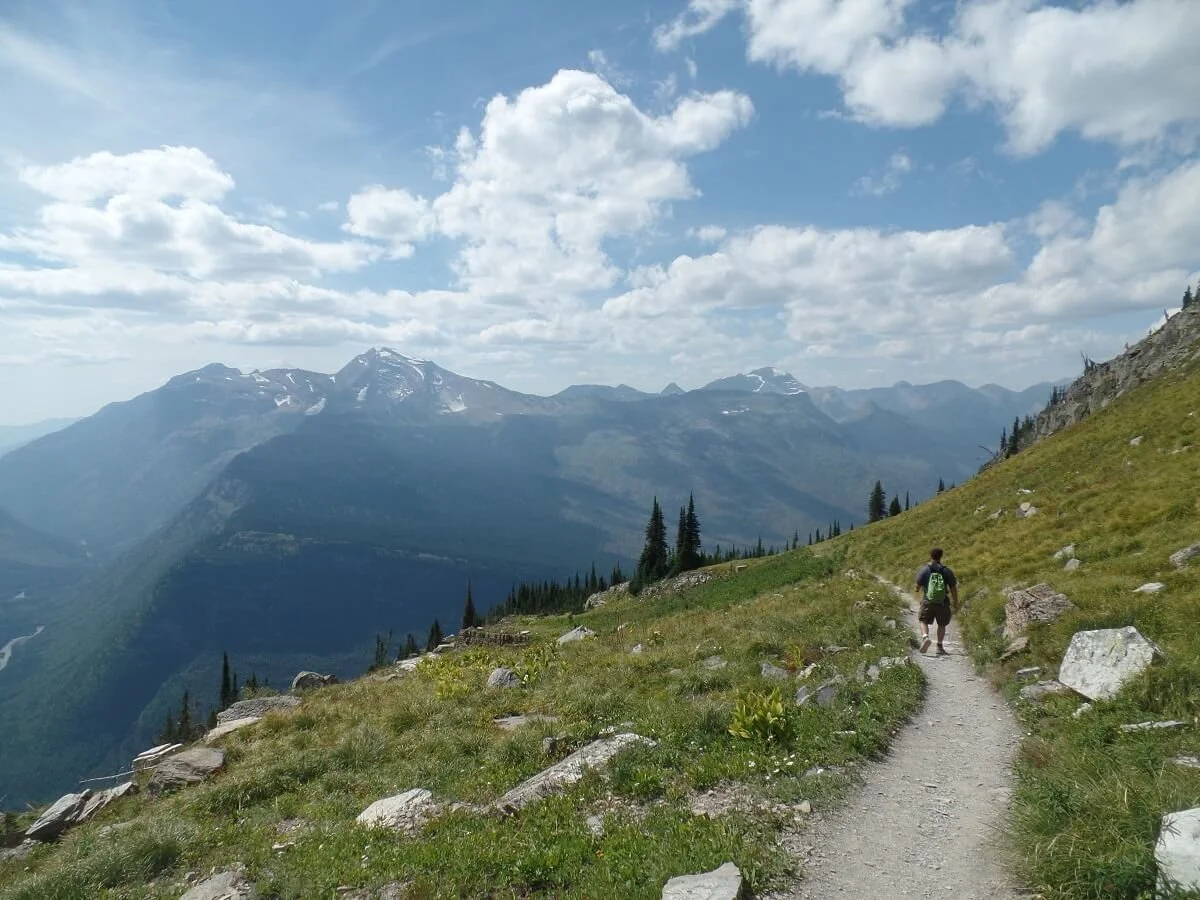
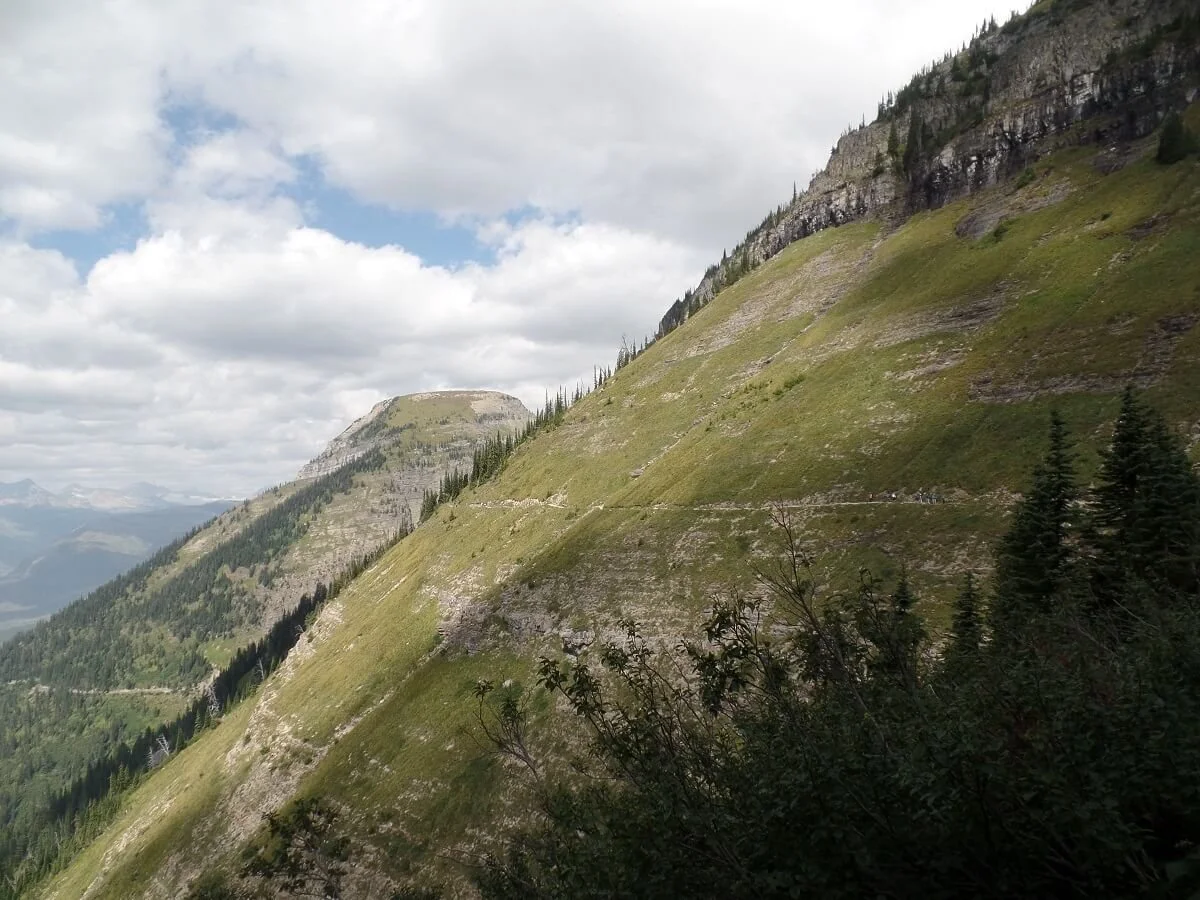
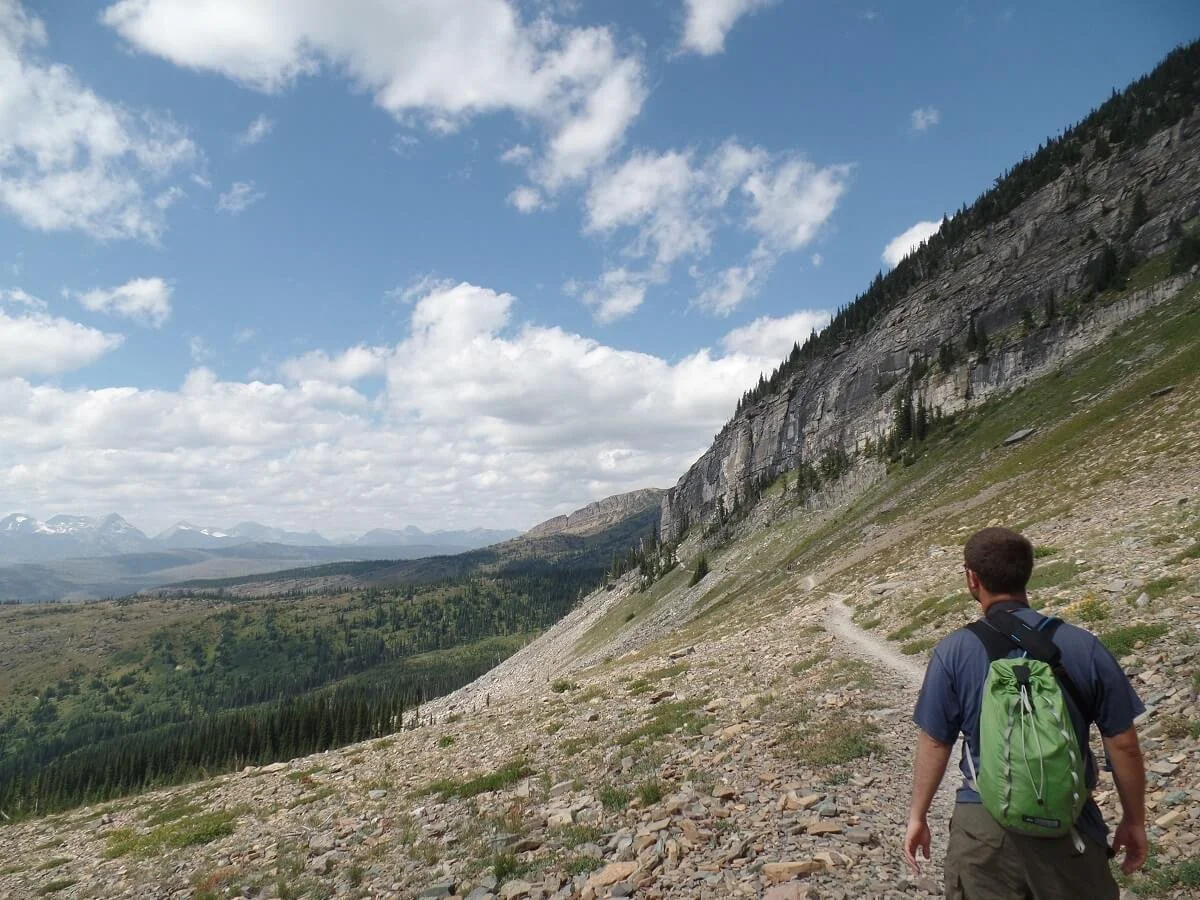
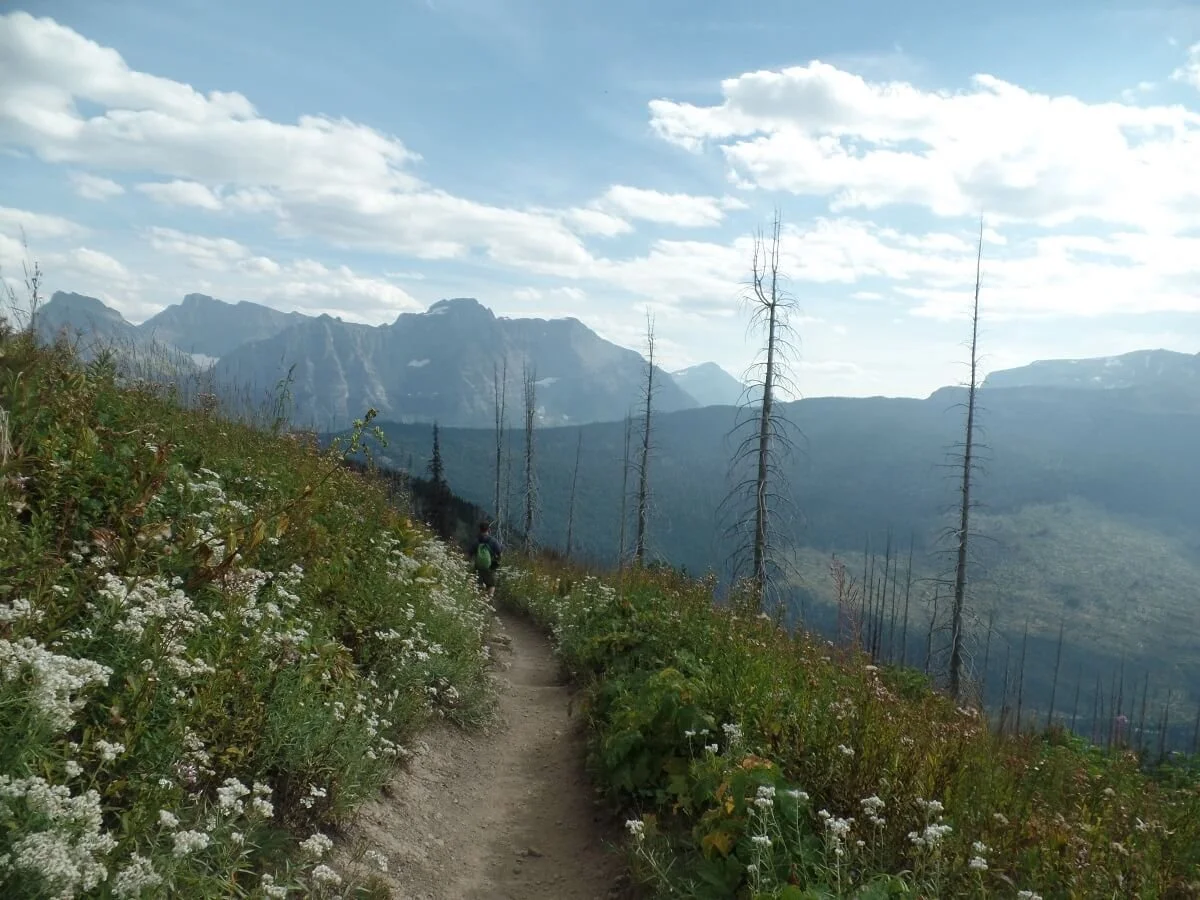
The amazing thing about the Highline Trail hike is that the views never stop. You never duck below a treeline or weave into the mountainside. You are completely exposed to valley views the entire duration of your traverse across the Garden Wall.
Can you see the Highline Trail as it traverses across the side of the mountain? This is why there are views the whole way!
How can you not be happy with these views?!
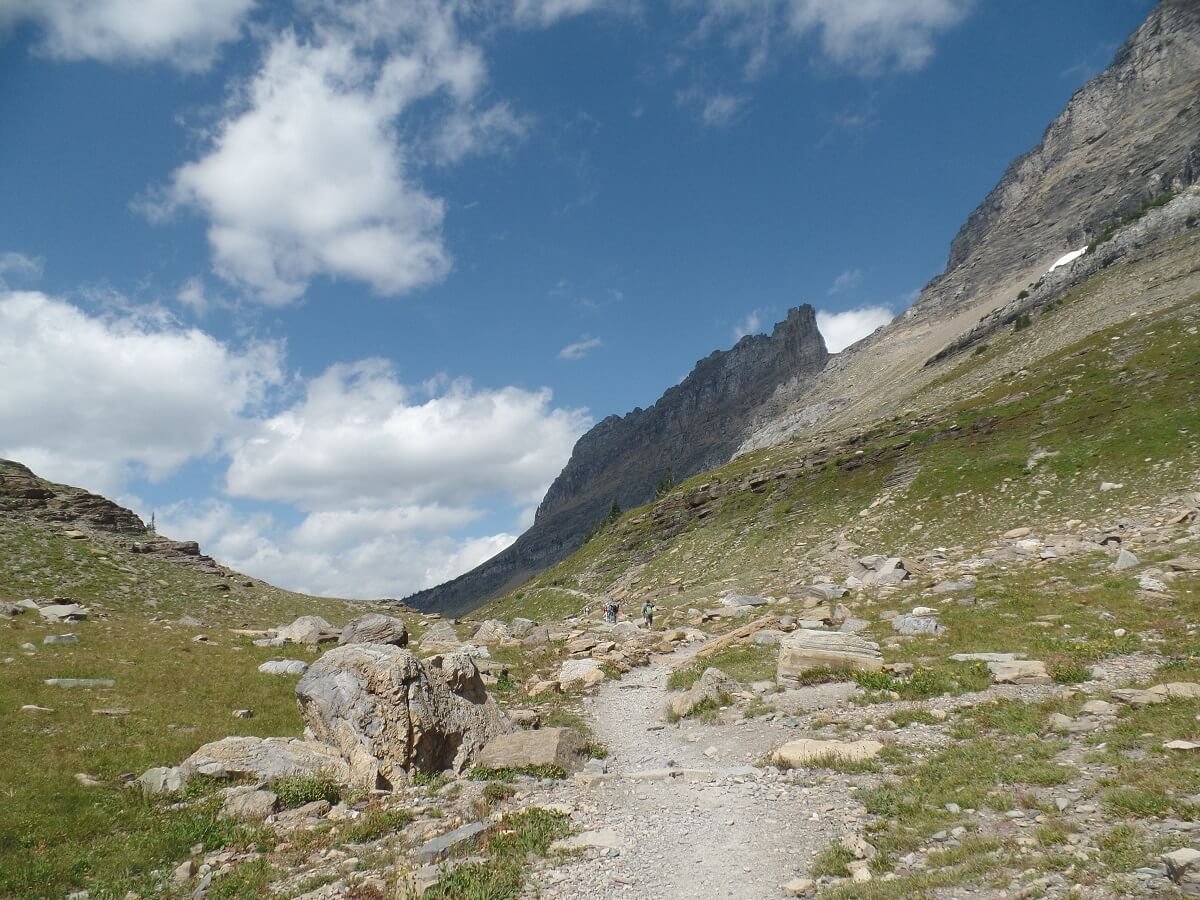
Eventually, you begin to approach Haystack Pass, a saddle that sits between the Garden Wall and Haystack Butte (that rectangular-shaped peak you see in front of you). A few long switchbacks here make up the most significant climb of the entire Highline Trail and bring you up to just about the highest point of the Highline Trail (there’s just a tad bit more climbing after this point later in the hike).
The approach to Haystack Pass on the Highline Trail
The amazing view from Haystack Pass
A lot of people stop here at Haystack Pass to enjoy the view, eat a snack (talk about lunch with a view!), and return back to the car to complete their hike as an out-and-back hike along the Highline Trail. It’s a great spot to stop because you get stunning views out along both sides of the pass, but you won’t have to compete the full nearly 12 miles for the point-to-point Highline Trail hike.
As a side note and quick heads-up, be aware of the squirrels here (yes, the squirrels). We were convinced that there’s a secret army of ground squirrels here that you won’t notice until they’ve quietly surrounded you, lurking in the grass, eyeing your food and almost daring you to drop a crumb. They’re cute, we know! But please do not intentionally feed any wildlife, as cute as they may be, and even if they chirp at you with those puppy dog eyes (which they probably will)…we want to help keep them safe and wild. They are seriously all over the place, though!
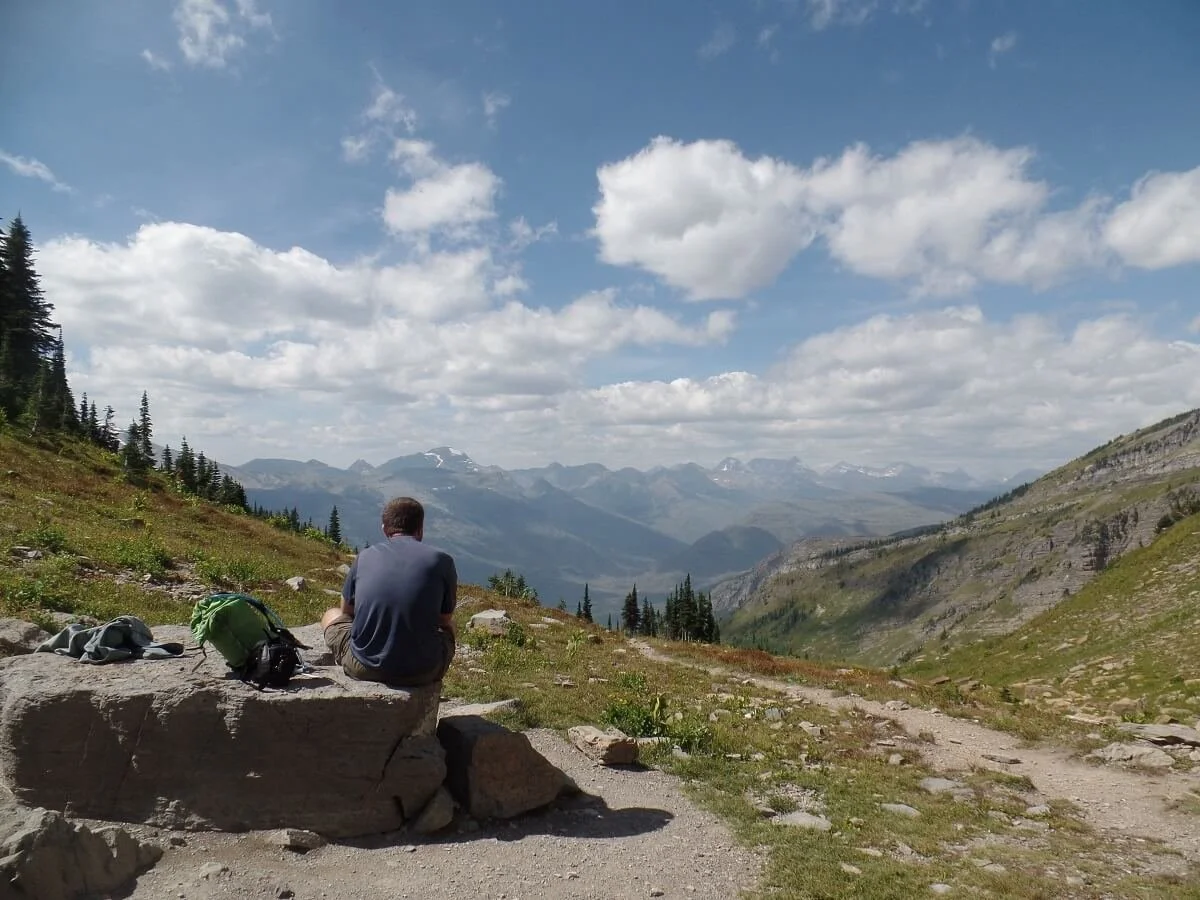
Enjoying lunch with a view at Haystack Pass on the Highline Trail
Watch out for these cute guys at Haystack Pass - they want to steal your food!
As we mentioned, Haystack Pass itself is a worthy destination, and a lot of hikers stop here and return to Logan Pass if they do not want to do the entire length of the trail. But if you’re up for it, one of the benefits of continuing on is that the second part of the Highline Trail beyond this pass is a little less crowded than the first half.
The best benefit, though? Of course, more epic views!
As you continue beyond the pass, the views are still out of this world, and are dominated by Heaven’s Peak in the distance.
The views from the Highline Trail continue after Haystack Pass. Heaven’s Peak is the swirly looking mountain on the right.
This part of the Highline Trail still follows along the side of the Garden Wall, with some brief sections that are a bit more harrowing than others due to some more steep ledges, but nothing ever as bad as that first section with chains, so if you made it this far, you’re good!
The stretch of the Highline Trail just before reaching the Granite Park Chalet
As you’re making your way down to the Granite Park Chalet at roughly mile 7 of the Highline Trail, you’ll come to an optional side trail that climbs steeply up to the Grinnell Glacier Overlook. On this spur trail, you basically get to climb to the top of the Garden Wall and look down upon Grinnell Glacier, the Salamander Glacier, and the Many Glacier valley which reside just on the other side of the continental divide.
This is a steep and narrow trail, climbing up about 900 feet in less than a mile, so it will add a good amount of time to your day, but the reward at the end is amazing.
Because we had hiked to Grinnell Glacier a few days prior, we decided to skip this, but looking back, I am kind of bummed we did, and I think we will be heading back there some time in the future just to make this side trip! Moral of the story, if you’re up for it (and have adequate time), do it!
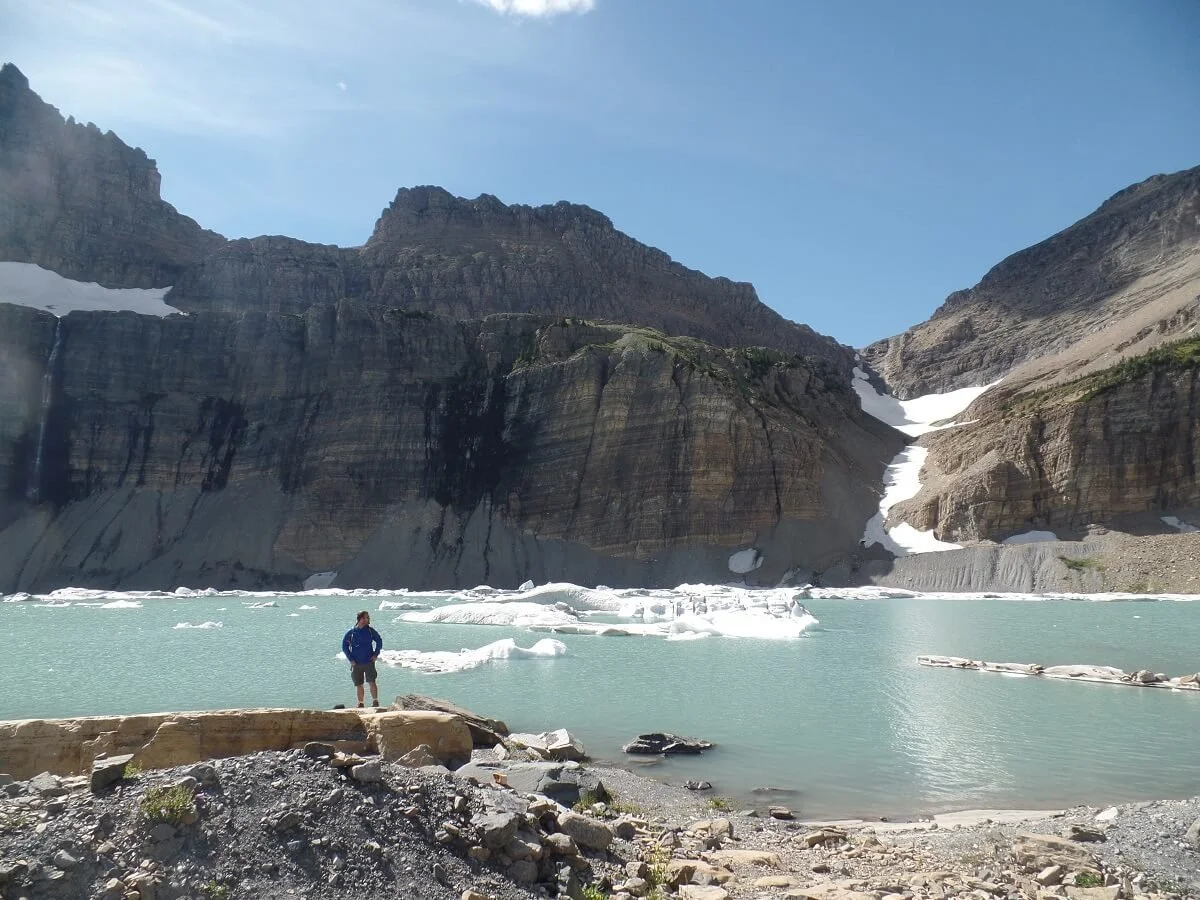
Here’s a look at Upper Grinnell Lake and the Salamander Glacier from the Grinnell Glacier hike. Now imagine seeing this from a birds-eye view on the overlook off the Highline Trail!
To give you an idea of what this spur trail looks like, here is a view from near the Granite Park Chalet looking back on the Highline Trail. You can see the Grinnell Glacier Overlook trail climbing its way steeply up to the pass.
Continuing along on the Highline Trail past this intersection, you’re about three quarters of a mile of easy hiking to the Granite Park Chalet. If you look carefully, you’ll see the chalet in the distance, which makes you feel like you’ve gone through a wormhole and have been transported to somewhere in the Swiss Alps. I seriously loved this view!
Probably my favorite view on the Highline Trail! Can you see the Chalet in the distance?
Just before the Chalet, there will be a sign directing you to go directly to the Chalet or continue straight onto Granite Park/The Loop Trail. We suggest checking out the Chalet!
The Chalet can be reserved in advance for a hefty price, but for those just passing through, it’s a great place to stop for a rest, a snack, use the bathroom, and take in the views.
From here, you can also do a side excursion to Swiftcurrent Pass. Again, because we were tired from the previous days of hiking, we passed on this, but I kind of wish we didn’t! If you have the energy still, it’s only an additional 1.2 miles roundtrip to the overlook.
Admiring the views from the Granite Park Chalet!
Just past the chalet, you’ll leave the Highline Trail and meet up with Granite Park Trail, the final part of your point-to-point Highline Trail hike that will bring you down to The Loop parking lot along the Going to the Sun Road.
In 4.2 miles, you drop a significant amount of elevation, about 2,200 feet, as it switchbacks down to the Going to the Sun Road. This part of the Highline Trail hike is still mostly open and exposed to the sun, but you’ll pass through some huckleberry patches here and there. Because huckleberries are a favorite food of bears, be sure to just keep walking through these without stopping to pick or look, and make some sound as you’re walking through, just to be on the safe side.
Views from the Highline Trail as it descends down to the Loop on the Going to the Sun Road
If you’ve followed our advice above about using the shuttle to hike the Highline Trail, you’ll be happy to see your car in the Loop parking lot after you’ve traversed nearly 12 miles (or more!) throughout the day. Otherwise, hang out and wait for the next available shuttle and enjoy the ride back up to Logan Pass.
And that’s a wrap! Give yourself a pat on the back for completing one of Glacier National Park’s best hikes!
Important Things to Know When Hiking the Highline Trail
Here are some extra tips to keep in mind when hiking the Highline Trail in Glacier National Park.
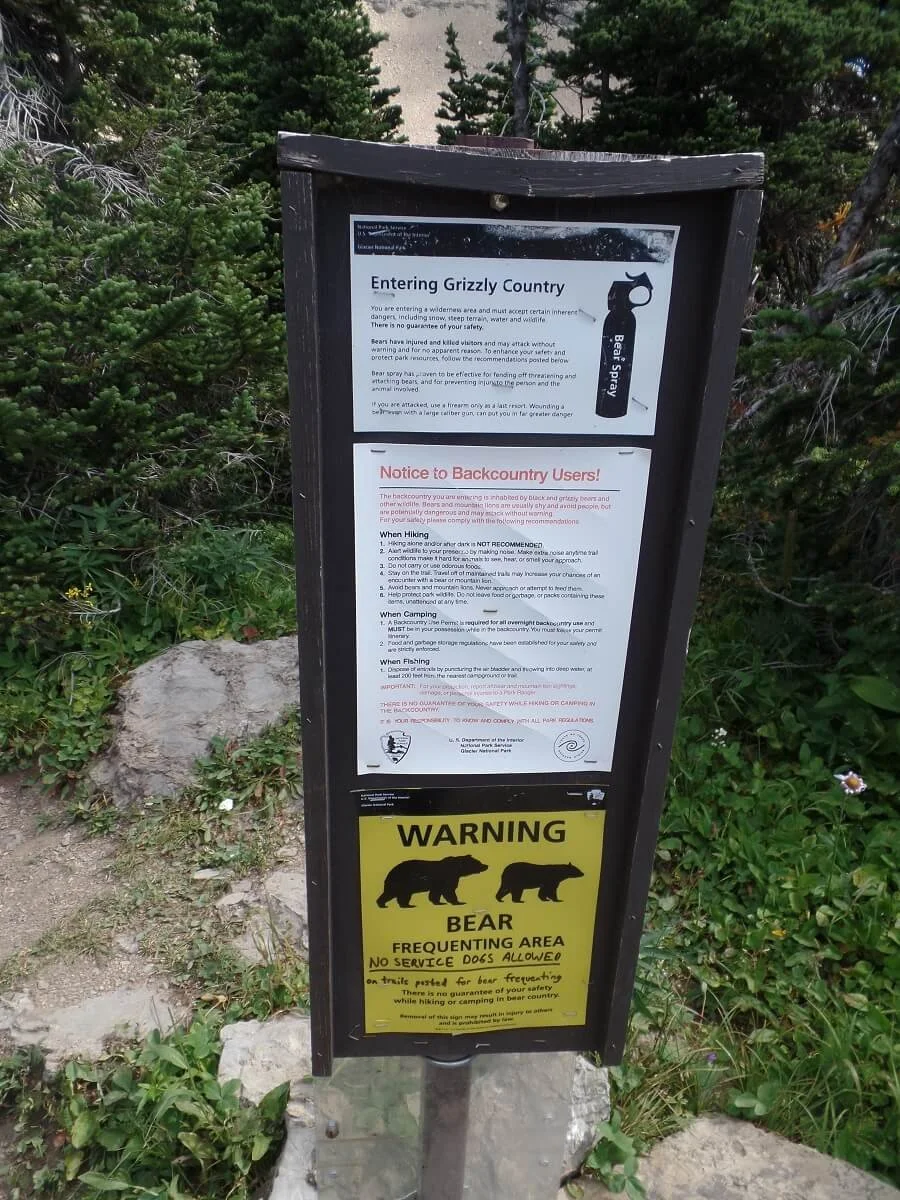
Be bear aware. Grizzly bears call Glacier National Park their home, and they frequent this area. They are often spotted along the Highline Trail, particularly near the spur trail to Swiftcurrent Pass. Often, the Highline Trail may close due to Grizzly activity, which was the case for a few days when we were in the park. In fact, we had heard that a woman was approached by a bear during that time, but thankfully she made it out okay with no major injuries.
When you’re out on the Highline Trail, use caution and commonsense, and read up about bear safety when hiking. Here are some good rules of thumb to follow when hiking in bear country:
Hike in a group, make frequent noise (at a reasonable level) through talking and/or use of a bear bell, and definitely carry bear spray and know how to use it as a last resort.
When hiking in Glacier, never leave food, or any scented items or garbage, unattended. Even items like sunscreen and toiletries can be an attractant. Make sure you pack everything out that you packed in…including trash!
Don’t linger in places where bears like, for example, in a berry patch. Bears in Glacier love huckleberries, and on the Highline Trail from the Chalet down to The Loop, you’ll walk through some patches of them. Don’t linger here and don’t pick any…just keep moving. We had heard that the woman that was attacked just a few days earlier was in the process of picking huckleberries when she encountered the bear.
Be aware out on the trails, and if you do see a bear in the wild, keep your distance.
Check trail status. Before setting off to hike the Highline Trail, be sure to check trail status, as it could be closed due to bear activity or something else on any given day.
Check parking and road status. Check parking status at popular spots along the Going to the Sun Road on the NPS site to see if you need to enact a backup plan while you wait for the lot at Logan Pass or the Loop to open up. The park service doesn’t want you hanging out at a parking lot waiting for spaces to open, as this just adds to the congestion. Also check the Going to the Sun Road status as well on the NPS site, which will have updates on any closures due to weather, congestion, construction, or something else.
Get an early start. This helps avoid parking and/or shuttle issues, or will allow you to enter the park before reservations are required at 6 am. Starting early also gives you plenty of time to complete the Highline Trail, especially if you plan to do any of the side trails.
Remember to Leave No Trace. Pack out what you pack in, stay on trail, and leave the park and the trails better than you found them!
What to Pack for Hiking the Highline Trail
In addition to the normal hiking essentials, here are some things we would recommend you have specifically for the Highline Trail in Glacier National Park:
Layers/light rain coat or wind breaker for any changing weather.
A good pair of hiking boots for the frequent rocky sections and ledges along the Highline Trail.
Sunscreen/hat – the entire Highline Trail is exposed to the sun above tree line so you’re gonna need these!
Water – and plenty of it! Pack at least three liters per person.
Snacks – and a trash bad to carry out your waste.
Trekking poles – if you typically hike with these, these would be best to have coming down The Loop Trail or down the Grinnell Overlook Trail, as both of these sections are pretty steep.
Bear spray/bear bell – just in case!
Where to Stay Near the Highline Trail Hike
Because of the early wake up call you want to have for hiking the Highline Trail, you’re probably thinking you want to stay as close as possible to the trailhead…ideally at Logan Pass, right?
Unfortunately, there are actually no lodging options at Logan Pass, so you’ll need to head back towards either the east or west entrances of the Going to the Sun Road to find a place to stay inside the park.
Camping in Glacier National Park
There are 13 campgrounds in Glacier National Park. Seven of these take reservations. They can be made up to 6 months in advance on recreation.gov, with a small portion saved for reservations up to four days in advance. But just a word of caution: in recent years, these have been selling out fast. As in within a few minutes of going up for grabs kind of fast.
So just to be realistic, chances are you won’t get a camping reservation within the park. So your next option is to try and snag a first come first serve site at any of the other campgrounds. However, these sites, especially those along the Going-to-the-Sun Road, fill up fast, so get there early.
Luckily, the park service has a nifty website where you can track the status of each campground daily to see if it is filled. Generally, you want to get to a site before noon, but of course, the earlier the better.
Also note that some campgrounds are more primitive than others, so be sure to check out each campground beforehand and know which is which!
Lodging in the Glacier National Park
We have no experience with staying in actual lodging in the park, but there are several options throughout Glacier National Park, from small inns to backcountry chalets. These are found along the Going to the Sun Road primarily in Apgar and Lake McDonald on the west end, and at Rising Sun on the east end.
What's next after the Hiking the Highline Trail?
While the Highline Trail is without a doubt Glacier National Park’s most famous hike, don’t stop there! Check out our other Glacier National Park guides to give you more ideas of all the awesome hikes this park has!
GLACIER HIKING GUIDE- There are so many amazing hikes to choose from in Glacier. Check out our favorites in our guide to the Best Hikes in Glacier National Park (complete hiker’s guide and suggested itineraries!)
GRINNELL GLACIER- Grinnell Glacier was our favorite hike in the park! Learn all about it in our complete guide to Hiking to Grinnell Glacier in Glacier National Park.
PITAMAKAN PASS- This is the ultimate hike in Glacier to avoid the crowds but still get epic views! Learn all about Pitamakan Pass in Glacier National Park in our complete guide.
CRACKER LAKE - This is one of the most stunningly blue glacier lakes we have ever laid eyes on! Check out our Cracker Lake hiking guide to learn how to see it, too!
ICEBERG LAKE- This is a popular trail to an iceberg-filled glacier lake in Many Glacier. We have the ultimate guide on hiking to Iceberg Lake so you can learn more!
Is hiking the Highline Trail in Glacier National Park on your bucket list? Let us know below and ask us any questions! We are happy to help you plan your next adventure.
