13 Hikes in Rocky Mountain National Park to Add to Your Bucketlist
Hiking in Rocky Mountain National Park is hands-down the best way to experience this incredible park.
With over 350 miles of trails and hikes that range from easy strolls around picturesque lakes, to challenging summit climbs at high altitude, there’s an opportunity for everyone to get out and enjoy the park’s beautiful – no, make that drop-dead gorgeous- scenery away from the crowded roads.
If you’re looking to hit the trails, you’re in the right place! Because in this article, we’ve rounded up our own list of some of the best hikes in Rocky Mountain National Park…ones that we were lucky enough to experience during our recent visit to this incredible park.
How did we choose what to include on this list? When we were painstakingly narrowing down the list of must-do hikes for our short visit to Rocky Mountain National Park (not an easy task!), we first determined what we really wanted out of our first trip to this park…and that was to get a good taste of all the elements that the park has to offer:
High alpine tundra
Epic up-close mountain views (you know, those jagged, spiky, glacier-topped, and well, rocky, mountains)
Scenic alpine lakes
Wildlife
Oh, and a waterfall or two thrown in for good measure
The hikes on this list definitely check all these boxes.
What’s even better is that the hikes we did in Rocky Mountain National Park range from the short and sweet to the moderately long and challenging, so there really is something for everyone on the list!
And of course, we couldn’t possibly do every hike we wanted in our limited time in the park, so we’re including some others for you to consider that we will definitely be going back for, aaaand throwing in some helpful hiking tips, too!
So, let’s dive right in!
Article Contents
Where are the best hikes in Rocky Mountain National Park?
Best hikes in Rocky Mountain National Park
Trailhead parking at RMNP
Rocky Mountain National Park shuttle
Best time to hike in Rocky Mountain National Park
Tips for hiking in Rocky Mountain National Park
What to pack for hiking in RMNP
How much time do you need for hiking in RMNP?
Want to save for later? Pin this post and come back when you’re ready!
Where are the Best Hikes in Rocky Mountain National Park?
Before we list our favorite hikes in Rocky Mountain National Park, let’s first get a little oriented to the park so you can familiarize yourself with the different sections. This will help you plan out your RMNP hiking itinerary!
There are three major sections to Rocky Mountain National Park.
Eastern RMNP
The eastern side of the park is the most popular and crowded section of the park, and where many of the best hikes in Rocky Mountain National Park are located.
The eastern side itself has a few different areas worth mentioning. The main hub of the eastern side of Rocky Mountain National Park is within the Beaver Meadows Entrance (just outside of Estes Park). This gives you access to both Trail Ridge Road (talked about next) as well as Bear Lake Road – the most popular section of Rocky Mountain National Park. Bear Lake Road has two of the park’s main campgrounds, lots of beautiful picnic areas with views and trailheads, and ends at the parking lot for the Bear Lake Trailhead, where many of the most popular and best hikes in Rocky Mountain National Park begin. Many of the hikes we talk about in this article will be based out of here!
There are two other point of entry to Rocky Mountain National Park’s eastern side that are accessed from route 7, or the Peak to Peak Scenic Byway. This road starts in Estes Park and travels south, paralleling the park’s border. As you travel south, the next park entrance that you come to will be the Long’s Peak Road entrance, and, as you probably guessed, this provides access to, yup, Long’s Peak! You may have heard of it…it’s the tallest peak, and the only 14er, in the park, and many people try to climb it. But if that’s out of your scope, this trailhead also has lots of other cool trails, namely the one to Chasm Lake. This is a popular trail and often called Rocky Mountain National Park’s best hike. Since we had limited time and stuck to exploring the Bear Lake section of the park, we sadly didn’t make it here to confirm or deny that statement, but it’s high up on our list for when we inevitably come back!
The other park entrance along route 7 is just a bit further south – the Wild Basin entrance. This is a less visited area of Rocky Mountain National Park, and gives access to a bunch of longer day hikes leading to epic alpine lakes, as well as to Ouzel Falls, a popular waterfall within the park.
Trail Ridge Road
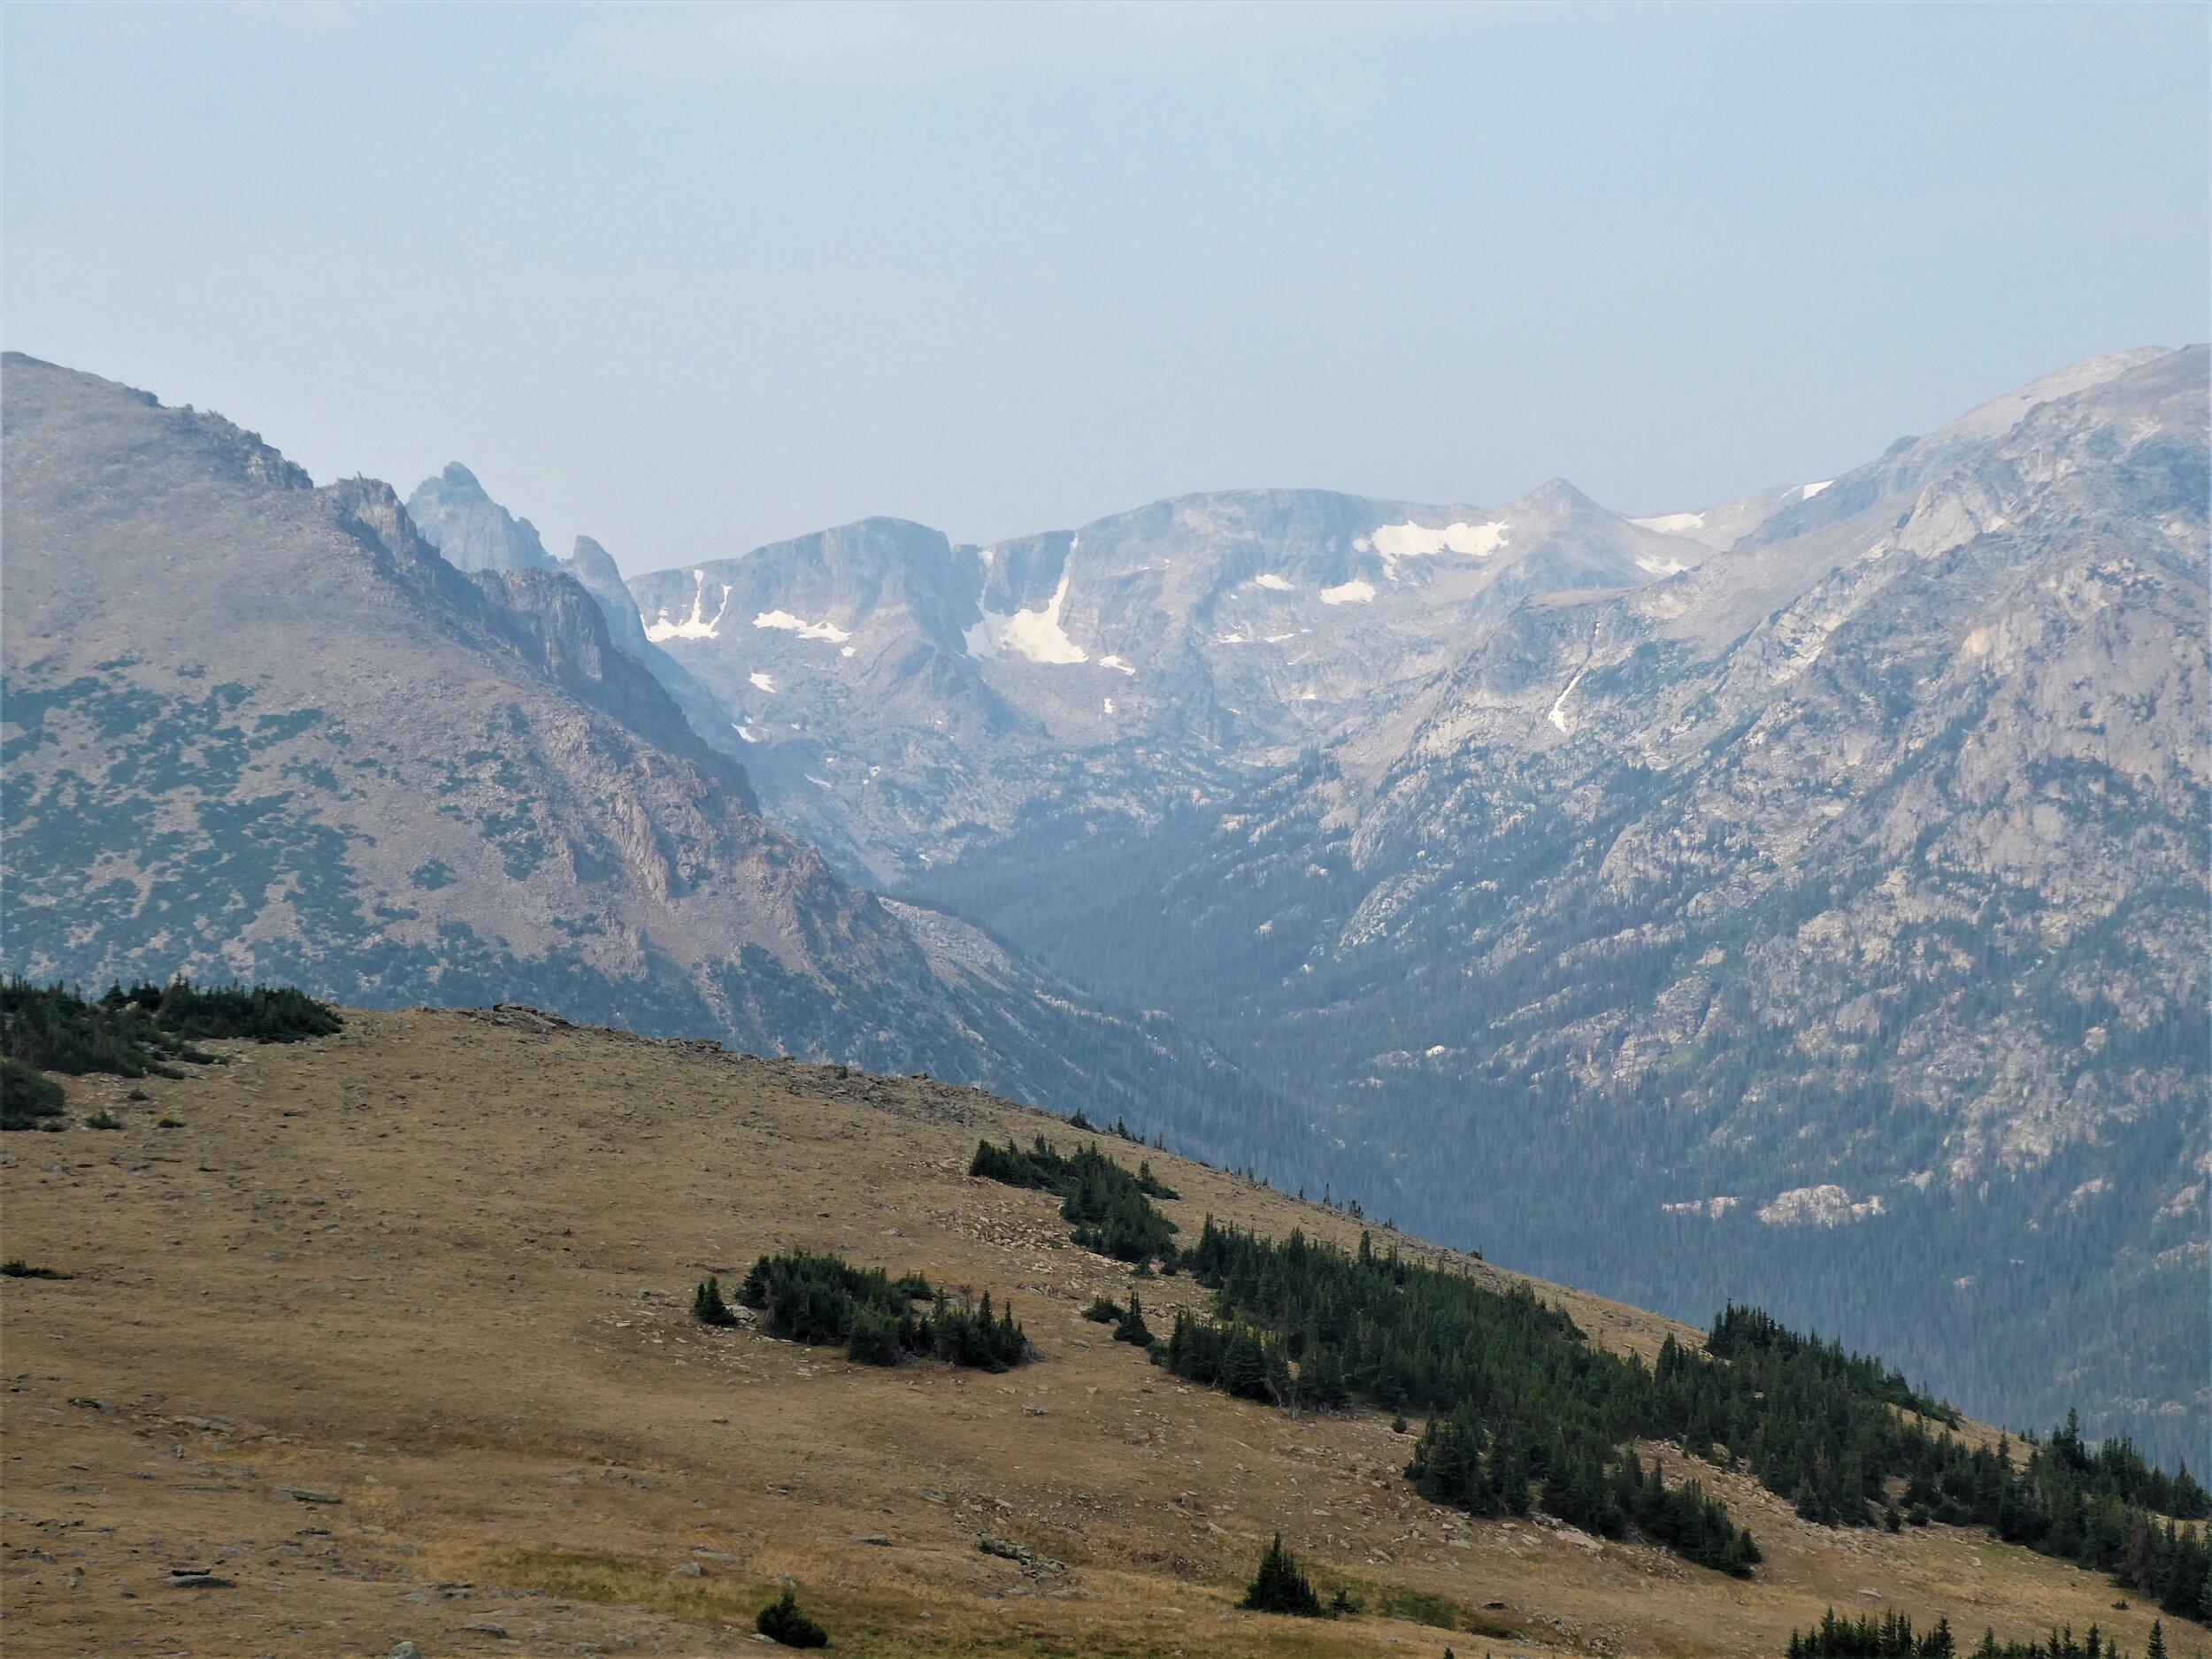
Trail Ridge Road runs east to west across the park, connecting Estes Park in the east to Grand Lake in the west. It’s the only road that traverses the park, and is actually the highest paved road in the country, topping out at over 12,000 feet! The views are stunning from the road itself, but of course, there are several options for hiking through the alpine tundra of Rocky Mountain National Park to get even better ones! We’ll list our favorites in this post!
Western RMNP
The western side of the park near Grand Lake is a quite a bit quieter than the busy east side and has a different feel to it. The grand rocky and epic peaks of the east will be replaced with serene treelined slopes and quiet wildlife-filled meadows. There are a few options for shorter hikes through meadows and valleys that are good for wildlife spotting, but the west side is great for those looking for longer, quieter, multiday backpacking routes through Rocky Mountain National Park. In this post, we’ll mention some of the short meadow walks that we particularly liked.
We’re ordering these Rocky Mountain National Park hikes based on the location within the park (East side, Trail Ridge Road, or West side) to help you plan out your hiking itinerary through the park.
13 Best Hikes in Rocky Mountain National Park
Ok, now that you’re good with the park’s layout, let’s get right into some of the best hikes in Rocky Mountain National Park!
Hikes in Rocky Mountain National Park Along Bear Lake Road
1. Sprague Lake
Distance: 0.5 mile loop
Elevation gain: none
Best for: Those looking for an easy lakeside stroll with beautiful mountain views.
Trailhead location: Sprague Lake parking lot off of Bear Lake Road
Sprague Lake is gorgeous, and a quick and easy stop as you drive along Bear Lake Road. I’d highly recommend you make a quick stop here to stretch your legs along this flat lakeside loop. Make sure to walk the whole loop around the lake, because the stunning mountain view is found at the far side.
Sprague Lake is an especially great spot in Rocky Mountain National Park for sunrise, as you can watch the alpine glow reflect off the mountain backdrop.
Sprague Lake is also a good spot for trying to find wildlife. Before our visit, we heard it was a great spot to see moose, especially in the early morning hours. While we didn’t find any just out and about along the lake, when we searched down a side trail we did spot a female moose lying down grazing. We also saw a family of mule deer hanging out alongside the lake.
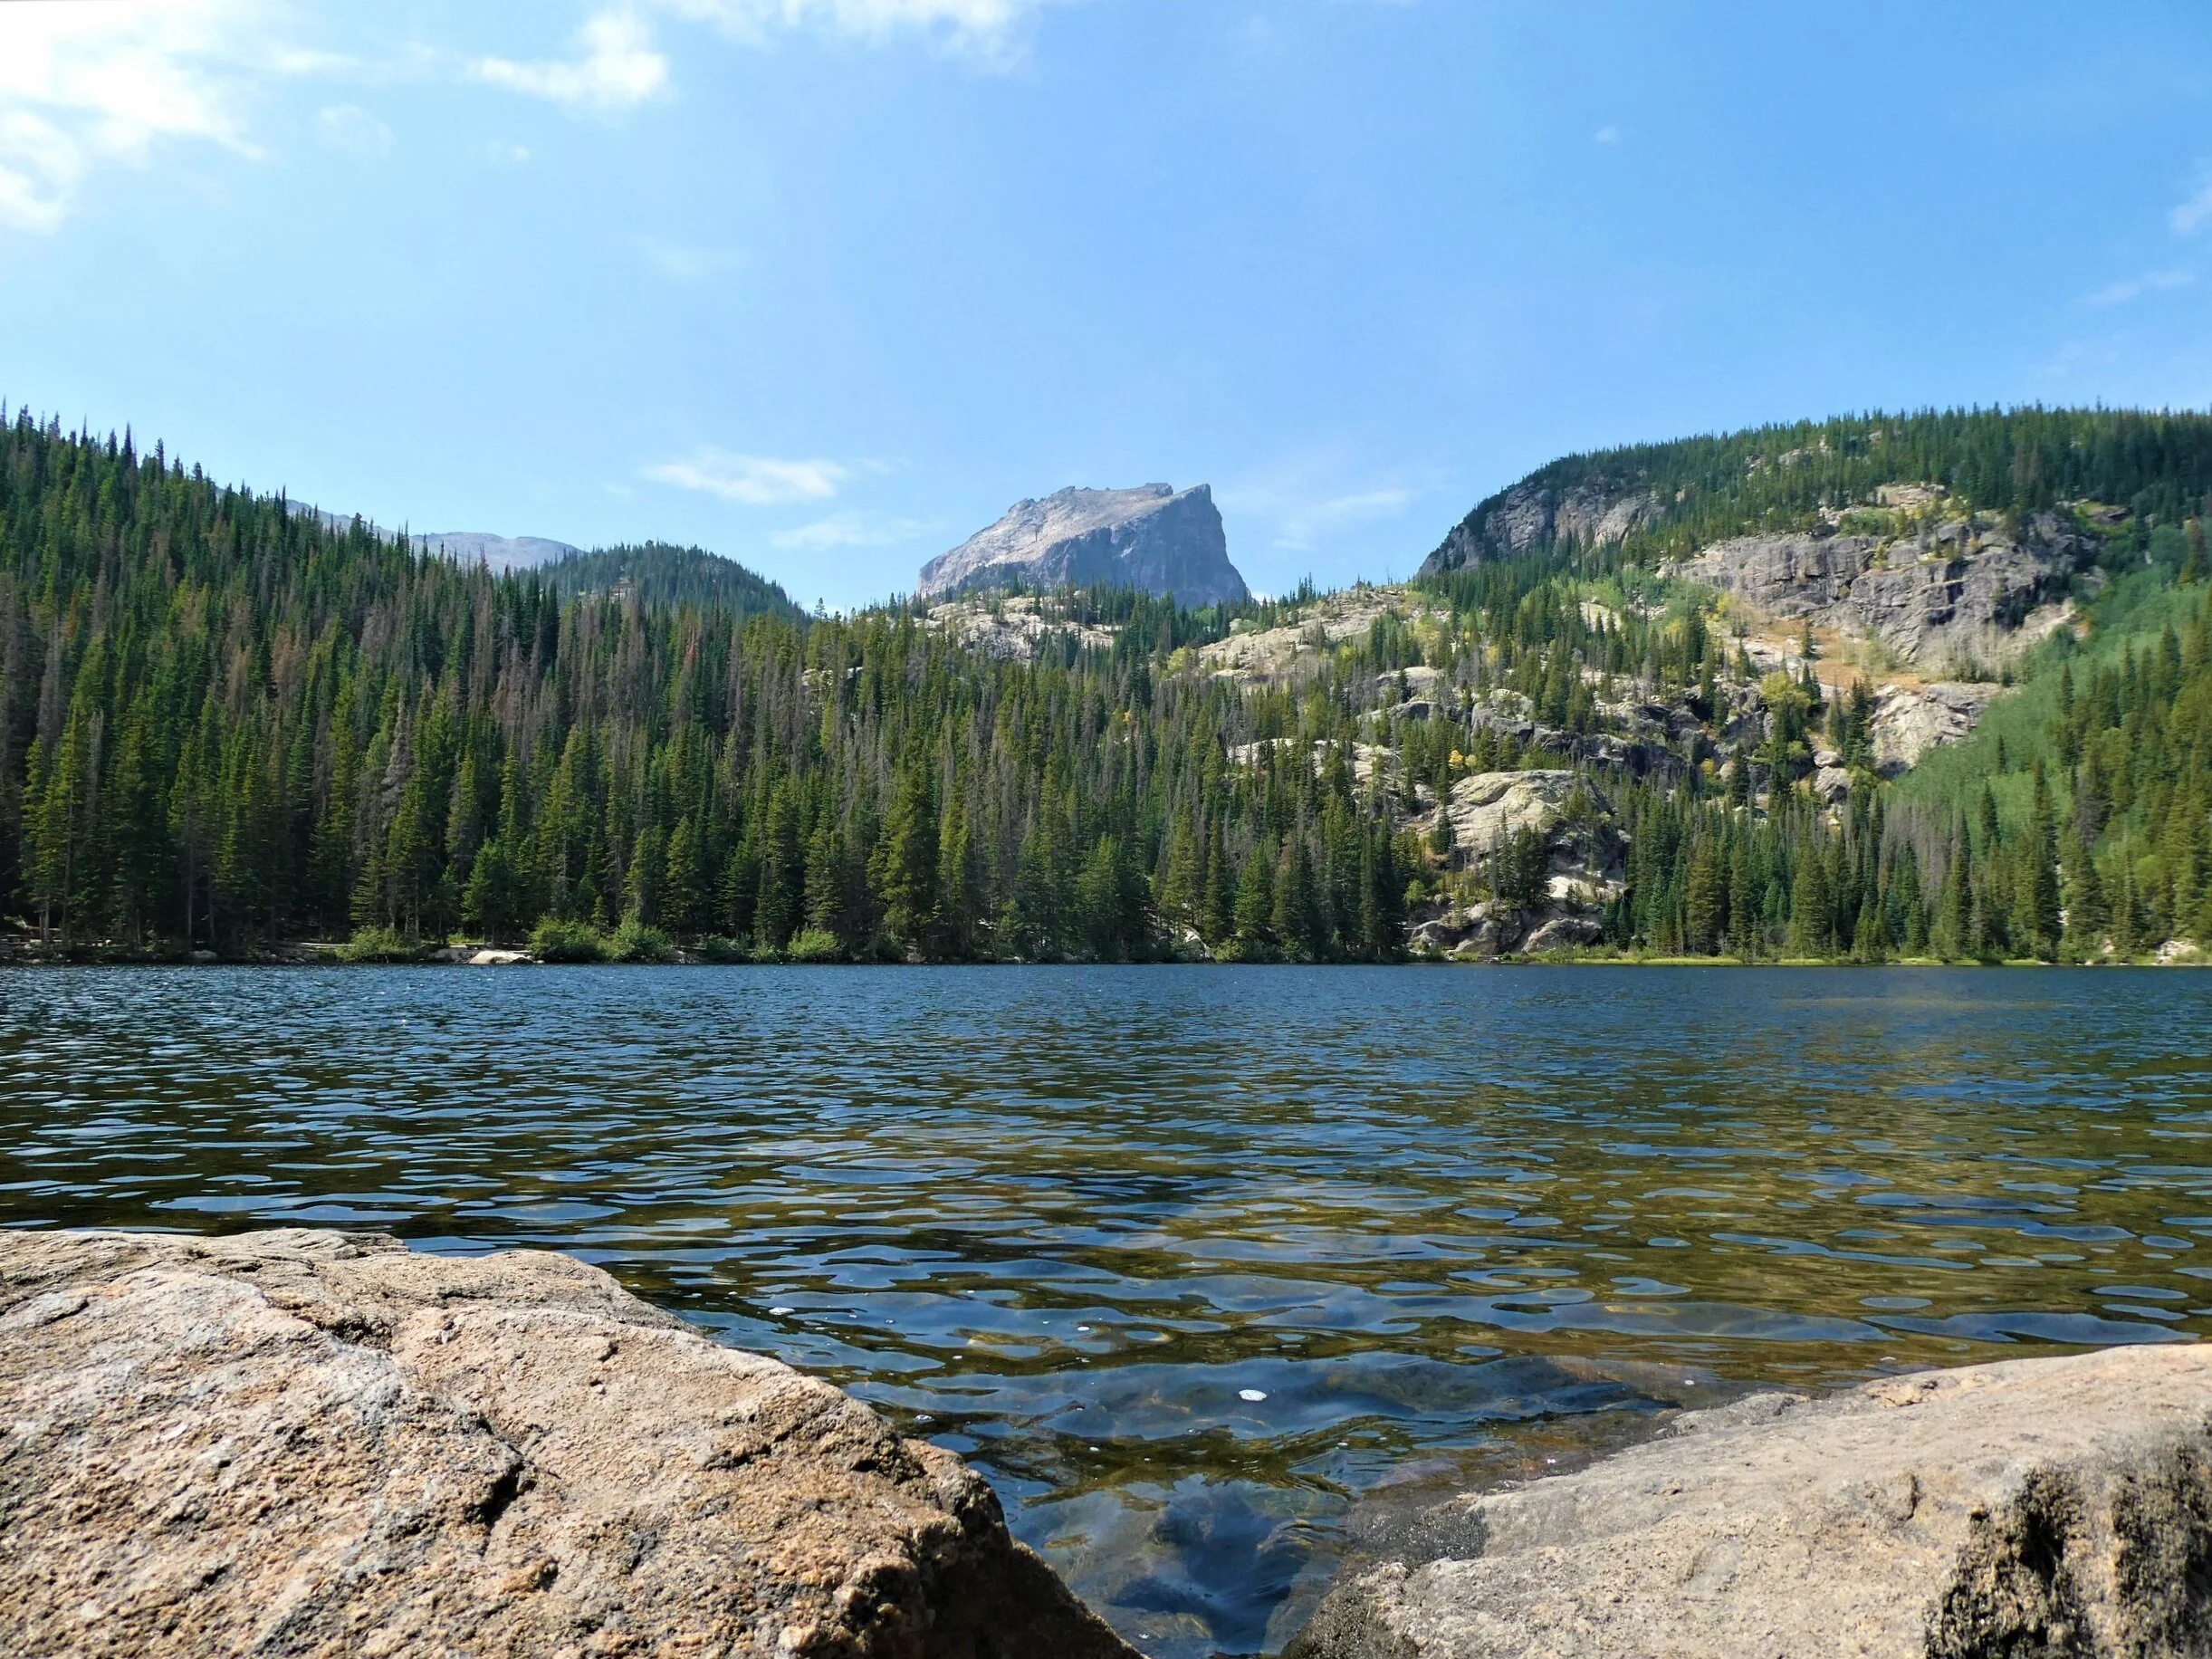
2. Bear Lake Loop
Distance: 0.6 mile
Elevation gain: negligible
Best for: Those really short on time in the park (less than a day) but who still want to experience a hike, or for those who just want an easy stroll with beautiful mountain views.
Trailhead location: Bear Lake parking lot at the end of Bear Lake Road
The Bear Lake Loop is easily the most popular hike in Rocky Mountain National Park, simply because of how easy and accessible it is. It is located right at the busiest area of the entire park, at the Bear Lake lot at the end of Bear Lake Road, a popular area due to all of the stunning trails that start here.
Bear Lake is just a few short steps away from the parking lot (just follow the signs). Even though it’s an easy walk, the views are still stunning and it’s worth your time even if you plan on doing other hikes throughout your time in the park.
This hike is truly accessible, with a sign at the start of the loop outlining every detail of the walking path (including trail condition and grade)…I’ve never seen such a detailed sign at the start of a trail!
This is a great walk to do for a less strenuous activity in the park, or can be easily tacked on to any of the other hikes that leave the Bear Lake trailhead.
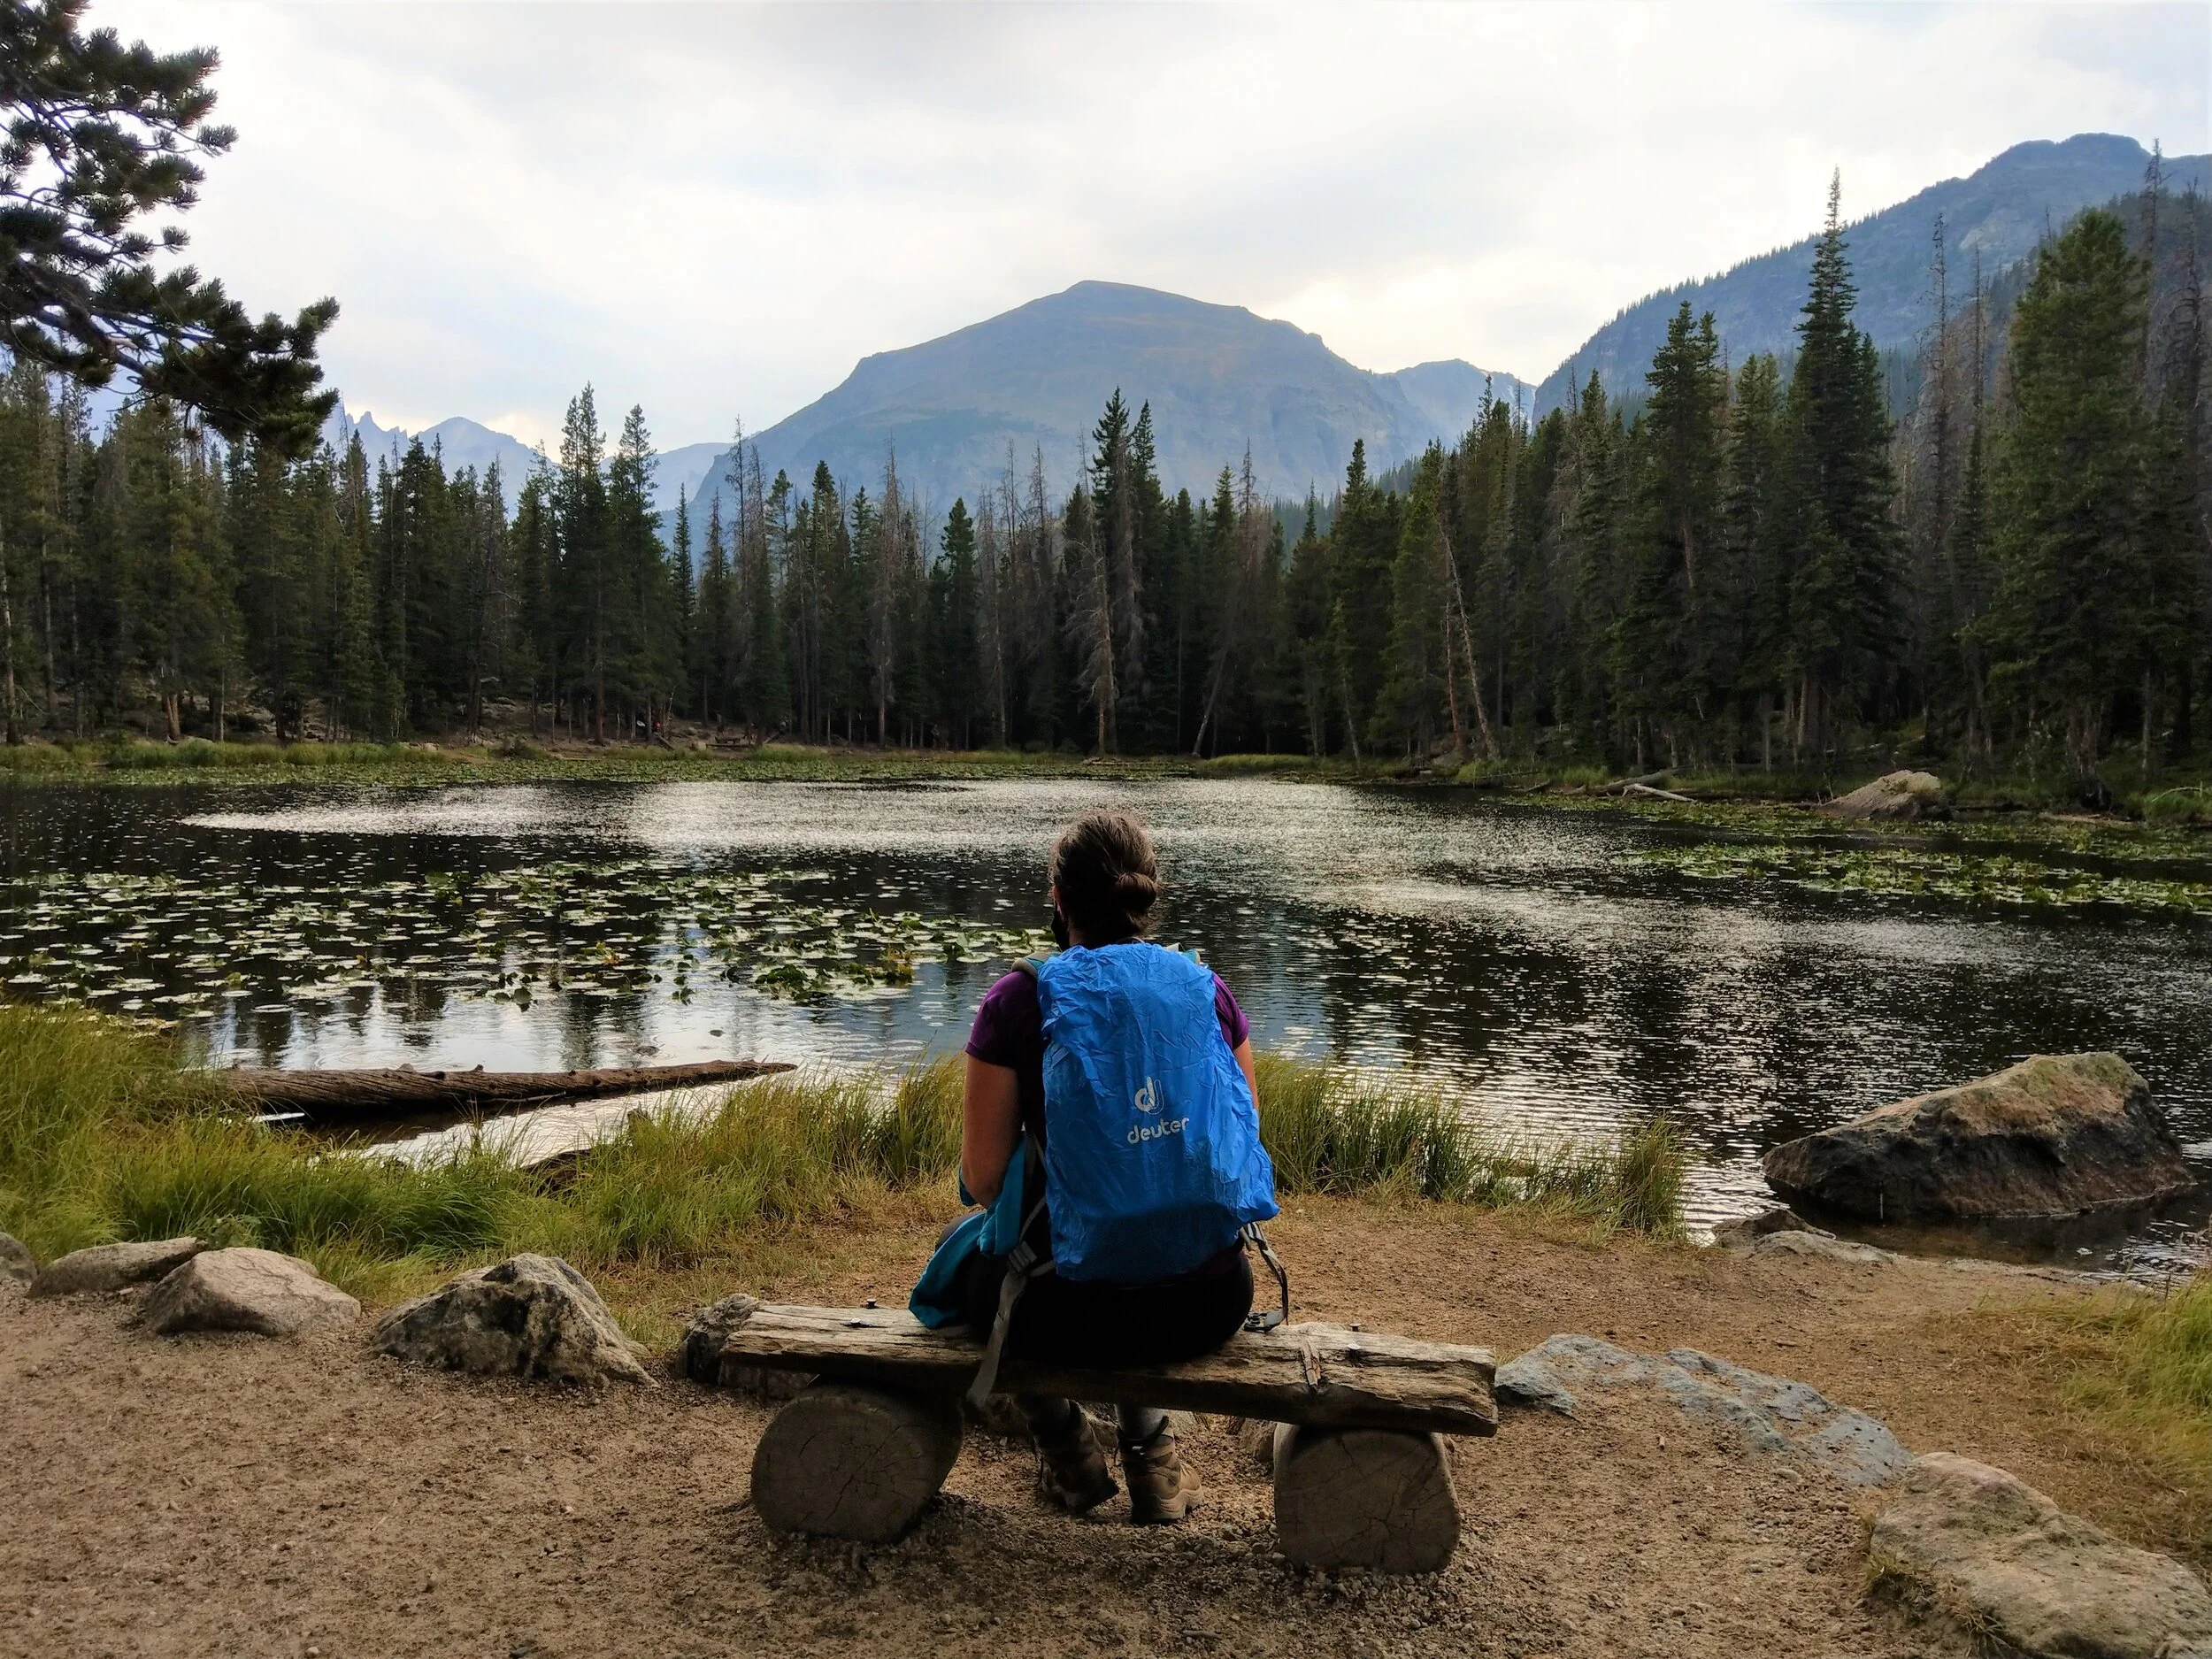
3. Nymph, Dream, and Emerald Lakes
Distance: 3 miles out and back *the trailhead signs quote slightly longer distances, so don’t be surprised to see differences when you are in the park. Ours are based off of our trail maps and our Garmin Watch.
Elevation gain: 605 feet
Best for: Those looking for an easy, big- bang- for- your- buck hike, passing by three alpine lakes with beautiful views. Or for those looking for a good acclimatization hike before tackling some bigger hikes in the park.
Trailhead location: Bear Lake trailhead at the end of Bear Lake Road
The hike out to Nymph, Dream, and Emerald Lakes is easily one of the most popular hikes in Rocky Mountain National Park, so of course we had to include it on this list. It’s a fairly easy, short, and straightforward hike that takes you to three alpine lakes with an iconic mountain backdrop – the one that’s seen in a lot of images of Rocky Mountain National Park when you google it or look through brochures.
The trail ends right at the base of Emerald Lake, an alpine lake sitting just above 10,000 feet.
If you don’t want to go all the way out to Emerald Lake, you can just check out the first one or two lakes found along the way:
Nymph Lake: 1 mile roundtrip, 220 foot gain
Dream Lake: 1.8 miles roundtrip, 425 feet gain
We would recommend going out at least to Dream Lake to really get awesome views.
The tradeoff for these easy views is that Emerald Lake trail gets crowded. Very crowded. After being to alpine lakes in the park with much more solitude, we felt almost like the crowds, not just at the viewpoints along the lake but also along the trails themselves, took away from the enjoyment of the hike and the surroundings a little bit, even though we were expecting it. We say this even after going at a time when the park was only allowing 60% capacity! We can’t even imagine the number of people that are on the trails at full capacity.
Overall, this hike is a great option for those looking for a short and easy hike to get a good taste of what the park is all about, or to acclimate for tougher hikes. However, if crowded viewpoints and trail trains are not your thing, it might be better to head to a different trail. Don’t worry, all the trails in this area are equally as breathtaking… and we mention some good ones below!
4. Haiyaha Lake
Distance: 3.6 miles roundtrip
Elevation gain: 745 feet
Best for: Those looking to add on to the Emerald Lake trail to escape the crowds and see another, less crowded, pristine alpine lake.
Trailhead location: Bear Lake trailhead at the end of Bear Lake Road
Haiyaha Lake is a lesser visited alpine lake out of the Bear Lake trailhead. It’s a refreshing change of pace from the crowded trail along Dream and Emerald Lakes, but doesn’t take that much more time to get to. If you have the time and the energy after hiking to Emerald Lake, we would highly recommend adding Haiyaha Lake to your hike.
The intersection for the Haiyaha Lake Trail is located right before reaching Dream Lake. The trail takes you up a few switchbacks that climb roughly 300 feet in a half mile, but these go relatively quickly, and once you’ve made it to the top, you’ll be walking along a beautiful ridge with views over the valley and out to Long’s Peak. This was an unexpected surprise for us and we loved it!
At the lake, you’ll have to scramble around some big bouldery rocks to get to the lake’s edge. There aren’t many people here, and everyone just kind of spreads themselves out naturally by finding different secluded spots along the edge of the lake, which makes Haiyaha Lake a great hike in Rocky Mountain National Park to avoid the crowds and experience the serenity of the backcountry.
5. Alberta Falls
Distance: 1.8 miles out and back
Elevation Gain: 160 feet
Best for: Those in search of an easy- to- get- to waterfall.
Trailhead location: Glacier Gorge, along Bear Lake Road
Note: Alberta Falls can also be reached from the Bear Lake trailhead, which adds an additional 0.2 miles roundtrip.
Alberta Falls is a popular waterfall and an easy hike in Rocky Mountain National Park. From the Glacier Gorge Trailhead, it’s a quick 0.9 miles of easy uphill hiking. Your first glimpse of the waterfall will be from a viewpoint along the trail, but you can walk (carefully!) along the boulders for different views of the area.
6. The Loch
Distance: 6 miles out and back
Elevation Gain: 990 feet
Best for: Those looking for a less crowded alpine lake but still not too challenging of a hike.
Trailhead location: Glacier Gorge, along Bear Lake Road
Note: The Loch can also be reached from the Bear Lake trailhead, adding an additional 0.2 miles roundtrip.
The Loch, or Loch Vale, is a beautiful alpine lake in Rocky Mountain’s backcountry. It wasn’t crowded at all when we were there, and we were able to enjoy the viewpoints pretty much by ourselves. Many people stop here only briefly on their way to Sky Pond.
To get here, you’ll take the trail past Alberta Falls through the wooded forest. Eventually, you’ll come out above treeline and get treated to spectacular views over the park.
If the Lock is your final destination along this trail, definitely still make sure to continue on the trail along the right side the lake to get different and even better view points to the mountains across the lake before you head back.
7. Sky Pond
Distance: 8.2 miles
Elevation Gain: 1720 feet
Best for: A challenging day hike to see 3 stunning alpine lakes with epic mountain backdrops.
Trailhead location: Glacier Gorge, along Bear Lake Road
Note: Sky Pond can also be reached from the Beak Lake trailhead, adding an additional 0.2 miles roundtrip.
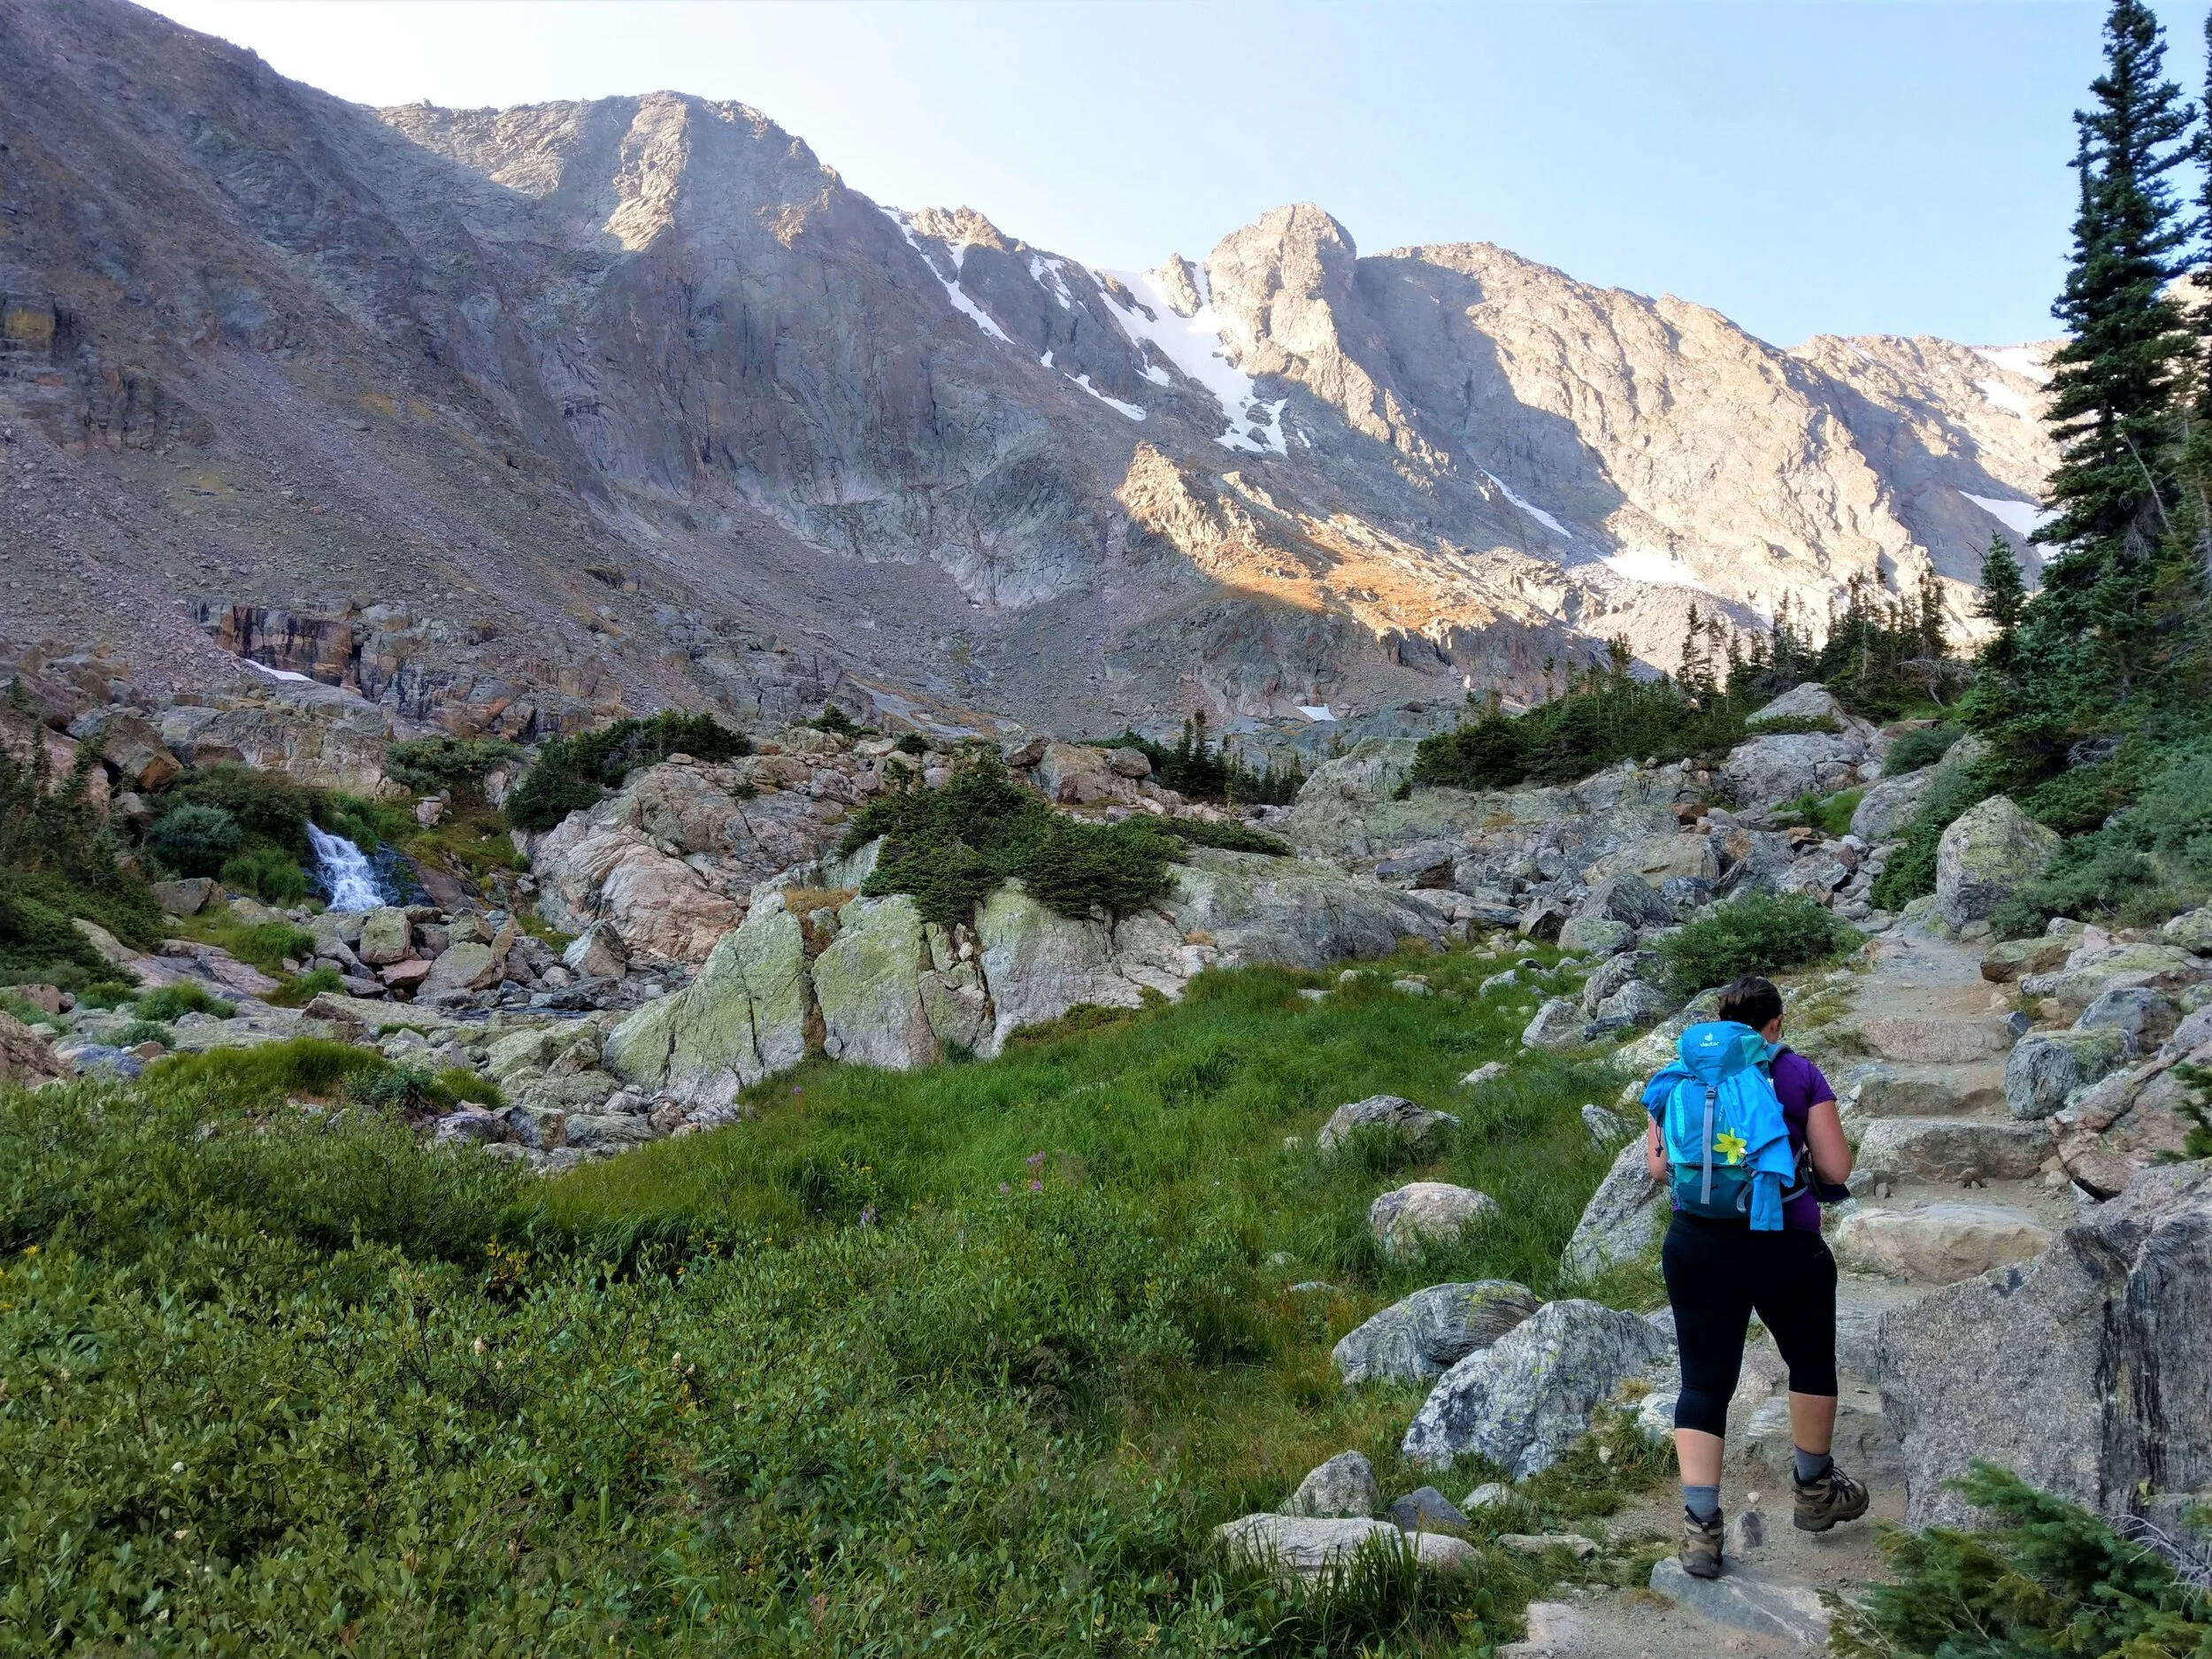
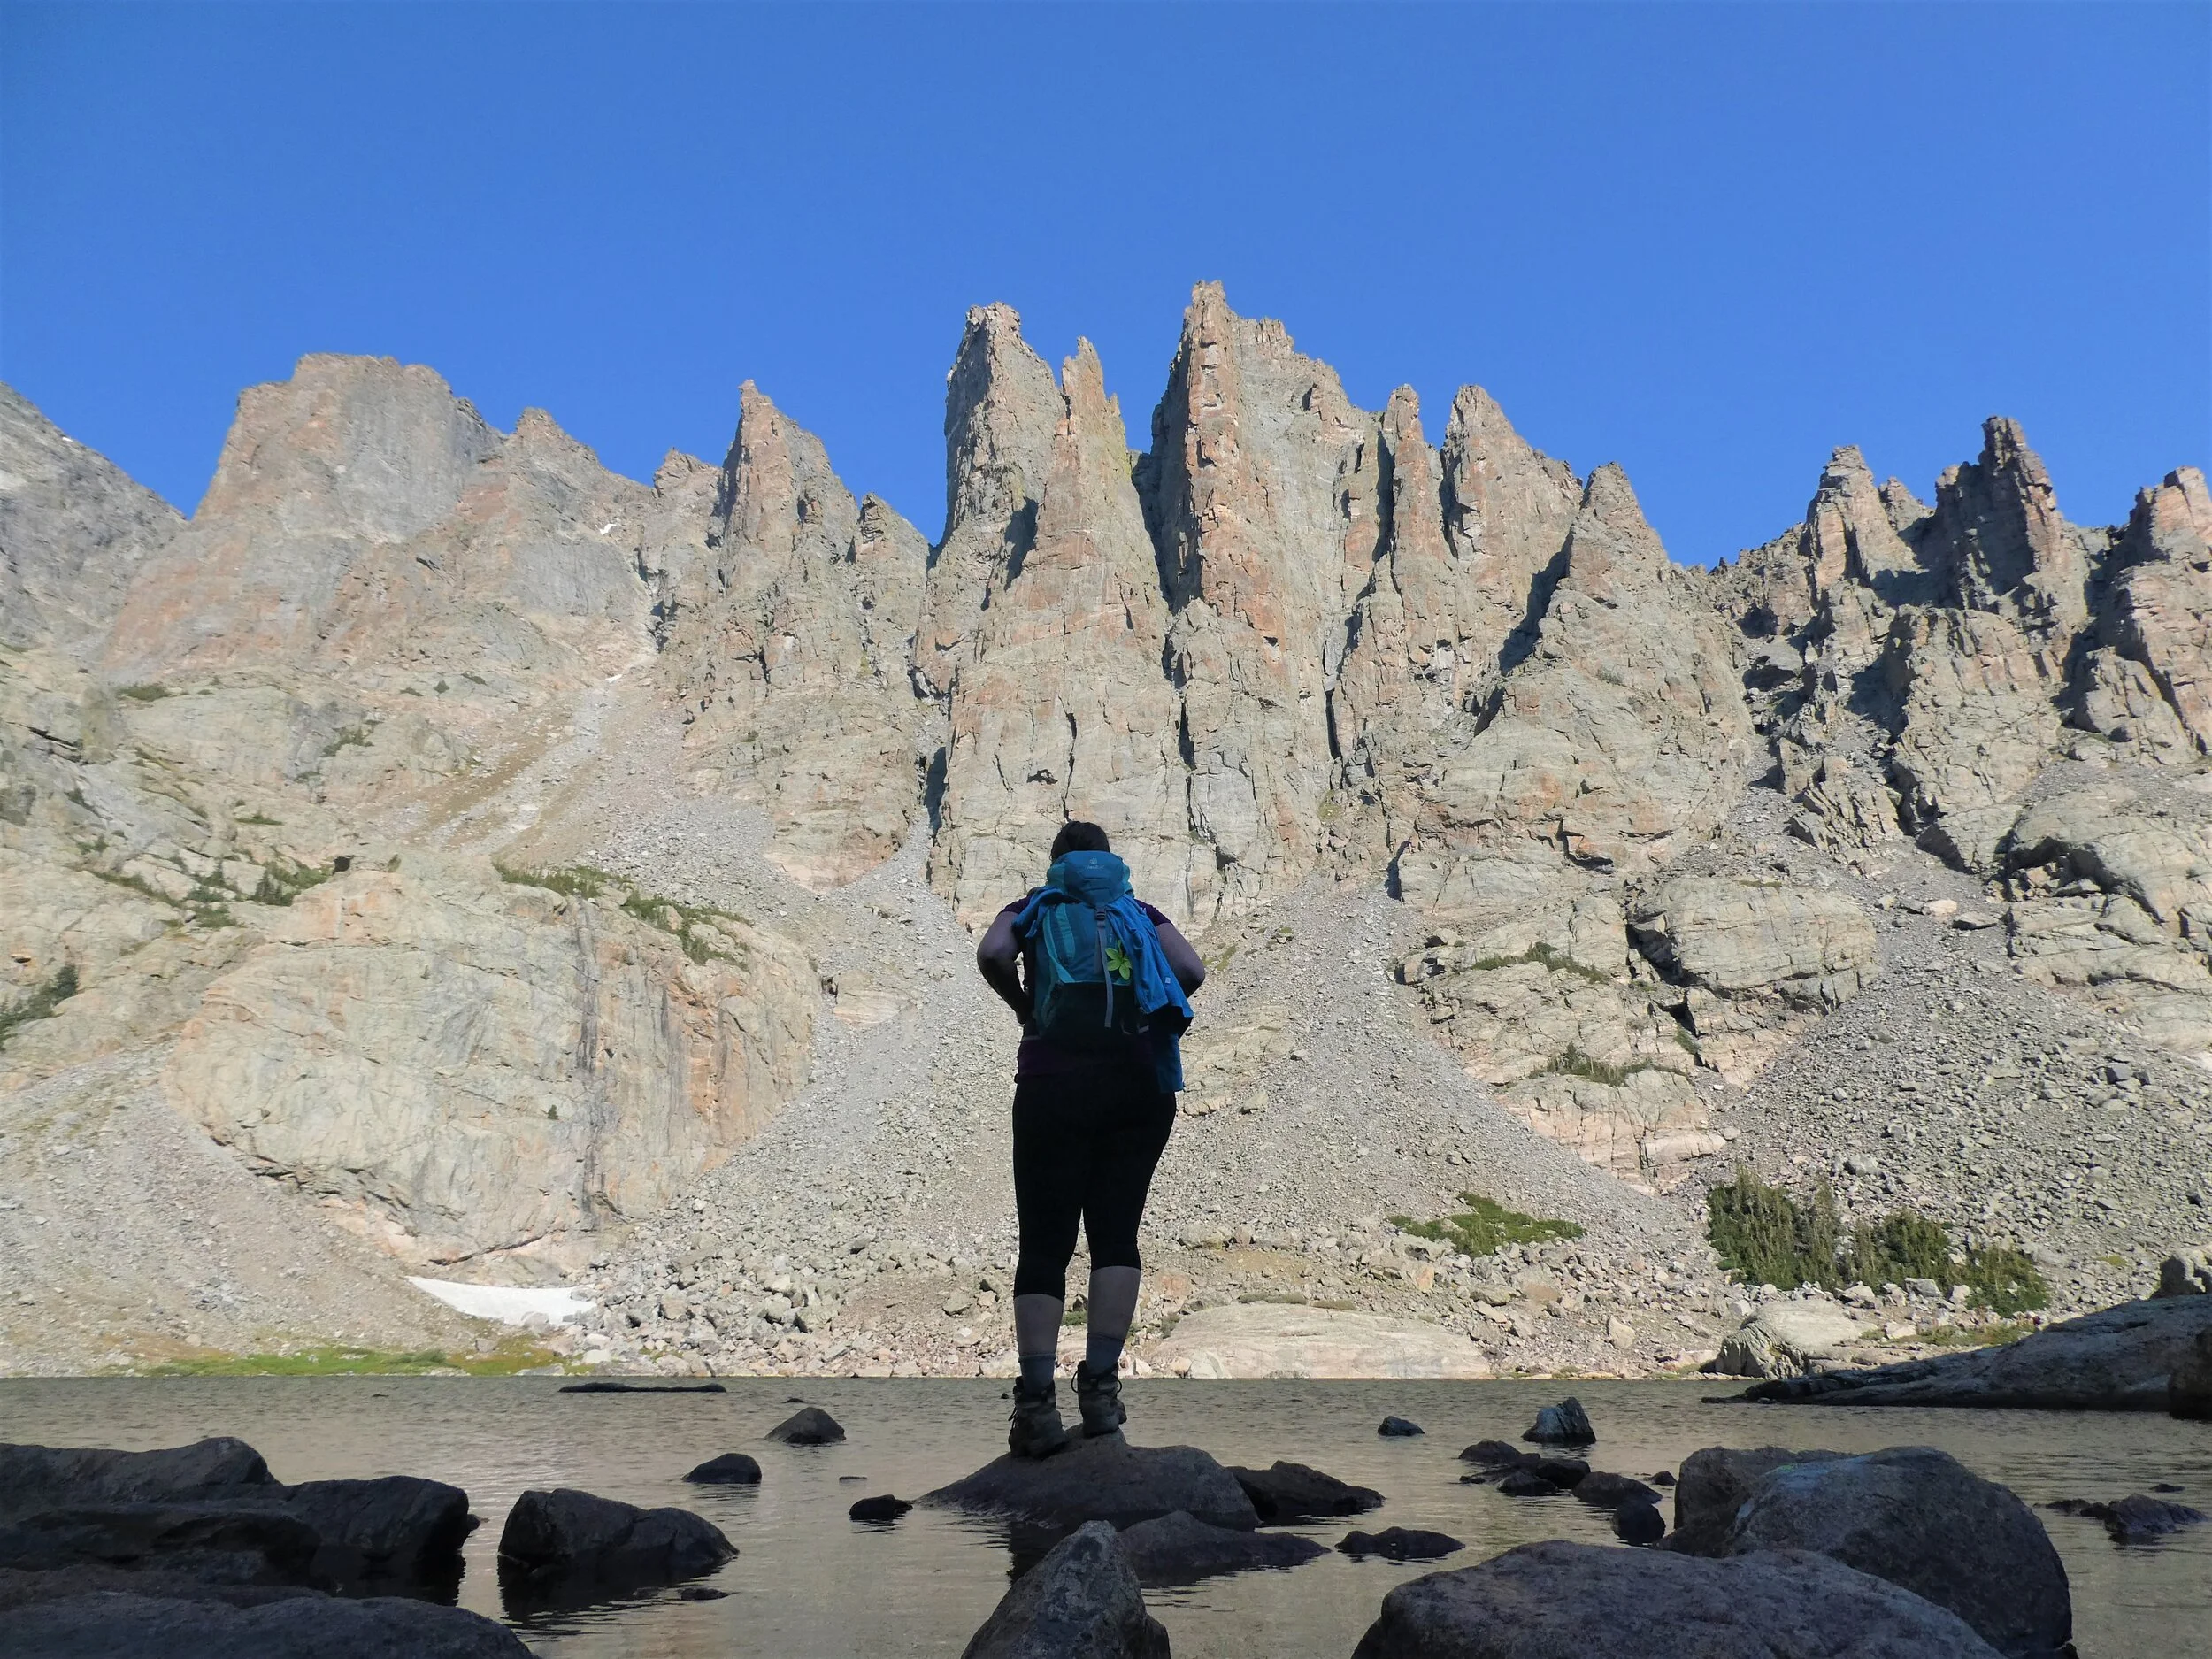
We would definitely both say that Sky Pond is the best hike in Rocky Mountain National Park…it was certainly our favorite anyway! It had really everything we were looking for… a few waterfalls, alpine lakes, some challenging scrambling bits, and epic jagged mountain scenery. And if you go early enough, there won’t be any crowds either. Not a bad day, right?
The trail to Sky Pond starts by passing both Alberta Falls and the Loch, described above. From the Loch, you’ll continue around the lake and pass through a rocky meadow. This is when the hike gets fun! In the distance, you’ll see Timberline Falls, and yes, you have to climb it!
You’ll head up the steepest and rockiest point of the entire trail to get to the base of the falls, and then scramble your way up along the side of it to get to the top of the moraine. Not too far past this point, you’ll come to Lake of Glass, a gorgeous alpine lake with beautiful mountain views.
But don’t stop here! You still have to get to the grand finale…Sky Pond! Continue along the rocky path along the right side of the lake, and not too much further past this you’ll emerge right at the base of Sky Pond. Enjoy the views here…you earned them! And don’t forget to venture along the lake’s edge…even if it is particularly crowded at this lake, you can still find your own slice of solitude.
8. Bierstadt Lake
Distance: 4 miles out and back
Elevation gain: 255 feet
Best for: A serene lake with gorgeous views and small crowds.
Trailhead location: Bear Lake trailhead and the end of Bear Lake Road
Bierstadt Lake…a name I never spell right the first one or two times I try…but it was a genuinely pleasant surprise for us! We actually didn’t plan on doing this hike at all and so I didn’t know too much about it and what the lake looked like. But, after an impromptu decision to bail on a larger hike in order to give our bodies a break, we ended up here. And let me tell you, I’m sure glad we did! This lake did not disappoint.
There are a few different trailheads that lead to Bierstadt Lake, and each has its own shuttle stop along Bear Lake Road, making this a great opportunity for a point to point hike:
Bear Lake Trailhead – at the end of Bear Lake Road. From here, Bierstadt Lake is about 2 miles away. From this trailhead, the hike to the lake is the least steep, since you’ve taken away a lot of the gain by driving all the way up to the Bear Lake Trailhead. In fact, there is only a small uphill section at the beginning of the hike, and then most of the hike is actually downhill since the lake actually lies at a slightly lower elevation than Bear Lake.
Bierstadt Lake Trailhead – located along Bear Lake Road just past Sprague Lake. From here, it’s about a 1.5 mile hike to the lake, but it’s steeper as you are starting further down along Bear Lake Road.
The Park and Ride across from the Glacier Basin Campground – Starting the trail from here will give you a steady 1.5-ish mile uphill climb to the lake.
The actual hike itself from Bear Lake is nothing to write home about, being a fairly easy dirt trail through the forest, but the lake itself is worth it. When we got our first glimpses of the lake from the Bear Lake approach, I won’t lie, we were a little disappointed. We saw a marshy type pond surrounded by trees…nothing too spectacular. But we saw a small group of people hanging out at the far side of the lake, so we thought, maybe something cool is over there, and we trekked on.
And spoiler alert…this side of the lake is where it’s at! The view back to the Bear Lake area mountains were gorgeous, and there was barely anyone here. There are several secluded places along this side of the lake to enjoy the views from.
If you are doing the point to point hike, the trail from Bierstadt Lake to the car park is a steady downhill trek, often steep and rocky. Towards the end, you’ll come out of the forest and be treated with views that open out into the Bear Lake Road valley.
Overall, this is great hike in Rocky Mountain National Park if you are looking to escape the crowds, acclimate, or just want an easy-ish day hike to a beautiful lake.
Hikes in Rocky Mountain National Park Along Trail Ridge Road
9. Ute Trail to Tombstone Ridge
Distance: 4 miles out and back
Elevation Gain: 478 feet
Best for: An easy hike for a glimpse into the park’s alpine tundra without the crowds
Trailhead location: A small pull- off along Trail Ridge Road between Rainbow Curve and Forest Canyon Overlook. This lot accommodates only a handful of cars, but most people park here to admire the views and leave without hiking, so cars are constantly rotating in and out of here throughout the day.
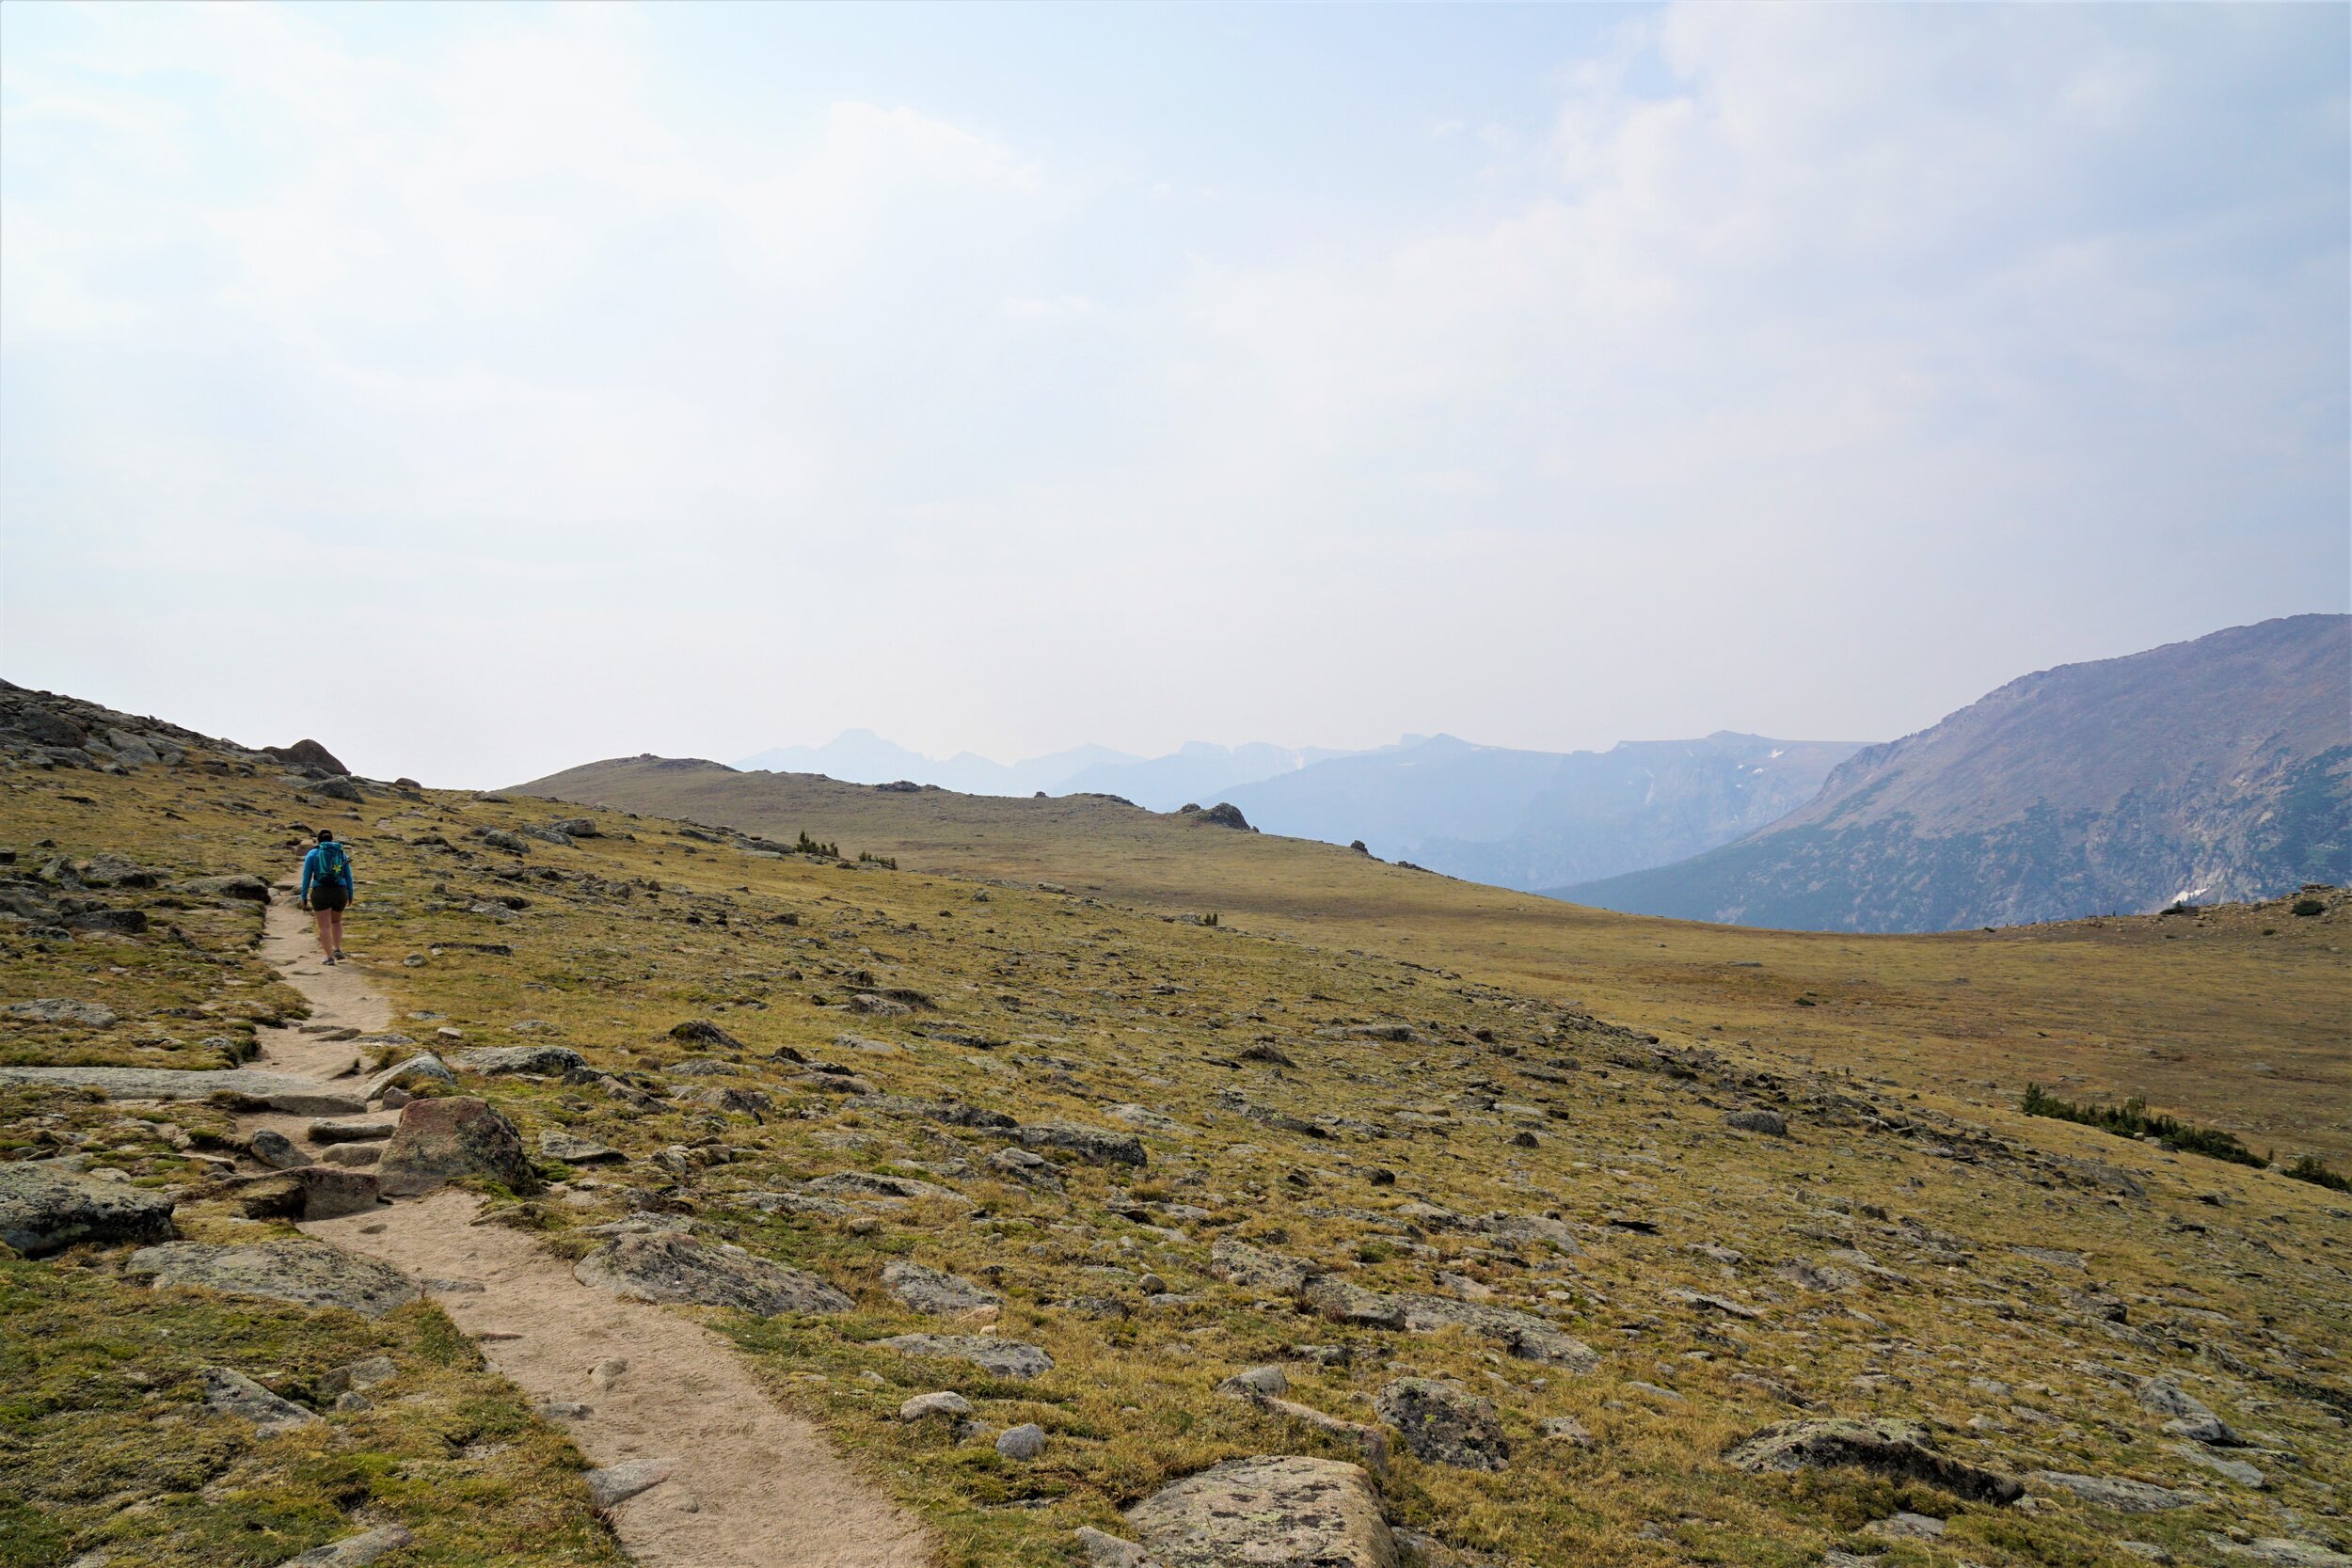
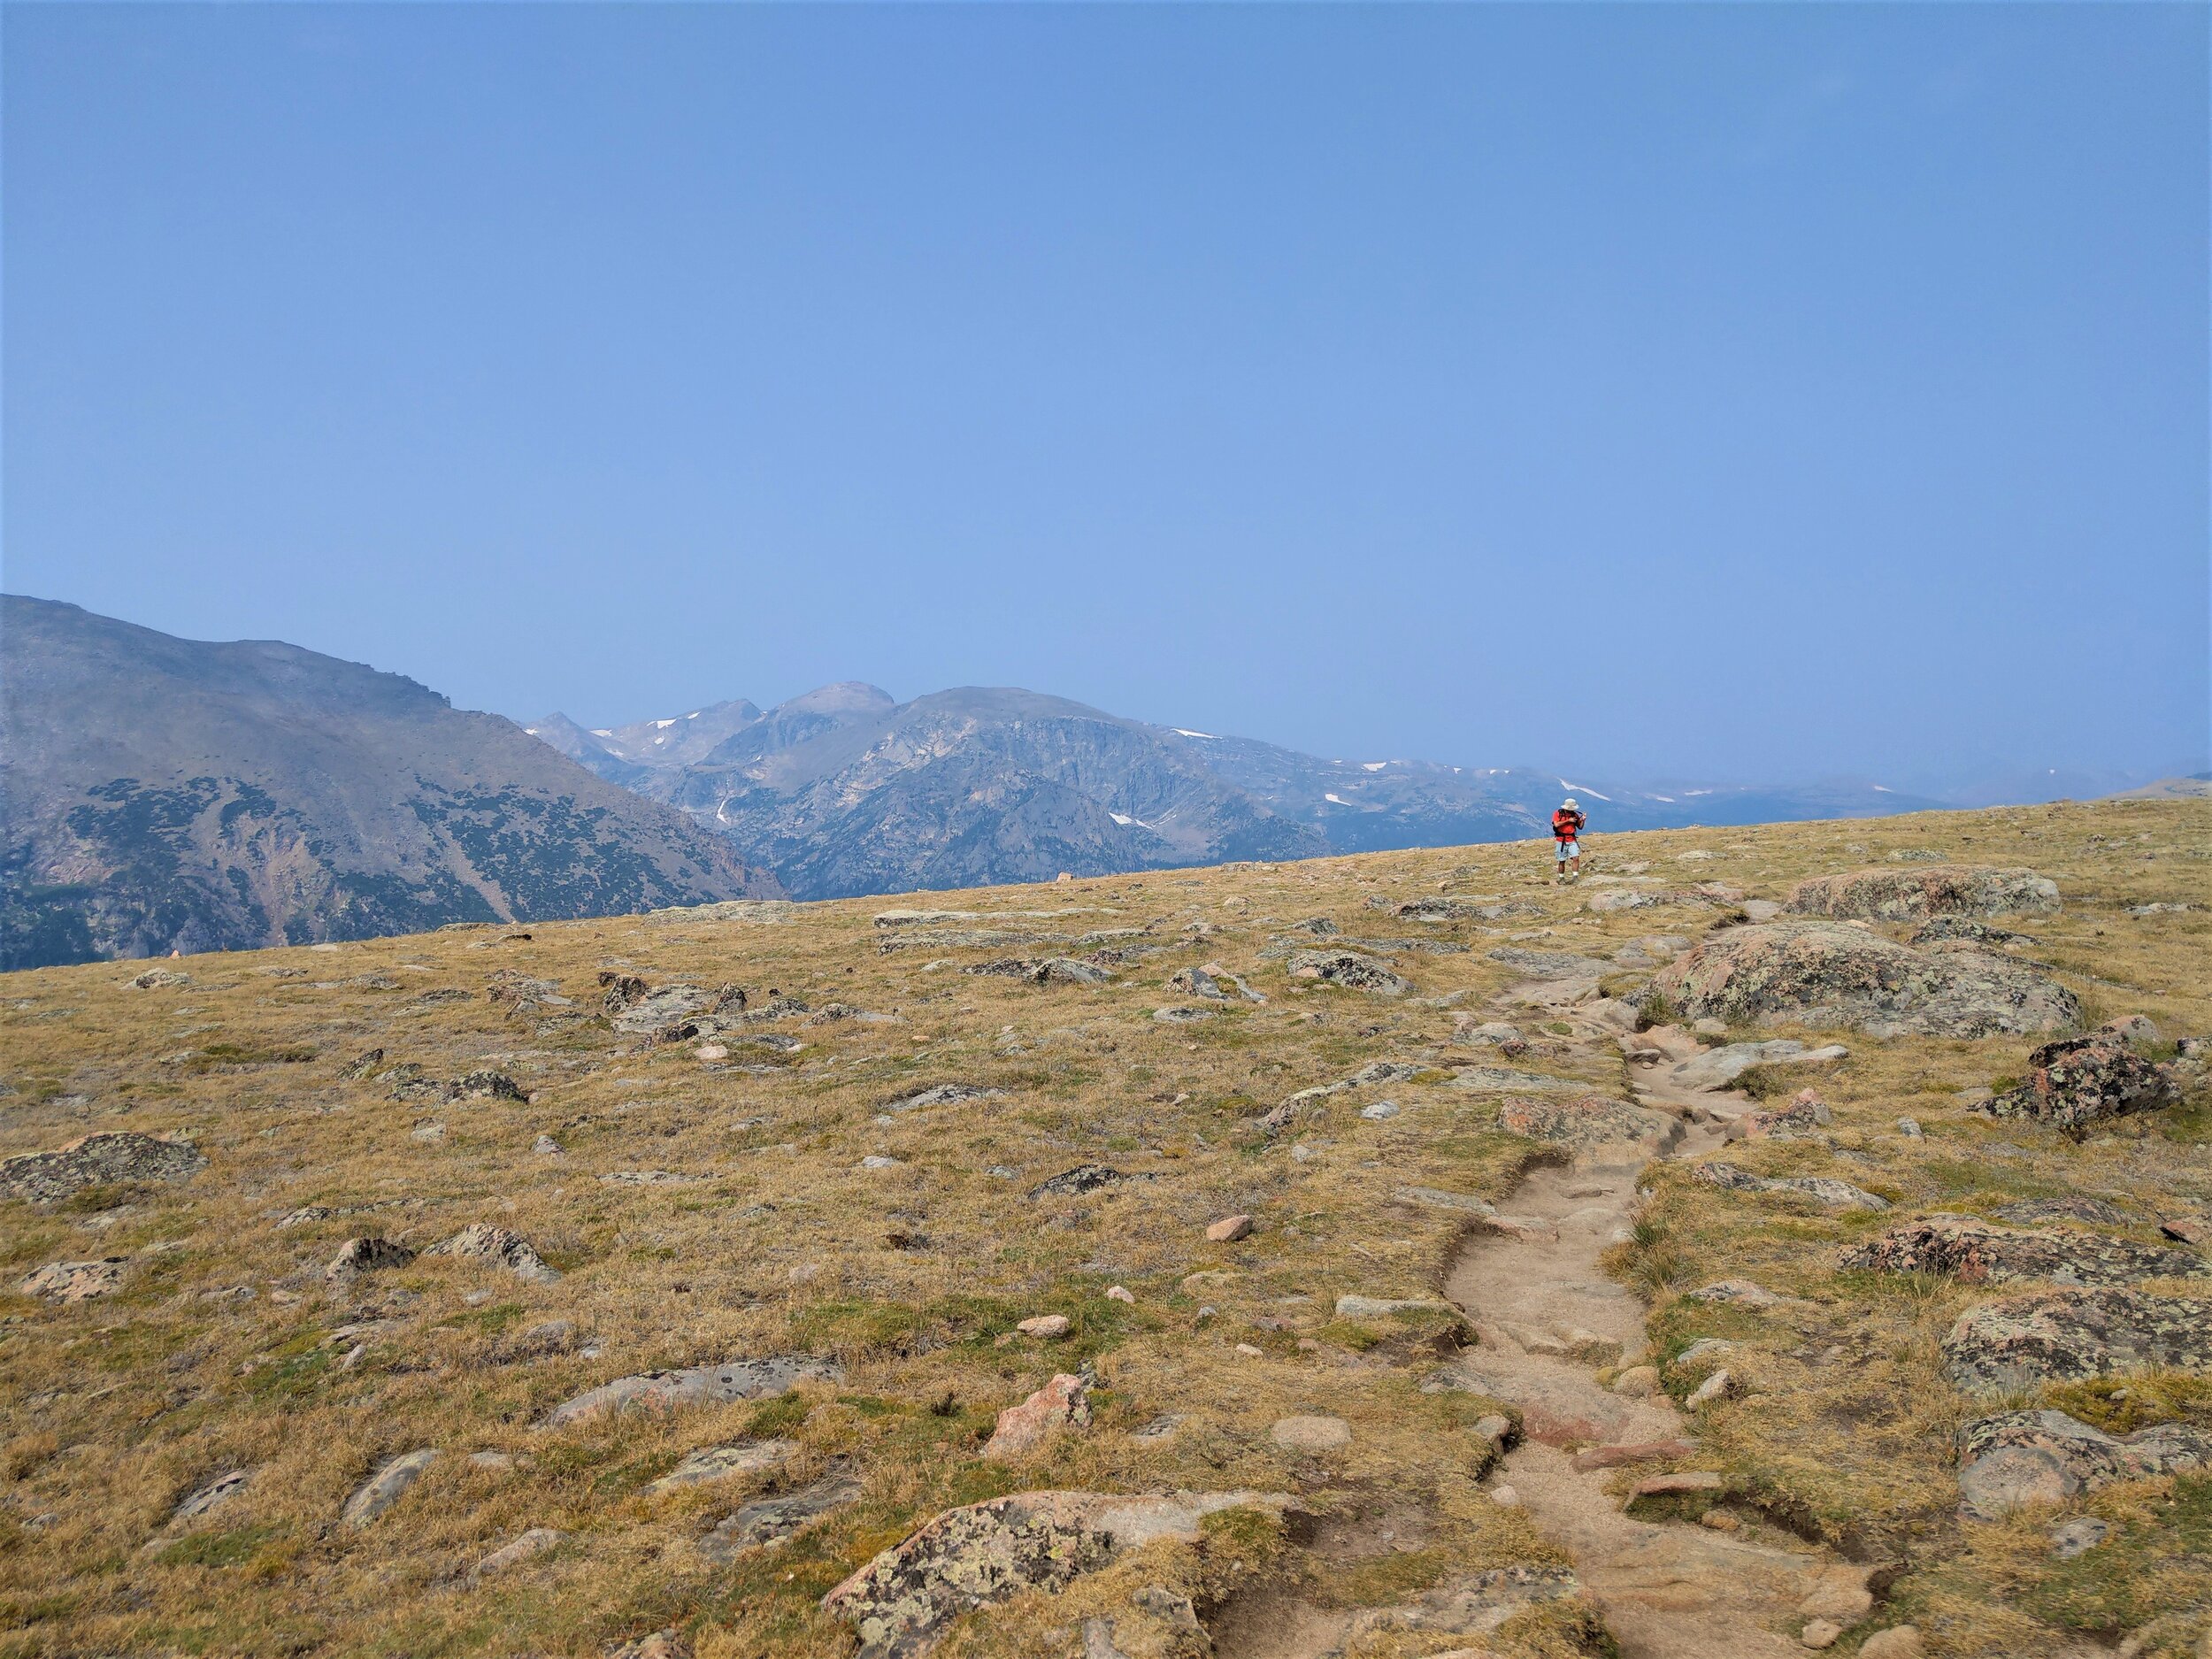
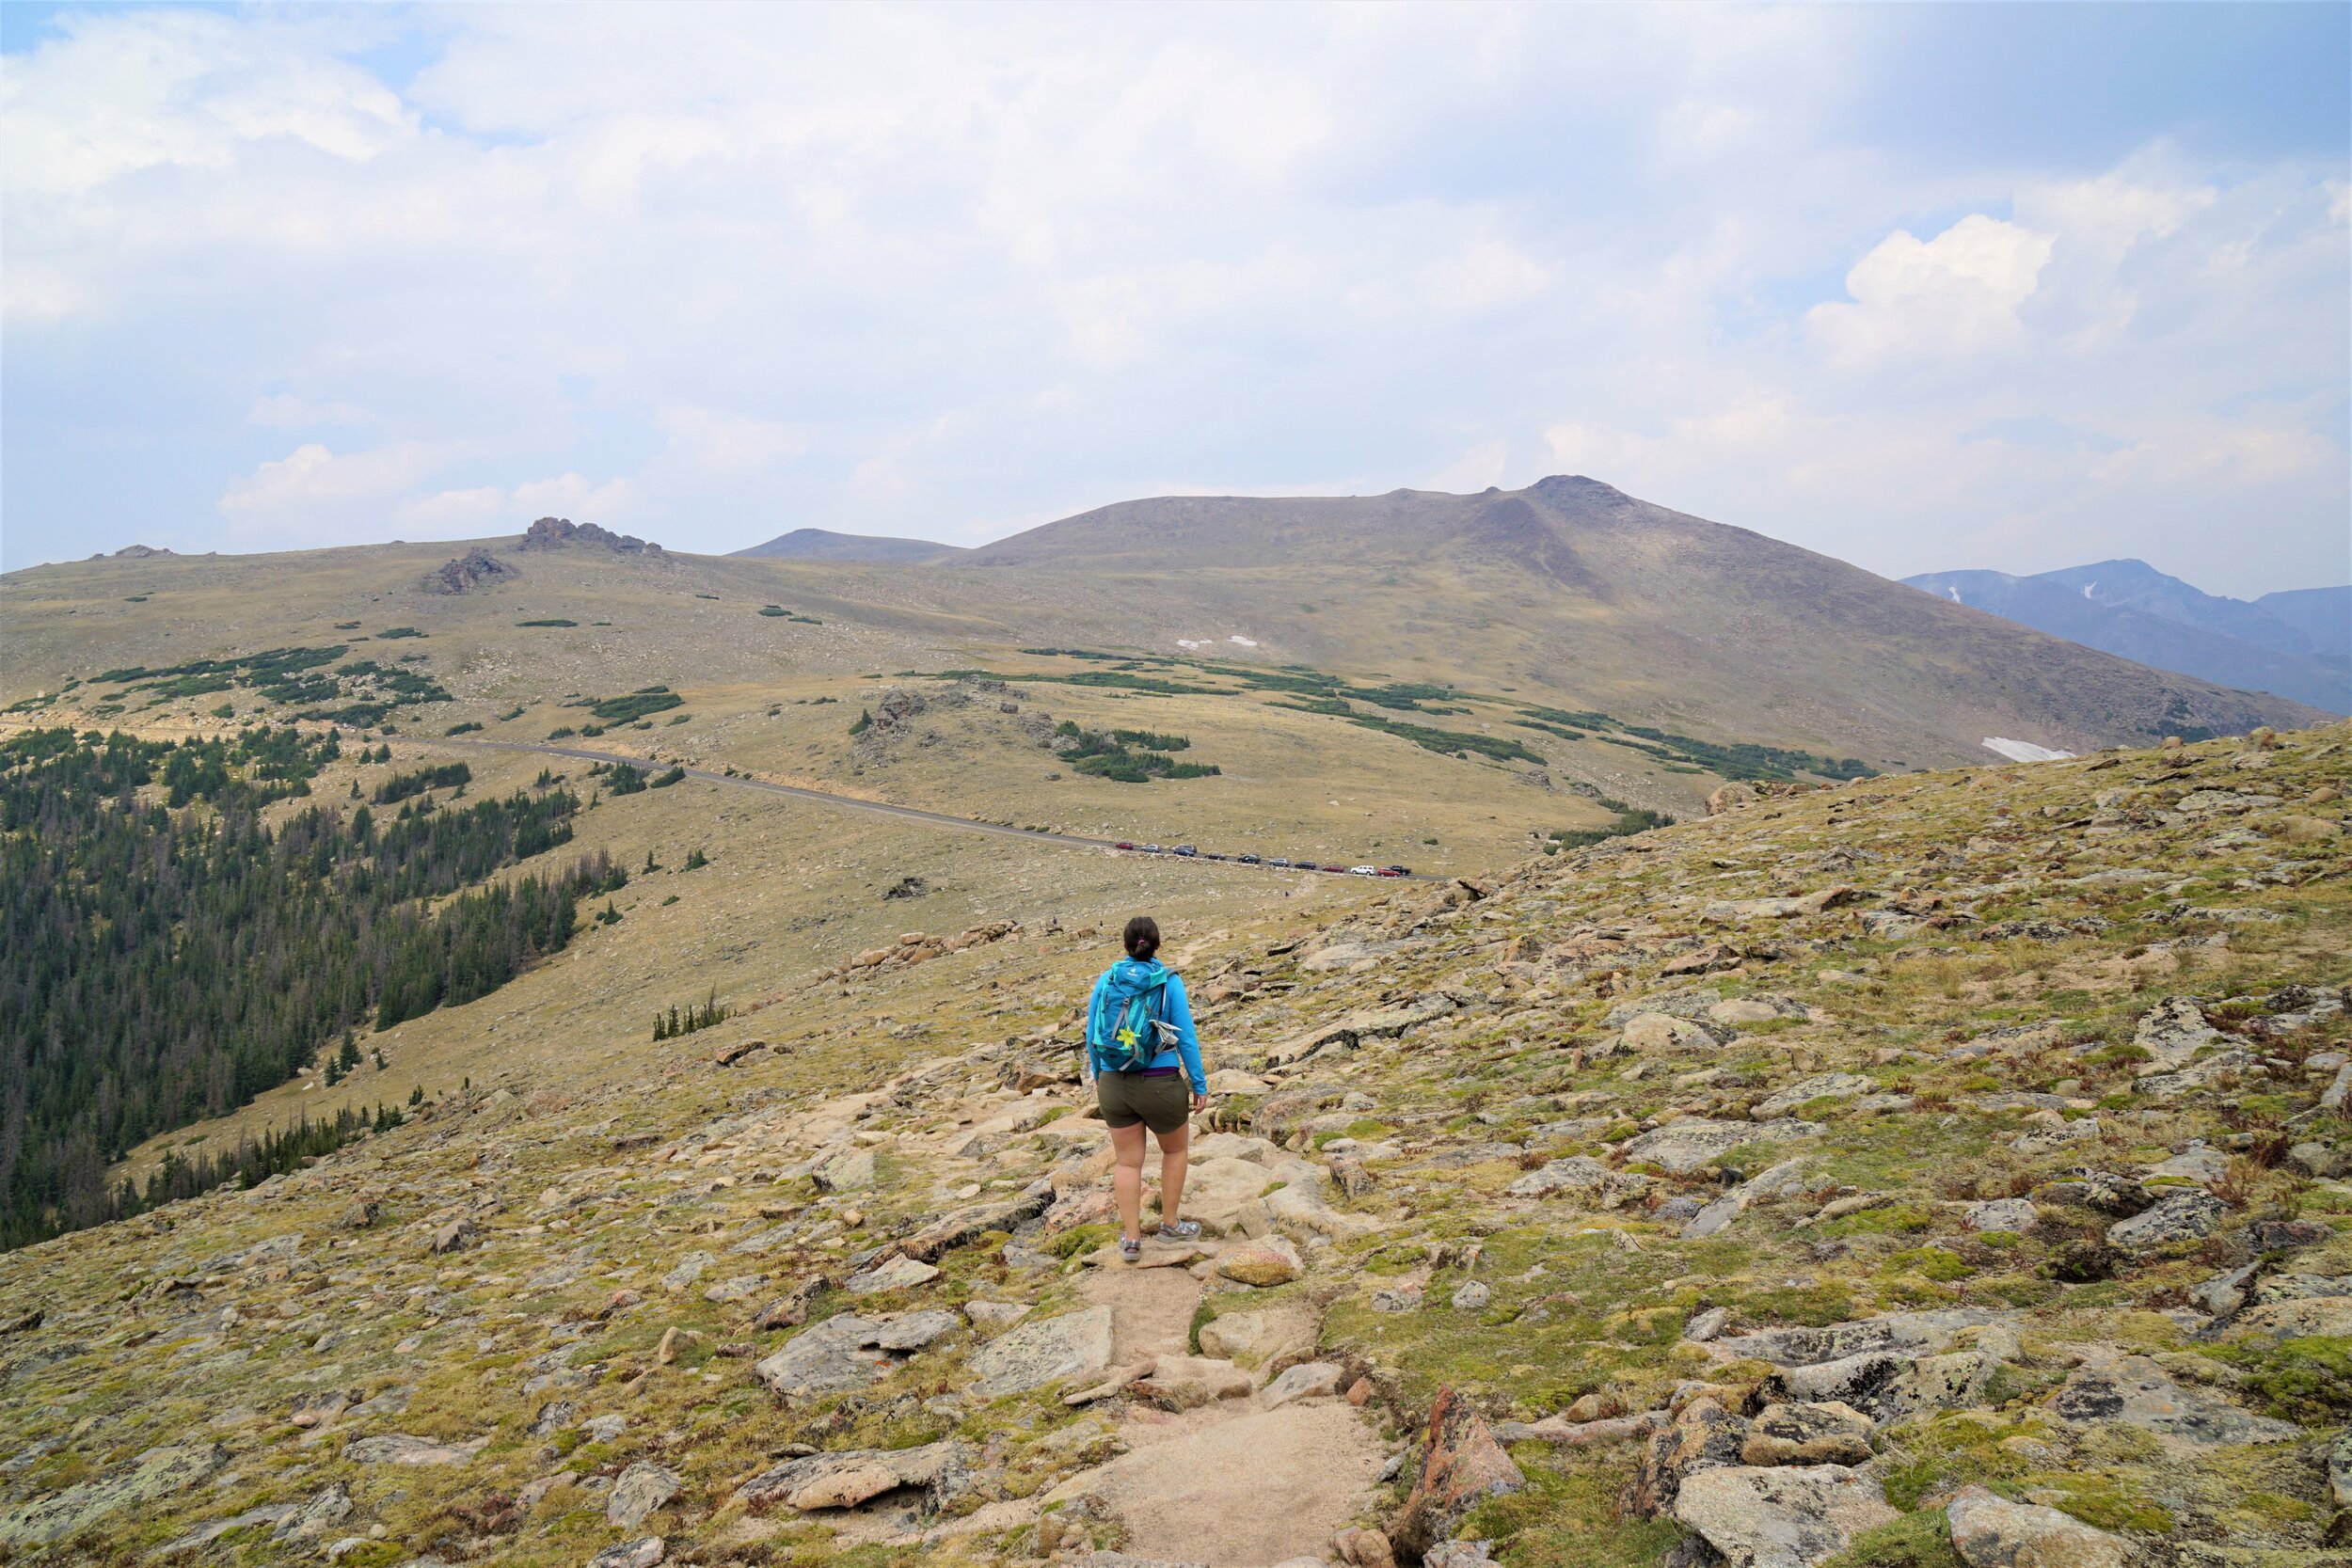
The Ute trail was the first hike we did in Rocky Mountain National Park and our favorite hike for exploring the park’s high altitude tundra.
The trail begins on Trail Ridge Road and traverses across the tundra before descending into the forested valley below at Upper Beaver Meadows. One way, this trail is a little over 5 miles and mostly flat or downhill. It wouldn’t be a bad day hike to complete the entire thing point to point, but you would have to arrange cars at each of the trailheads, as no park shuttles go to Trail Ridge Road.
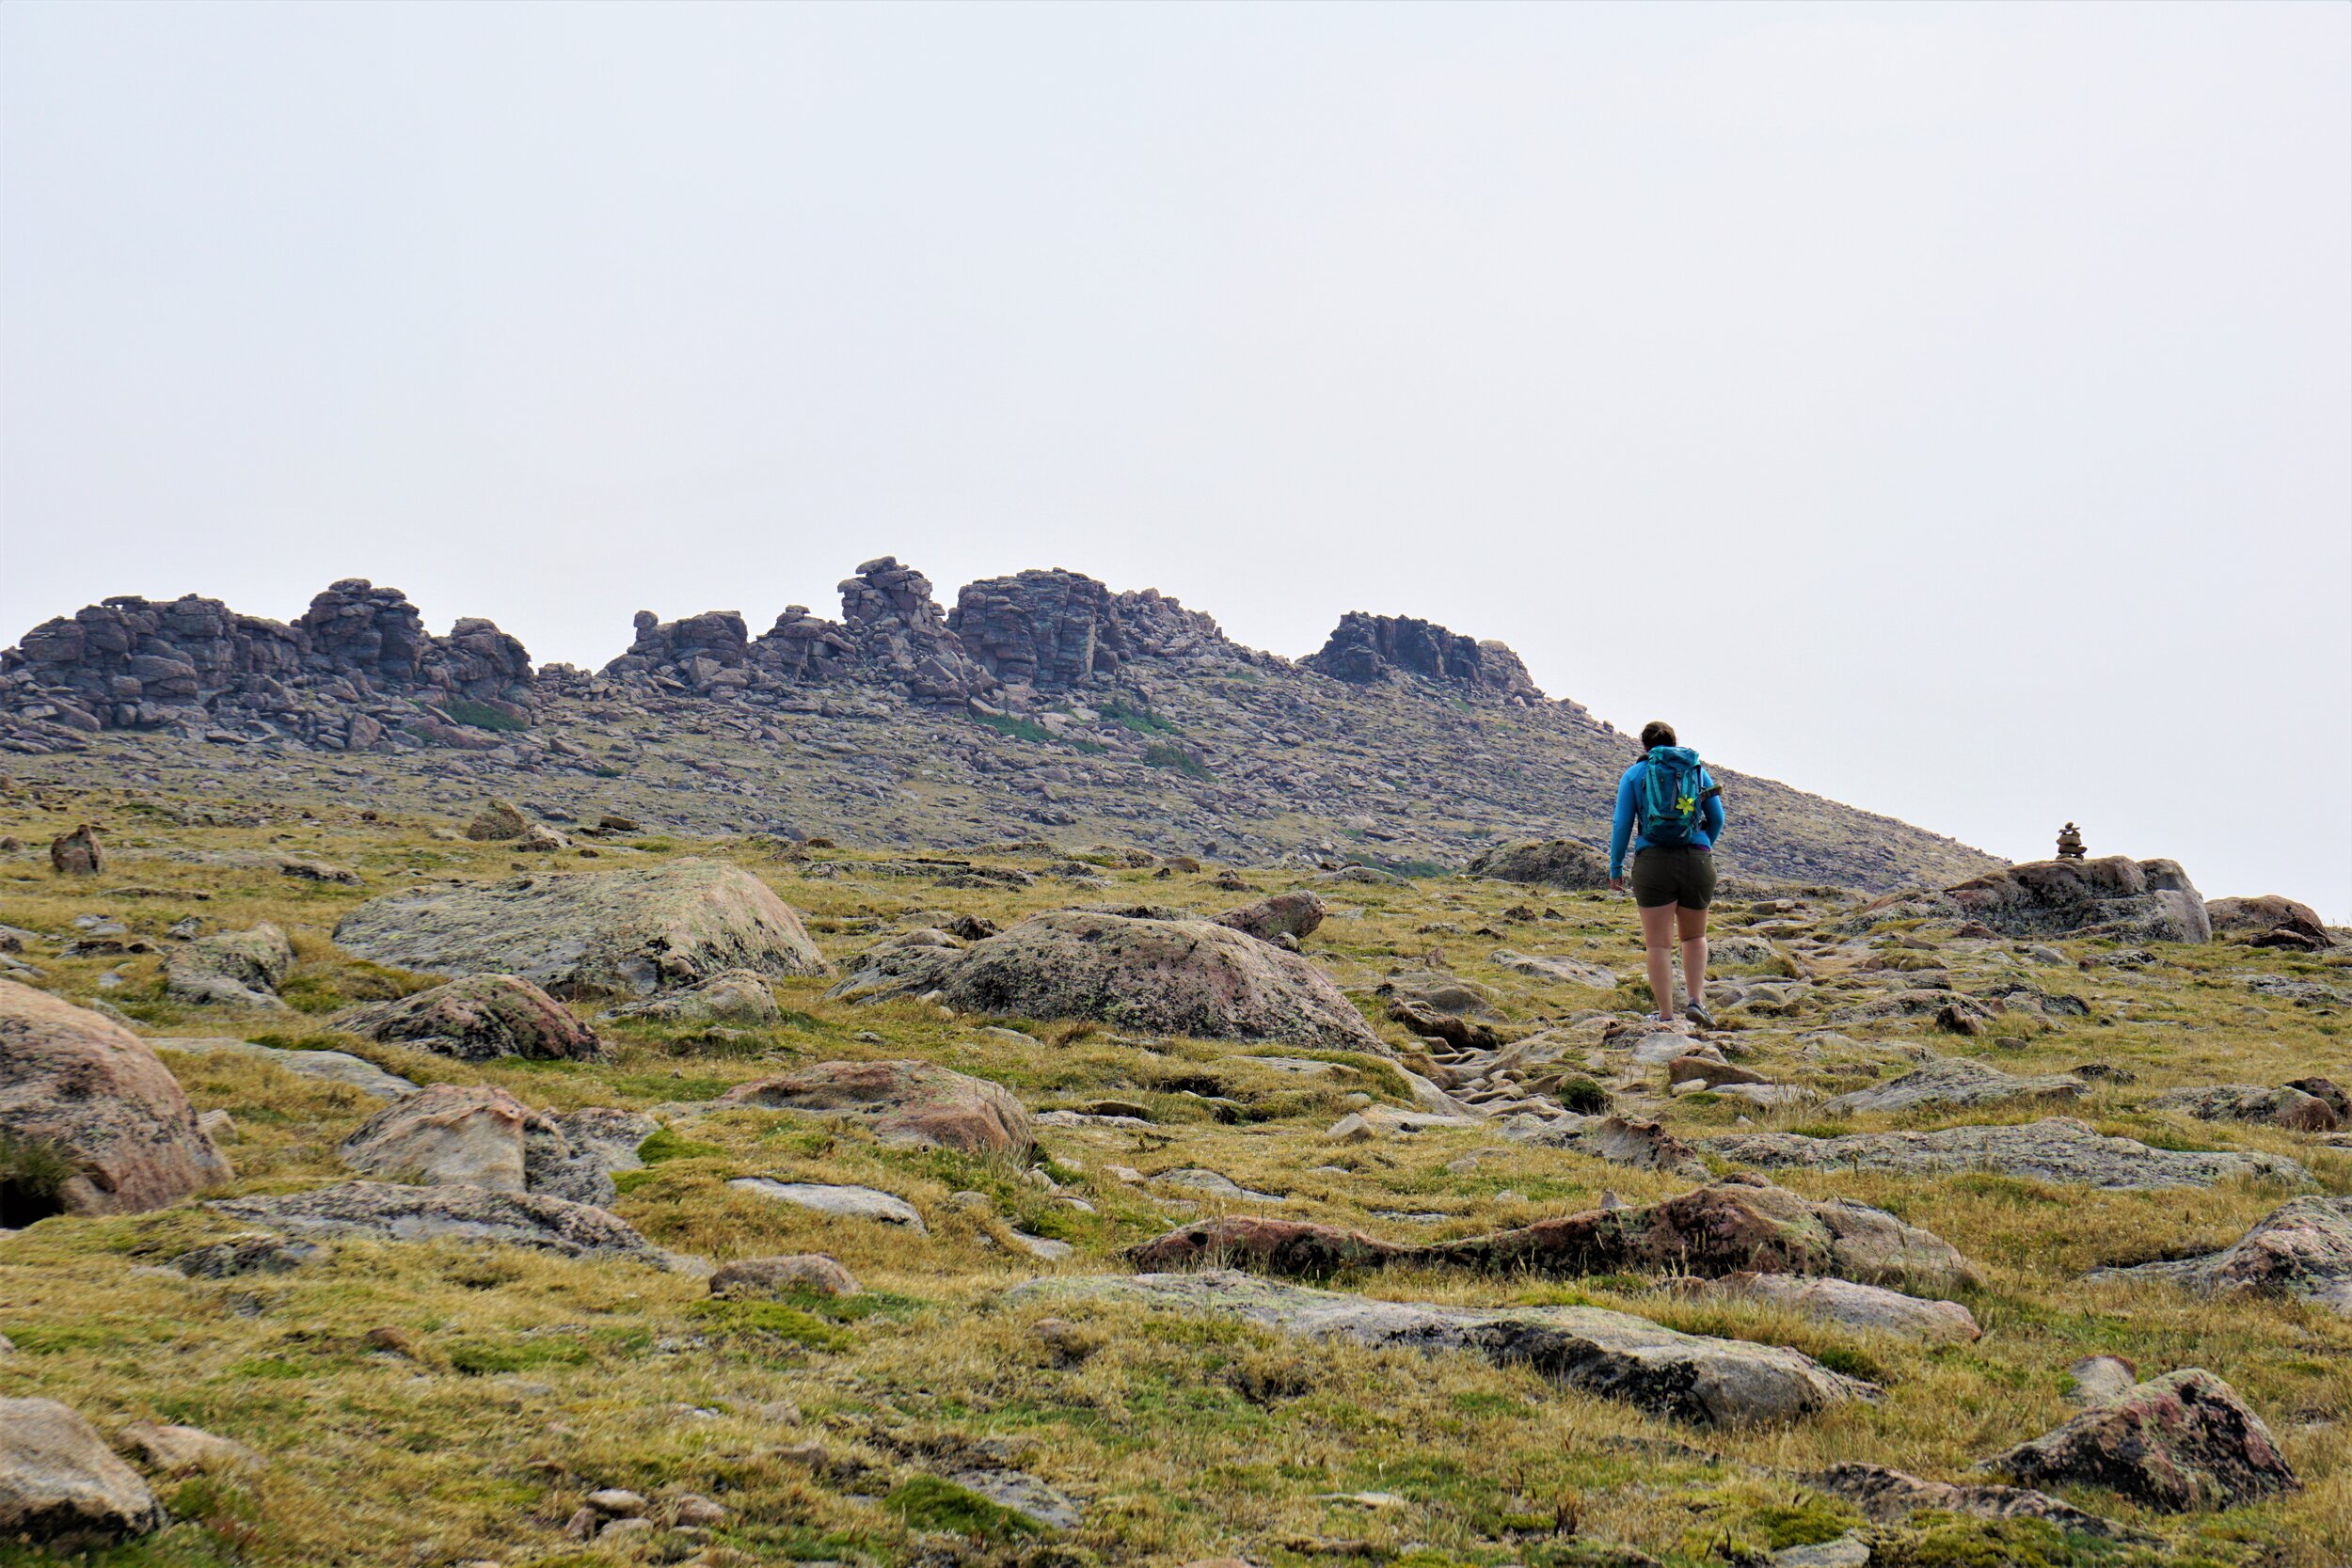
Instead, what most people do is choose to hike the best part of the trail from Trail Ridge Road out to Tombstone Ridge and Timberline Pass. This hike is an easy, relatively flat, 4 mile round trip hike with non-stop 360 degree views of the surrounding tundra.
The path is well-defined, but make sure to keep on this path, as stepping on the fragile tundra is very harmful and destructive. While on the trails, keep your eye out for marmots and pika who are frequently seen scampering across the rocky landscape. And they are super cute!
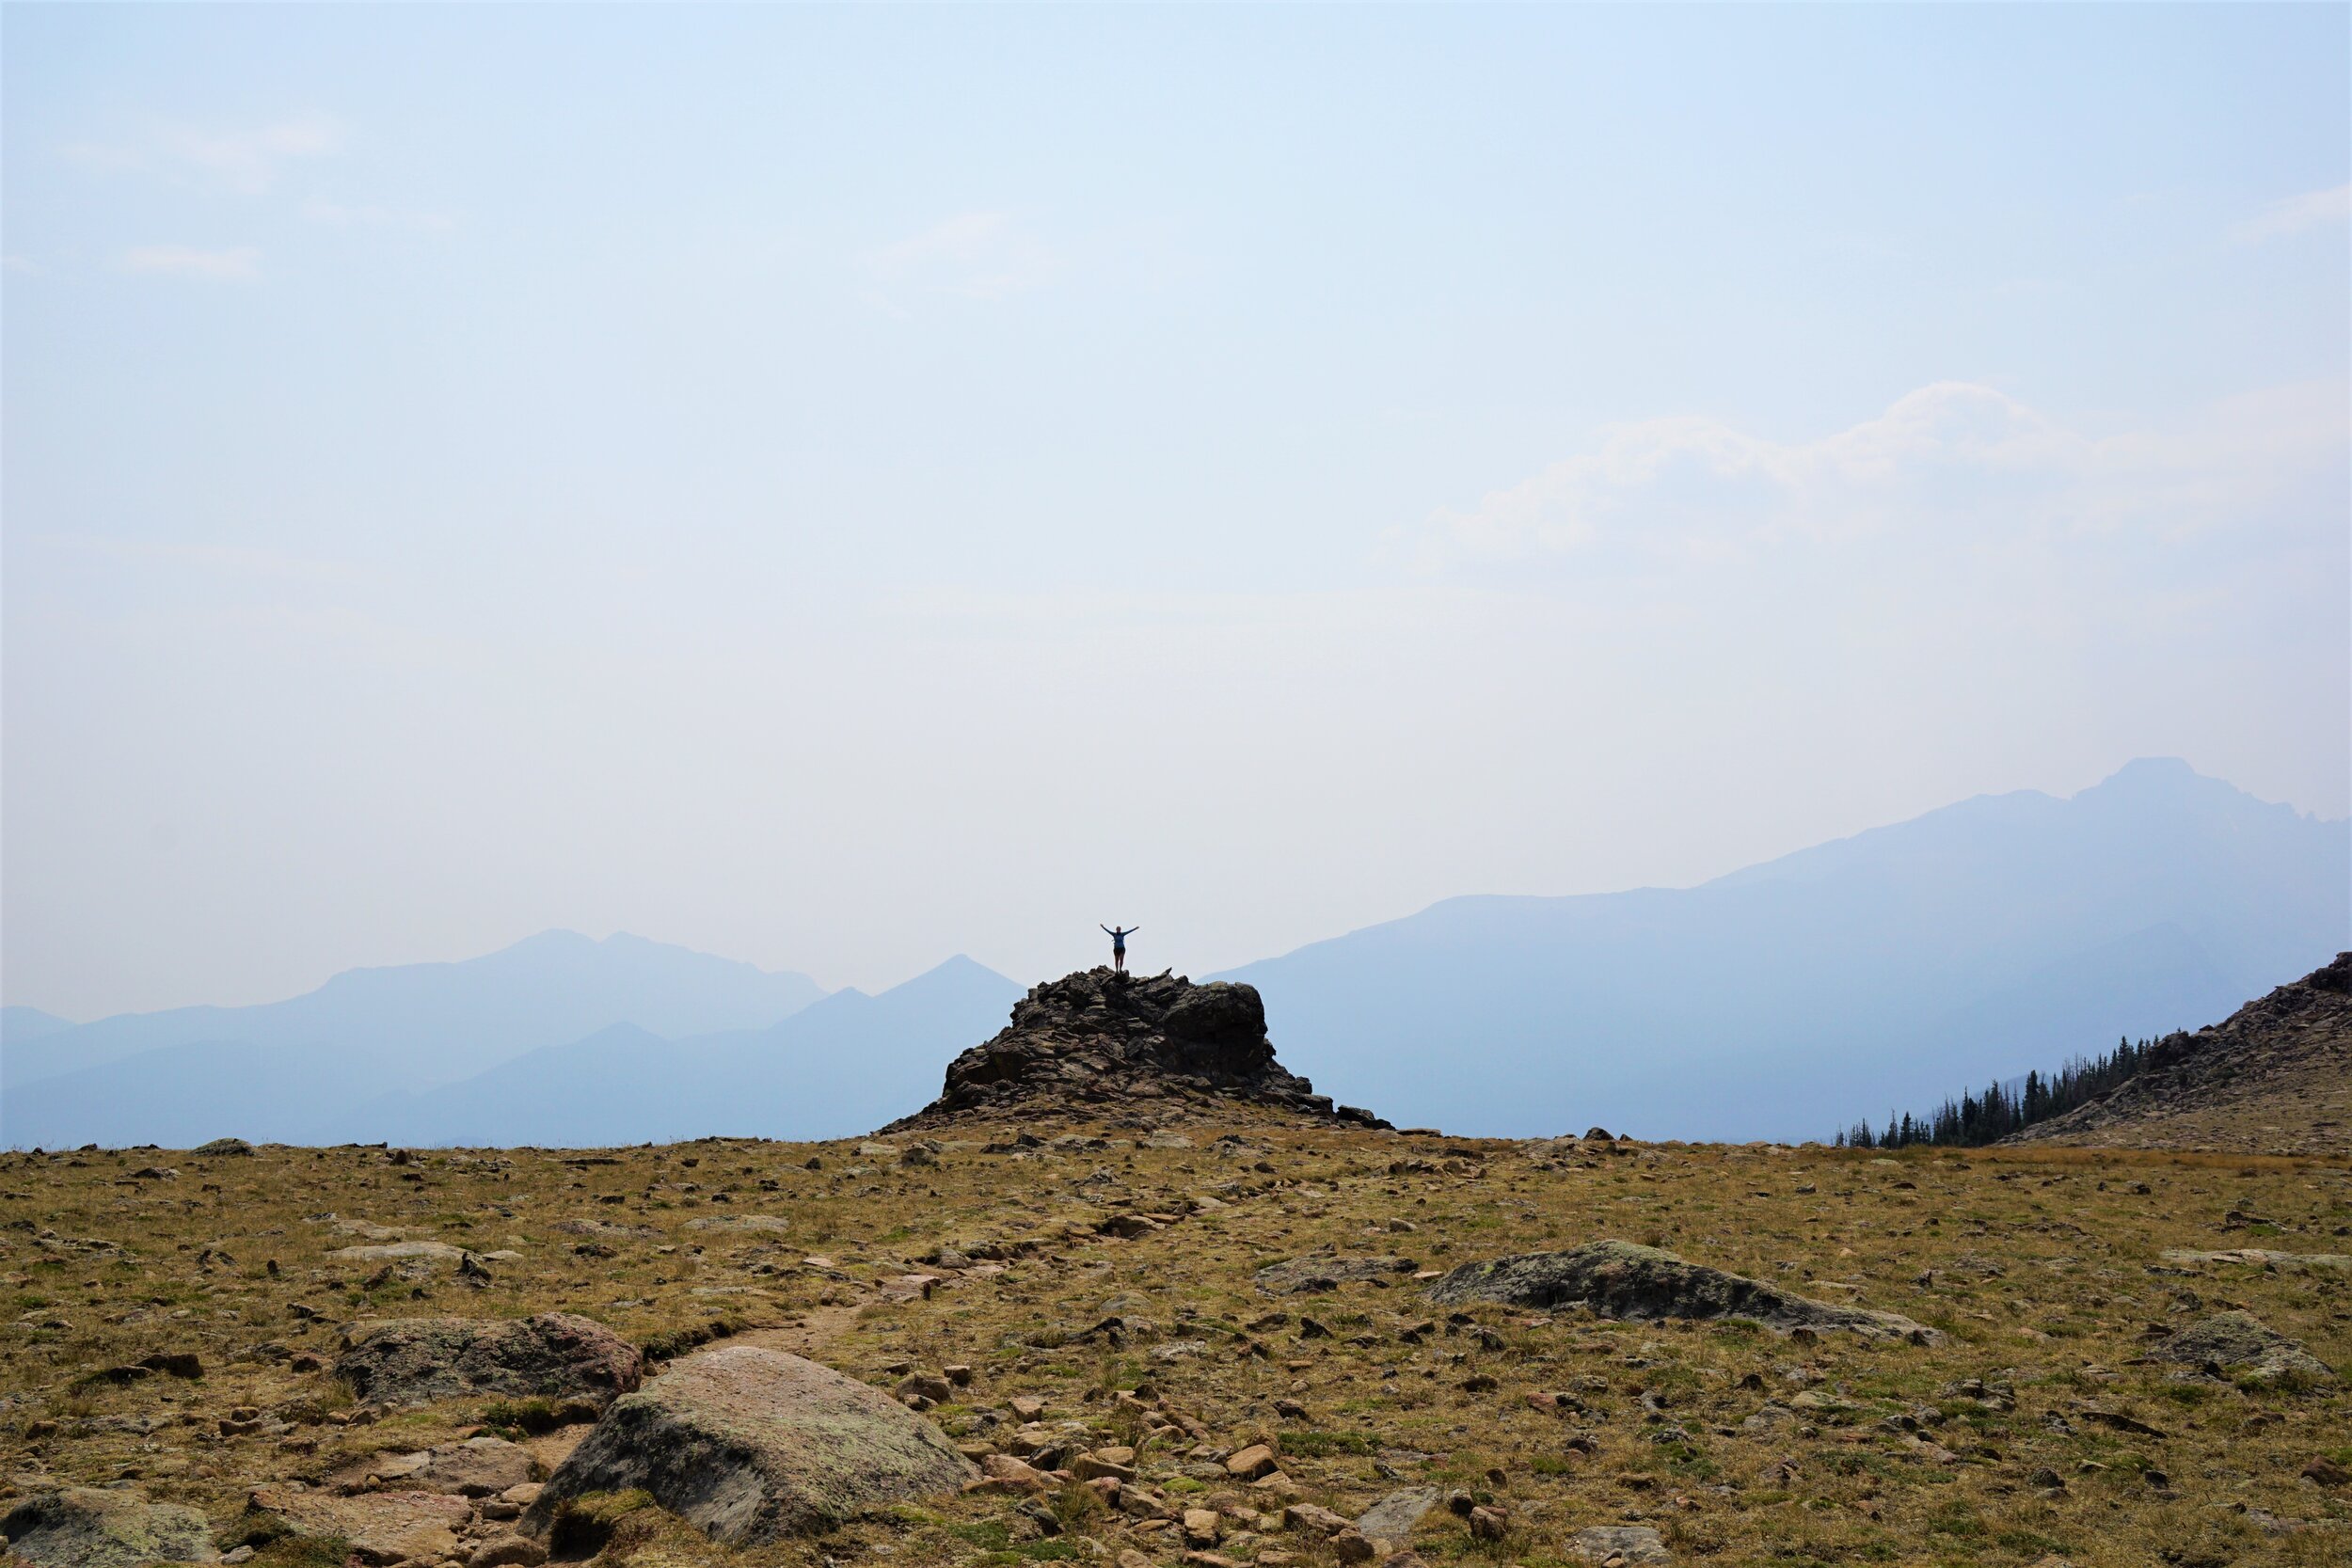
You’ll know you’re at the turnaround point when you arrive at this distinct rocky feature.
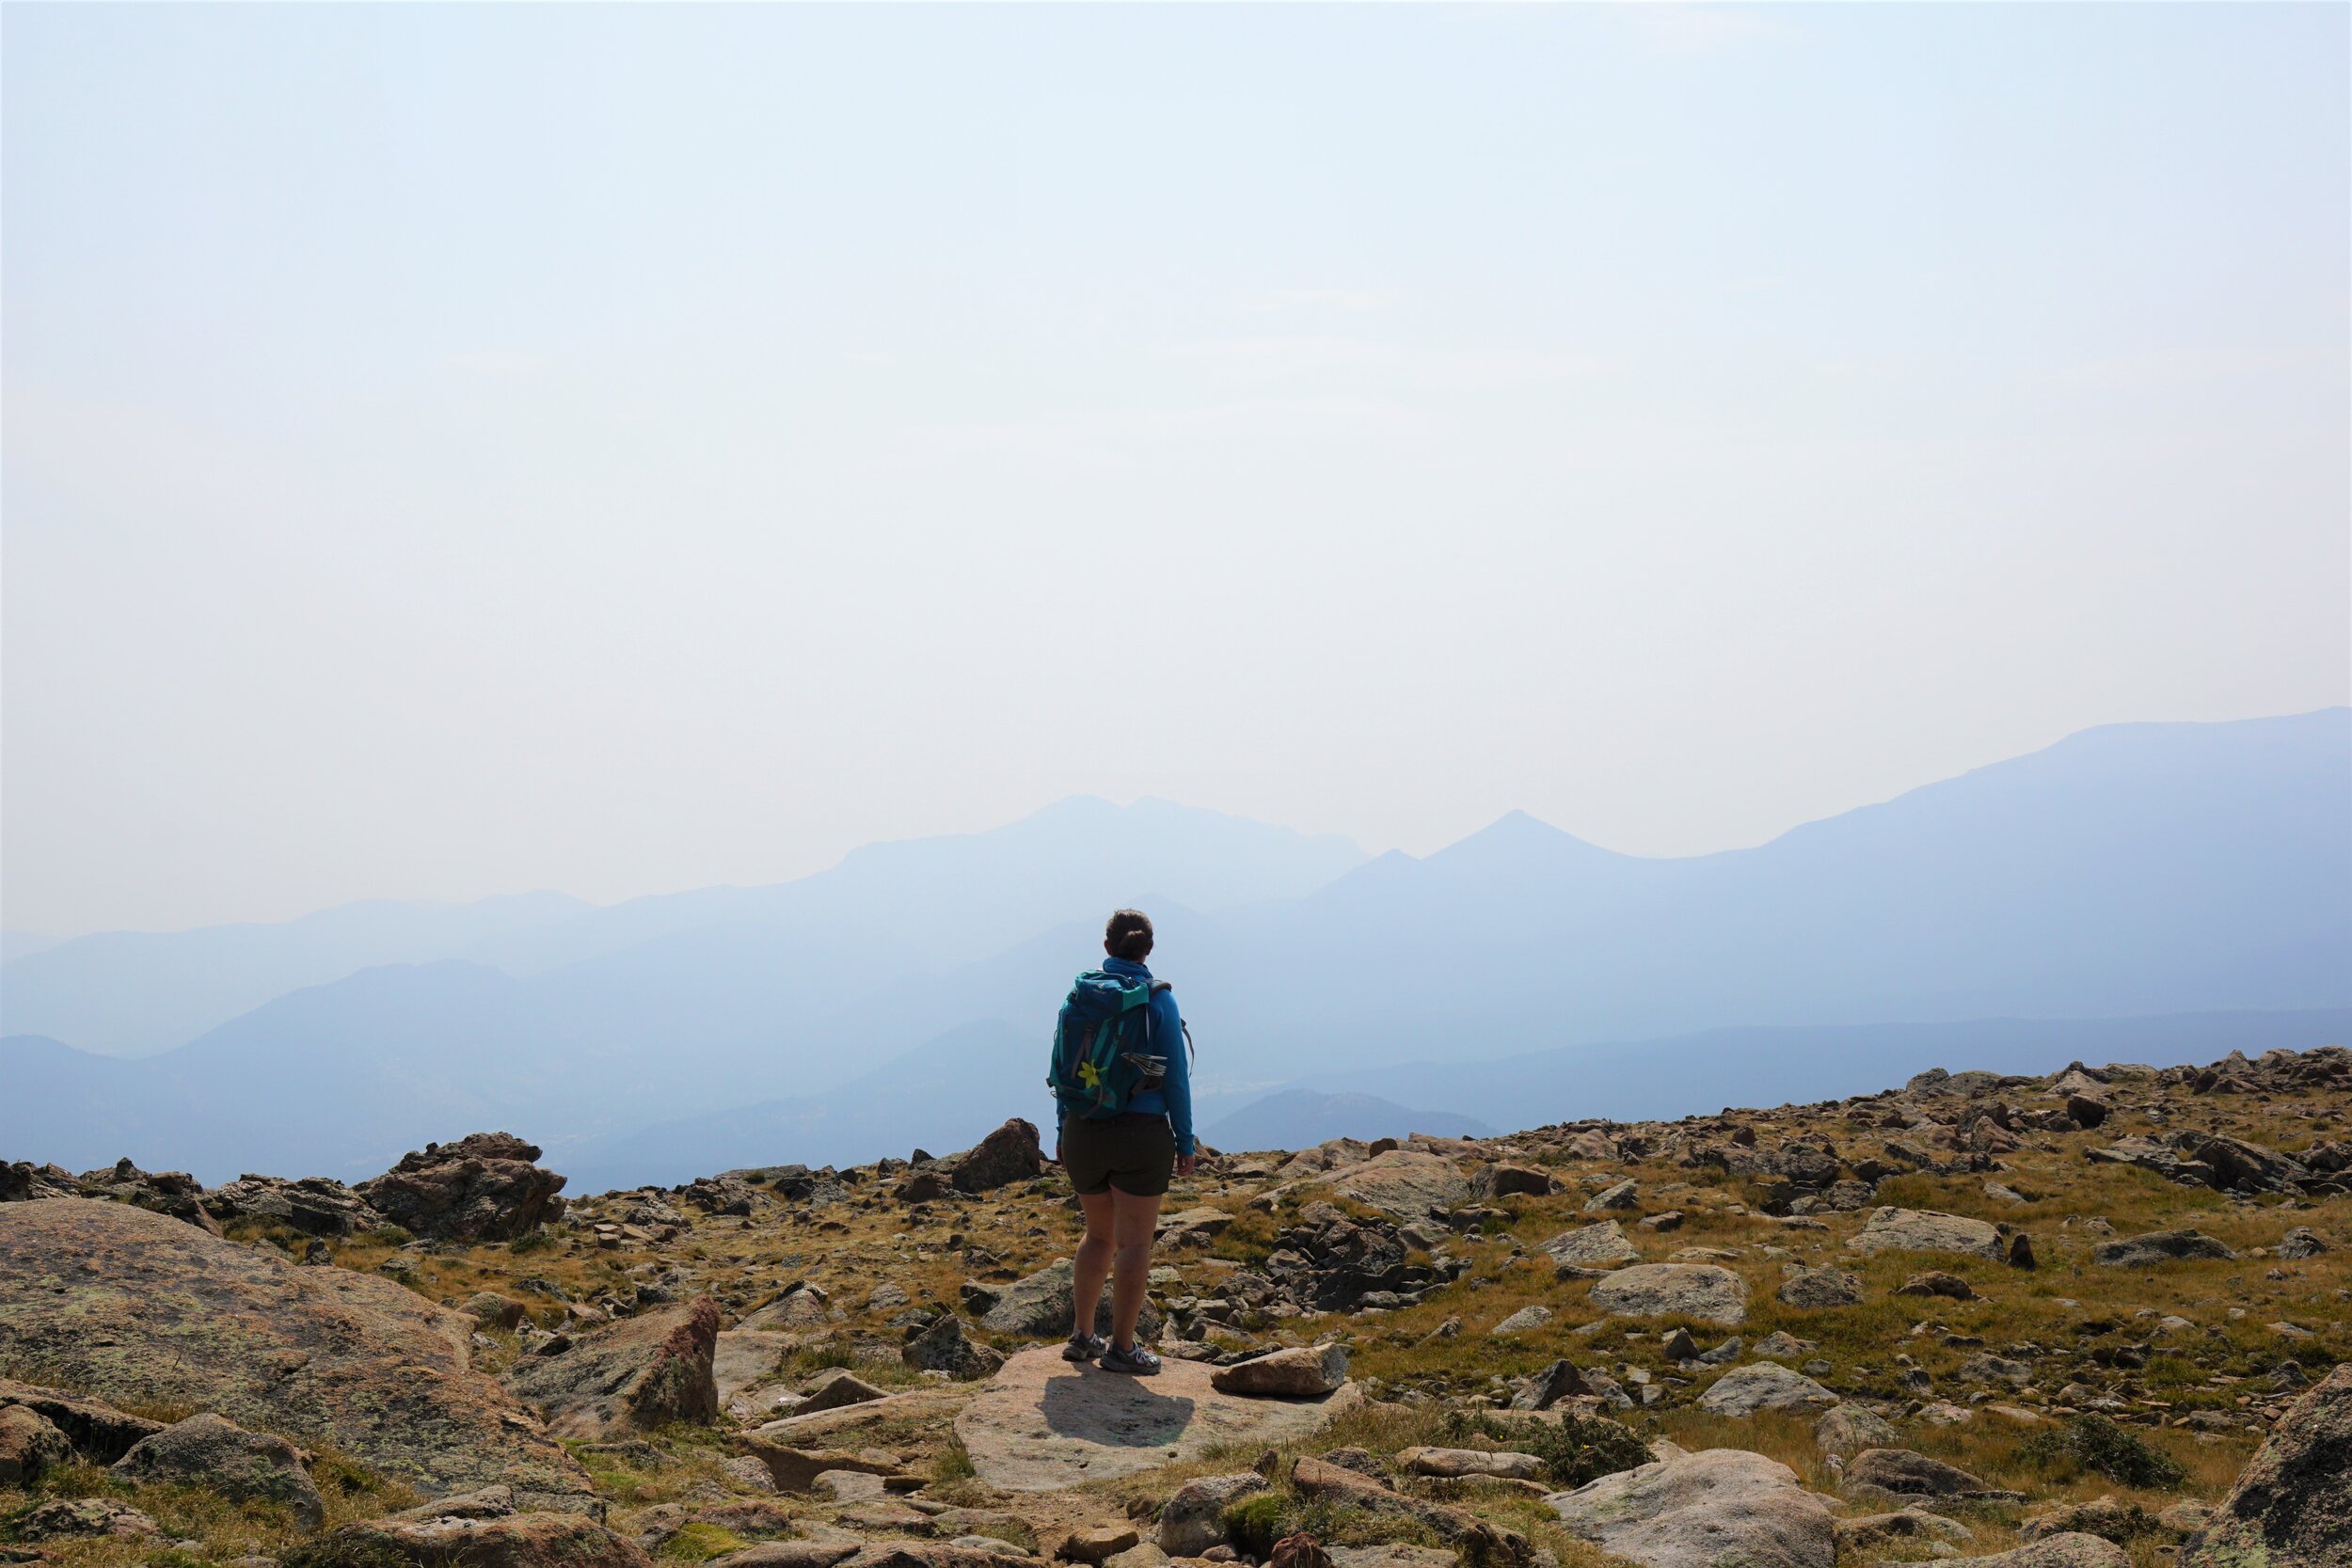
Beyond this, the path descends quickly into the forest below. Take in the views from across Forest Canyon and out to Long’s Peak on a clear day, and then head back the way you came.
10. Tundra Communities Trail
Distance: 1.2 miles out and back
Elevation Gain: 200 feet
Best for: Taking a short and easy walk through the alpine tundra and spotting alpine critters
Trailhead location: Along Trail Ridge Road across from the Rock Cut viewpoint
The Tundra Communities Trail, sometimes referred to as the Toll Memorial Trail, is a great easy hike in Rocky Mountain National Park to explore the park’s special high alpine tundra. A slightly uphill walk on the way out, the trail is paved and includes interpretative signs so you can learn more about the tundra environment you’re walking through. The trail ends at a few rock formations that you can climb up to get even better 360 degree views of the park.
A bonus is the tons of cute marmot and pika scurrying around. Marmots are bigger and easier to spot. Pikas are small and blend into the rocks…we usually found them by hearing their squeak…which to us sounds like a dog toy squeaker! So cute!
11. Alpine Ridge Trail
These are the stormy views from the Alpine Visitor Center parking lot, so I can only imagine the views from the top on a sunny day!
Distance: 0.6 miles out and back
Elevation Gain: 150 feet
Best for: A quick climb to a viewpoint on Trail Ridge Road
Trailhead location: At the Alpine Visitor Center along Trail Ridge Road
The Alpine Ridge Trail is a quintessential hike in Rocky Mountain National Park that’s basically a must-do on everyone’s list. Well, we didn’t do it. Not that we didn’t want to! But, by the time we made it to the Visitor Center, the infamous Rocky Mountain afternoon thunderstorms came rolling through. As soon as we saw streak lightening flashing around us, we knew this hike was off the table.
Essentially, this “hike” is one giant staircase to a view point right next to the visitor center, which gives great views of the park. You’ll be at 12,000 feet, though, so don’t think you won’t be struggling just a little bit on this short climb!
Hikes in Rocky Mountain National Park on the West Side
12. Lake Irene
Distance: 0.3 mile loop
Elevation Gain: none
Best for: An easy walk around a quiet, peaceful lake
Trailhead location: Irene Lake trailhead on the west end of Trail Ridge Road
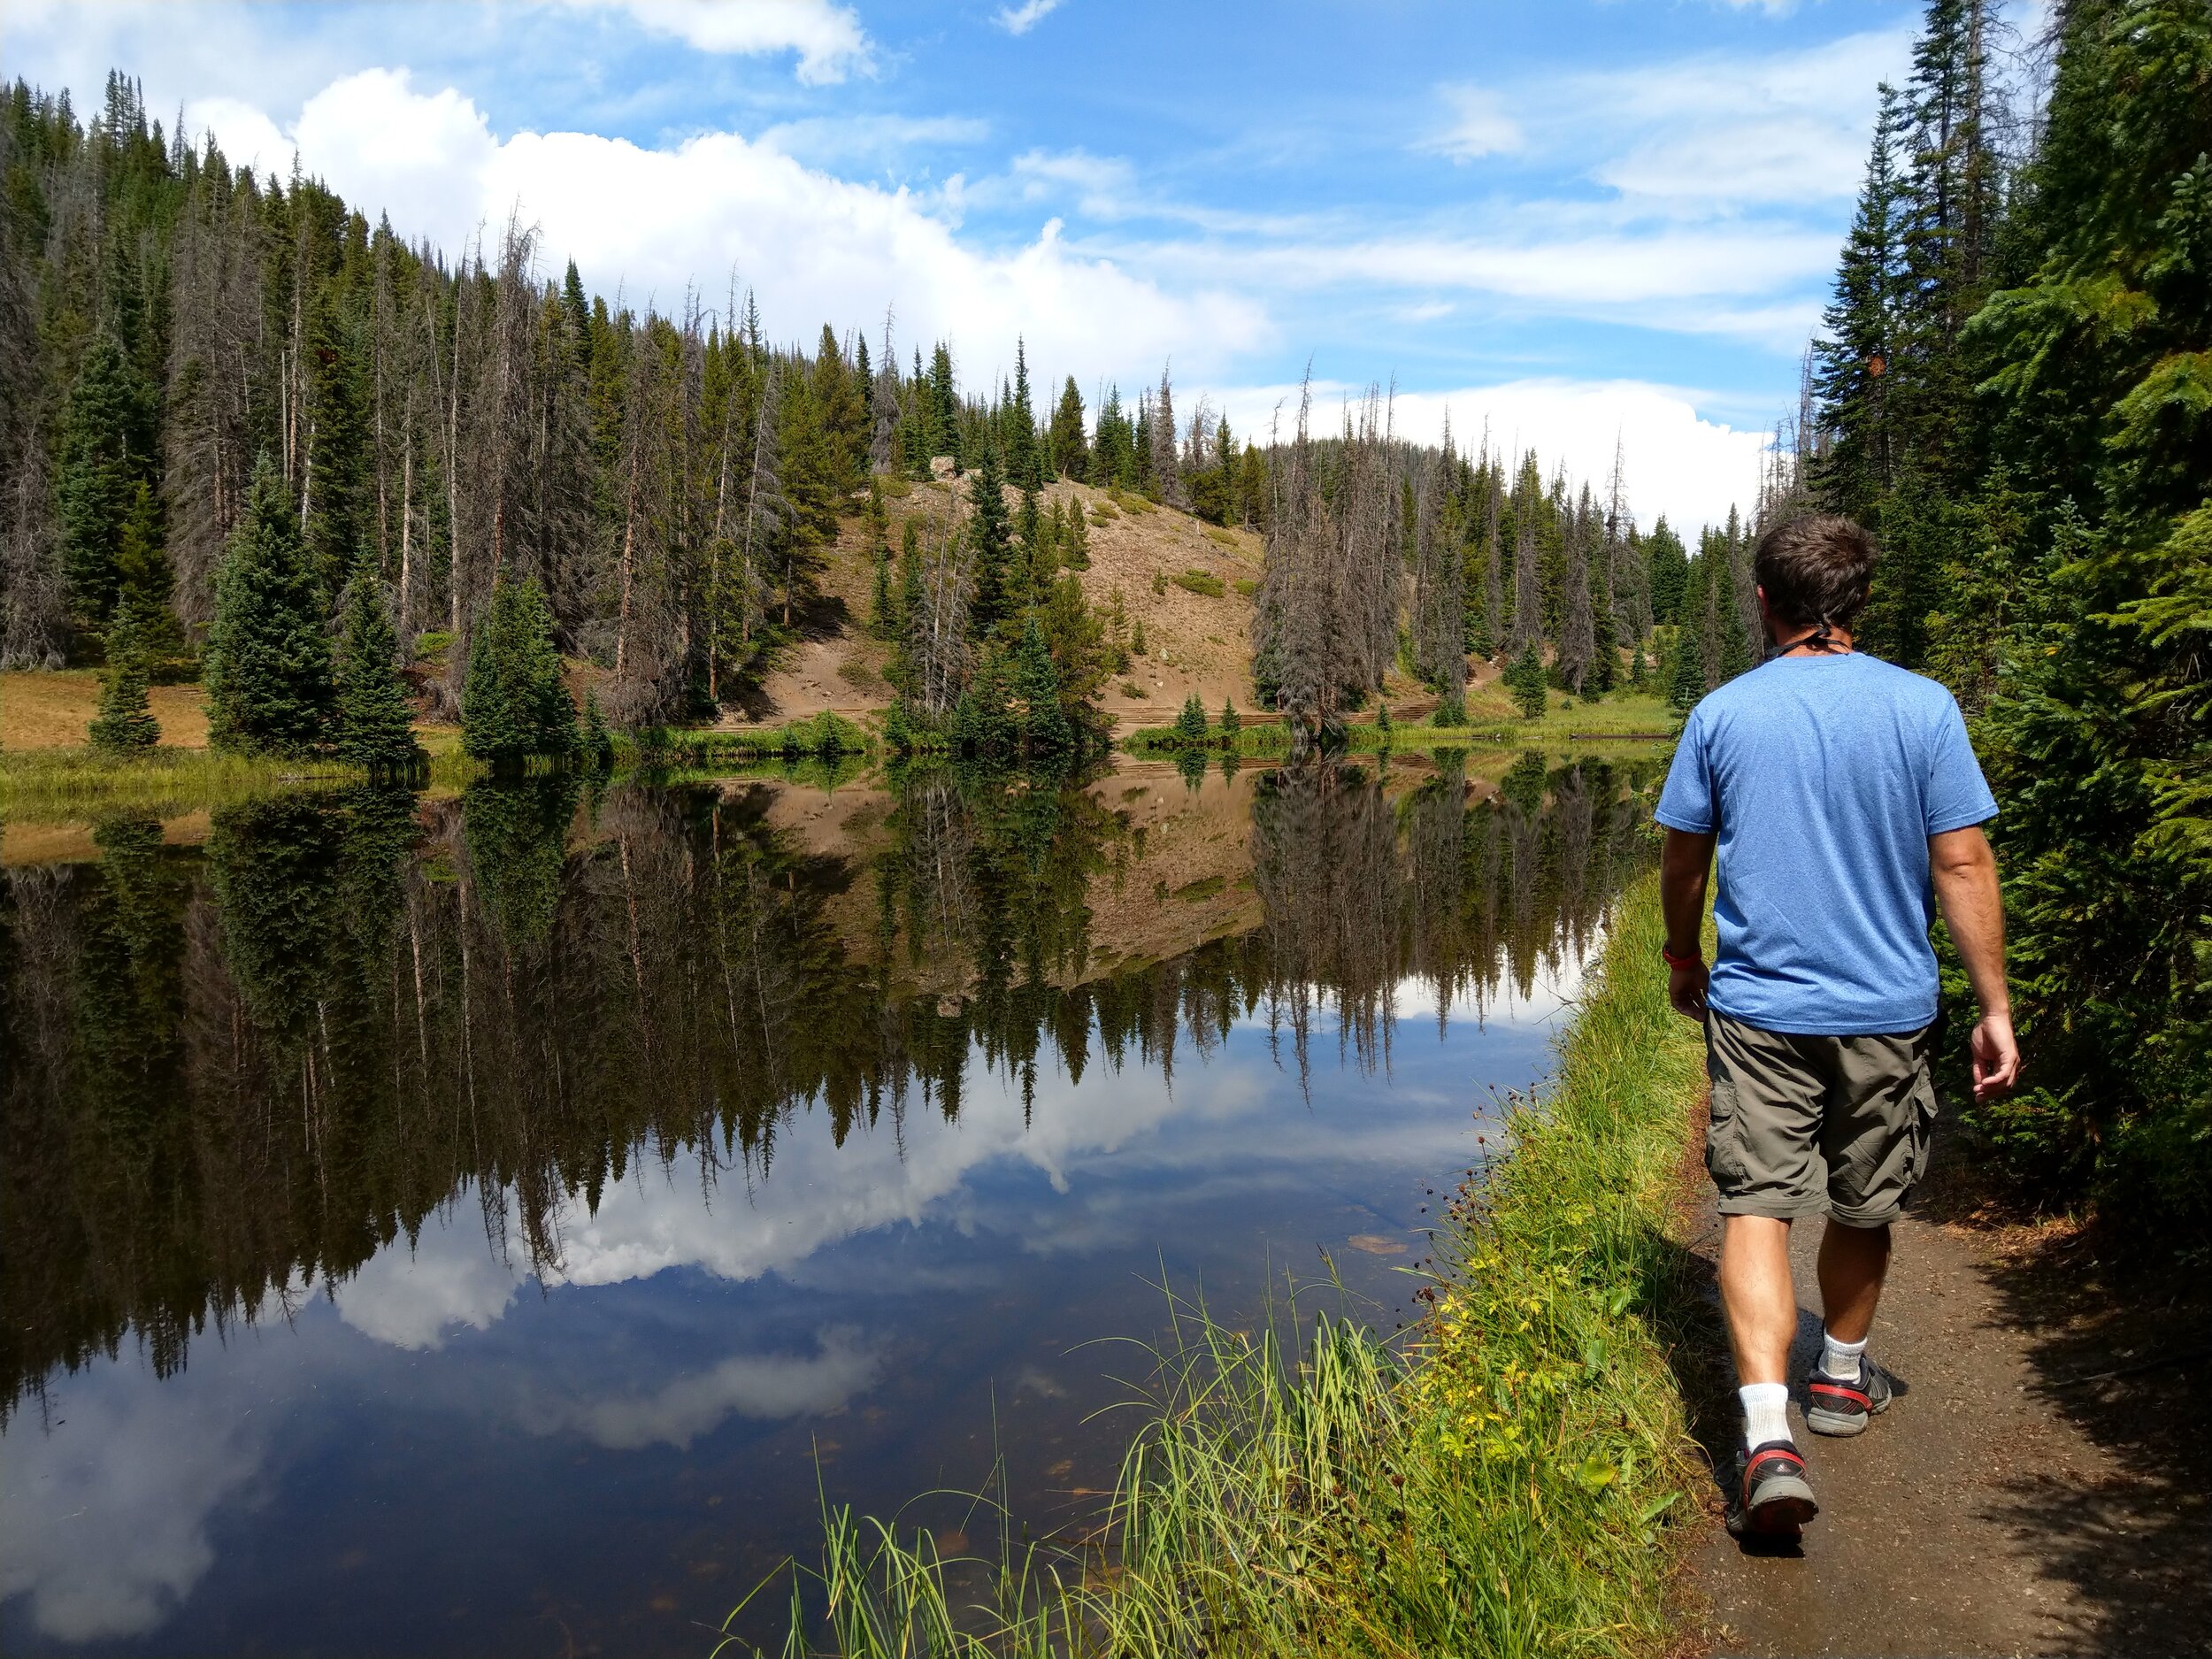
Ok, so after looking at all the other Rocky Mountain National Park hikes on this list with their epic views and jagged mountain backdrops, this one might seem a bit…underwhelming, bland, not very exciting… But we enjoyed this little lake side stroll. It got us out to stretch our legs as we made our way down Trail Ridge Road, eat at a picnic area, and enjoy a place in the park in solitude. Plus, the lake is so calm and still so the reflections off of it were awesome.
13. Coyote Valley Trail
Distance: 0.8 miles out and back
Elevation Gain: none
Best for: An easy stroll through a meadow for wildlife viewing
Trailhead location: Coyote Valley Trailhead along route 34 on the park’s west side
As we said at the beginning of this article, the park’s west side is strikingly different from that of the east side. There are no jagged epic mountain backdrops. But it’s a little slower here, and quieter. There are no crowds. And the jagged rocky mountains are replaced with serene meadows and modest tree-capped mountains.
The Coyote Valley Trail is an easy trail in Rocky Mountain National Park that gives a good glimpse into this quieter west side of the park. Located in the heart of the Kawuneeche Valley, a flat gravel path takes you along the humble beginnings of the Colorado River in search of all kinds of wildlife, including moose, elk, deer, otters, fish, birds, beavers, and more.
While known for almost guaranteed wildlife sighting, we saw nothing! It wasn’t until we drove a little bit further down the road that we saw a giant bull moose along the side of the road grazing.
Other Hikes in Rocky Mountain National Park to Consider
We were in the park for four days and only began to scratch the surface of all the hikes we wanted to do! Here are some other hikes that are high on our list for next time:
Chasm Lake – located at the same trailhead for Long’s Peak on the east side of the park (about 9 miles south of Estes Park), Chasm Lake is often touted as the best hike in Rocky Mountain National Park. It’s a long hike (8.5 miles) with a big elevation gain of about 2500 feet, but looks so worth it if you’re up for a challenging day hike. We concentrated on the Bear Lake area of the park for our first trip to RMNP, but we’ll be back to tackle this epic hike!
Fern/Odessa Lakes – A lesser traveled trail out of the Bear Lake trailhead passing by a number of alpine lakes. We dropped this from our list on our first visit to the park because we had prioritized other ones that we thought looked a little more epic, but we would love to do this trail on a return trip. You can do this as an out back hike from either Bear Lake or the Fern Lake trailhead out of Moraine Park, or you can do a point to point by shuttling cars or using the park’s shuttle.
Flattop/Hallett Peaks – A single trail out of Beak Lake leads to both Flattop Mountain and then onto Hallett Peak. Tagging both summits is a long day hike with lots of elevation gain, but you’ll be sitting at 12, 300 feet and 12,700 feet, respectively with some epic views out over the park.
Mt. Ida – This one just didn’t work out with our timeframe since we wouldn’t be passing through this side of the park until late afternoon. This trail starts from Miler Pass on Trail Ridge Road and follows the continental divide to a 12,000 footer with awesome views.
Long’s Peak – any list of Rocky Mountain National Park hikes has to include the infamous Long’s Peak. The only one of Colorado’s famous 14ers in the park, this is by no means an easy hike. It’s more of a scramble, with narrow ledges and some decent exposure. Most people get an early start (think 2 or 3 am) to summit and get back below treeline before the afternoon thunderstorms roll in. Definitely be prepared and know what you’re getting into before attempting this one!
Long’s Peak from Trail Ridge Road
Trailhead Parking in Rocky Mountain National Park
As with any popular place, parking can be a bit of an issue, and Rocky Mountain National Park is no exception.
The main places where parking can become a problem is at the Bear Lake Trailhead and the Glacier Gorge Parking Lot, both located near each other and the end of Bear Lake Road. And it’s no surprise…these two parking lots provide access to some of the best hikes in the park. The Glacier Gorge parking area is a particularly small lot so fills up very early, but the Bear Lake lot is pretty big and both lots access the same hikes.
To be guaranteed a spot here means an early wake up call. For our Sky Pond hike, we arrived at the Bear Lake lot at 5:45 am. The Glacier Gorge parking lot was full at that time, and the Bear Lake lot was about a fifth full, and the cars were steadily trickling in. By the time we hit the trail at about 6:20am, the lot was already about a quarter full, so it was starting to fill up fast. And keep in mind that this was when we visited when the park was only operating at 60% capacity. I would say try to get there by 6:30 am to 7 am to get a spot.
That being said, the Bear Lake lot is in constant flux throughout the day. People come just to do short hikes around Bear Lake, or get an early start on a long hike and are out by noon. On the day we did our Bierstadt hike, we found a spot easily around noon. Waiting this long into the day to park here though can be a gamble weather-wise (which we’ll talk about more below in just a second), and time-wise if you are looking to a do a longer hike (such as to Sky Pond).
If you want to hike out of Bear Lake but don’t want to deal with parking and a super early morning, we’ve got some good news for you…
The Rocky Mountain National Park shuttle
Rocky Mountain National Park operates an awesome shuttle service that’s super convenient and easy to use…and…FREE!
I highly recommend you take advantage of it…it’s a win- win really. You don’t have to deal with crowded parking lots, and it cuts down on park congestion and emissions. We wish we had used it more!
Check out more on the RMNP site here but basically there are three shuttle routes, with buses running every 15-30 minutes (depending on the route):
The Bear Lake shuttle runs between the Park and Ride on Bear Lake Road and the Bear Lake Trailhead, making stops at the Bierstadt Lake Trailhead and Glacier Gorge.
The Moraine Park Shuttle runs between the Fern lake Trailhead in Moraine Park to the Park and Ride, making several stops in between at various trailheads.
The Hiker Express bus is a convenient option for those staying in Estes Park and runs between the town and the Park and Ride on Bear Lake Road. From there, you can take one of the other two shuttles to various trailheads.
Important notes about the Rocky Mountain National Park shuttle:
As you can see above, shuttles only operate along the Bear Lake Road corridor, since it’s the busiest and most congested. No shuttles go along Trail Ridge Road!
Using the shuttle opens up so many more hiking opportunities. Many hikes in the Bear Lake area connect to each other and can be done as point to point hikes, and without two cars, taking the shuttle can allow you to do this.
Best Time to Hike in Rocky Mountain National Park
The best times to hike in Rocky Mountain National Park are mid to late summer into early fall. Depending on the snow fall of the previous winter, snow can linger into June or later on some of the higher elevation trails. Snow can also being to fall as early as September. On the year we visited, we left Colorado after the first week of September and were surprised to hear of a huge snowfall that shut Trail Ridge Road just a few days later!
Also, if you want to drive Trail Ridge Road, make sure you go when it’s open…usually Memorial Day to Columbus Day, but changes based on the weather. Check here for road status updates.
That said, with the right gear and experience, hiking on the trails in the Bear Lake area is an option. The Emerald Lake hike in particular looks amazing in the winter!
Tips for Hiking in Rocky Mountain National Park
Acclimate! The lower areas of the park, such as around Moraine Park, sit above 8,000 feet, while the Bear Lake Trailhead is about 9,400 feet or so. Many hikes climb even higher, into the 10k and 11k foot range, and if you drive Trail Ridge Road or opt for a summit, you’re looking at 12,000 feet or higher! If you are coming from sea level (like us!) and just aren’t used to altitude, trust us, you’ll want to acclimate before attempting any major hike.
Some good acclimating hikes are: Emerald Lake, Bierstadt Lake, Gem Lake, and Deer Mountain. These are all shorter hikes at lower altitude.
Staying hydrated is another good way to combat altitude sickness. Bring lots of water with you on the trail.
Carry chapstick! The Colorado air is dry. Your lips will thank us.
Remember sun screen and a hat. Lots of hiking is above treeline with minimal shade, and that sun gets really strong in the summer.
Buy and use a trail map! We can’t emphasize this one enough. Rather than just showing up and randomly picking a hike, research the trail well (and if you’re reading this, you’re already doing that…go you!). I say this because the park brochures and trailhead signs may tell you distances and elevation gains, but they are often based on one- way journeys and do not tell the whole story. Often, the hike back on an out and back may have just as much or more elevation gain than the hike out! (Bierstadt Lake from Bear Lake trailhead…I’m looking at you!) We also found, at least when we were there (and they may have corrected it by now), that the brochure had incorrect stats. Ten feet of elevation gain to get to Odessa Lake? I don’t think so!
Start early! For my fellow non-morning peeps, trust me, it’s worth it, for a few reasons. For one, if you’re doing a long hike, you’ll want to start early so you can finish before those afternoon thunder storms roll in (see the next point). Second, getting an early start will allow you to beat some of the crowds. We got a very early start out to Sky Pond…there was practically no one on the trail, and only a small handful of people at the lake. The way back down was a different story…we must have passed 200 people heading up! It will also help you get parking at busier trailheads such as Bear Lake. Lastly, an early start will have you avoiding some of the strong sun and heat of midday.
Afternoon thunderstorms are a thing. If there’s one thing that’s consistent in RMNP, it’s the afternoon thunderstorms. Like clockwork, they tend to roll in around 2 pm on most days. The sound of nearby thunder drove us out of our hikes pretty much every day we were in the park. Often, these storms are short, or they may just linger over the mountains for a few hours. The rest of the afternoons were usually filled with light rain on and off in the valley all afternoon/evening.
Take advantage of the shuttle! We explained the shuttle above so we won’t do that here again except to say that it’s super convenient and we highly recommend it.
Don’t feed the wildlife! Okay, hear me out. The wildlife at RMNP is insane. For real. And it’s not the bears you have to worry about. It’s the little critters. We camped inside the park, and the chipmunks were the most aggressive wildlife we have ever encountered. They were relentless and all throughout the campground we heard people struggling to shoo them away or get them out of their cars! Definitely do not enable this behavior by giving them food, and keep an eye on everything.
It’s the same on the trails. Trust us, even the ducks will beg for food. True story – as soon as we pulled out a packet of trailmix, ducks came out of nowhere making a b-line across Bierstadt Lake and came right up to our feet begging for food. It was kind of crazy.
Practice leave no trace – and stay on the trails.
Cell service – don’t expect any once you get about half way up Bear Lake Road. The last place we had any was at Tuxedo Park.
What to Pack for Hiking in Rocky Mountain National Park
Wear good hiking boots – the trails are, well, rocky, and rugged at times. If you are planning a long challenging trail, wear boots with good ankle support, good grip, and ideally, ones that have waterproofing. If you are just planning on easy hikes around Bear Lake, Sprague Lake, and one of the tundra hikes mentioned above, good sneakers will do.
Bring rain gear – including a rain and a pack cover. You will inevitably get stuck in the rain at some point.
A good trail map - as mentioned above, knowing the exact distances and elevations is super helpful in planning out your time on the trails. Expect to go a little slower than you’re used to if you are not used to the altitude.
Lots of water and snacks - staying well hydrated will help prevent altitude sickness.
Chapstick/Hat/Sunscreen - It’s hot and dry in the Rockies!
Layers - It can get chilly when you enter those high altitudes, so pack layers.
How Much Time Do You Need to Hike in Rocky Mountain National Park
The ideal answer to this question is forever. But we all don’t have that kind of time. So I’d say just take advantage of the time you do have and make it great. Picking any of the hikes in Rocky Mountain National Park on this list will not disappoint.
We spent four days in the park and managed to knock out a hike or two each day, so we got to see a lot in a short time, but still have so many hikes on our to-do list for when we inevitably go back. And trust us, that will happen no matter how long you have in the park.
Our Rocky Mountain National Park itinerary looked a little something like this:
Day 0: This is the day we drove in late in the day and so just spent the evening walking a flat, easy trail through Beaver Meadows to start acclimating.
Day 1: Our first full day in the park. We drove part of Trail Ridge Road up to the Ute trailhead and hiked to Tombstone Ridge for some more acclimating before the afternoon thunderstorms rolled in.
Day 2: The Sky Pond Emerald Lake Loop
Day 3: Beirstadt Lake, Sprague Lake
Day 4: Small hikes along Trail Ridge Road
Our plans for hiking in Rocky Mountain National Park actually looked grander than that…we wanted to hike a summit like Mt. Ida or Hallett Peak, but we were hiking a lot and we didn’t want to tire ourselves out for our next stop along our Colorado Road Trip to hike a 14er (check out our hike to Quandary Peak!). Plus, some minor hiccups along the way (like finding a mouse infestation in our car!…we weren’t kidding about the crazy wildlife at this park…) took up some valuable hiking time!
Our best advice is to be flexible…you’re going to want to hit as many trails as you can while here, but listen to your body…it’s okay to not hit them all in one go! You also have to be flexible around the weather, because as we mentioned above, afternoon storms are frequent and might ruin a more overly ambitious itinerary. Keep all your must-do hikes for the morning, and sprinkle in some smaller hikes for the afternoon that are more of the “it’s cool if I can do this but it won’t break my heart if we don’t” kind.
And which hikes you choose is totally up to you! There is no right or wrong here. It all depends on your ability, experience and comfort level with hiking, your preference for easier or more challenging trails, and how well you are acclimating.
Which Rocky Mountain National Park hikes are your favorite? Any that you would add to this list? Let us know in the comments!


