Hiking to Ice Lake and Island Lake in San Juan National Forest, Colorado
Ever since I saw pictures of Island Lake for the first time, with its unreal turquoise water contrasting with the bright greens and browns of the landscape that surrounds it, this lake quickly took top rank on my hiking bucket list. Years later, I finally got to make it happen!
Nestled in the remote and breathtakingly beautiful San Juan Mountains of Colorado, both Island Lake and Ice Lake are two unique and gorgeous alpine lakes that are often combined together as a loop hike. Island Lake is unmistakably identified by the giant rock island sitting in its center and known for those turquoise green-ish hues, while Ice Lake is popular for its impossibly deep blue color and gorgeous mountain backdrop.
After waiting all these years to hike to Ice Lake and Island lake, was it worth the wait? Oh yes, my friends, it was. This hike quickly became my all-time favorite hike ever! The scenery honestly just blew our minds. It often felt like we were in another country, almost like we were hiking in the Alps instead of in Colorado. They don’t call the San Juans the Switzerland of the United States for nothing!
If you’re a fellow hiker, this is one for your bucketlist, and in this post, we’ll go over everything you need to know to hike to Ice Lake and Island Lake in San Juan National Forest. We’ll cover how to get there, when to go, where to stay, and what to expect along the trail so you’re fully prepared to have one of the best hikes you’ll ever do. So let’s get to it!
Article Contents
Ice Lake and Island Lake hike stats
Ice Lake trailhead
Best time to hike to Ice Lake and Island Lake
Where to stay near Ice Lake
Camping at Ice Lake
Do you need a permit to hike to Ice Lake and Island Lake?
Do you need a 4x4 to get to Ice Lake and Island Lake?
Hiking to Ice Lake and Island Lake - an overview
Ice Lake and Island Lake hiking tips
Want to save for later? Pin this post and come back when you’re ready!
Ice Lake and Island Lake Hiking Stats
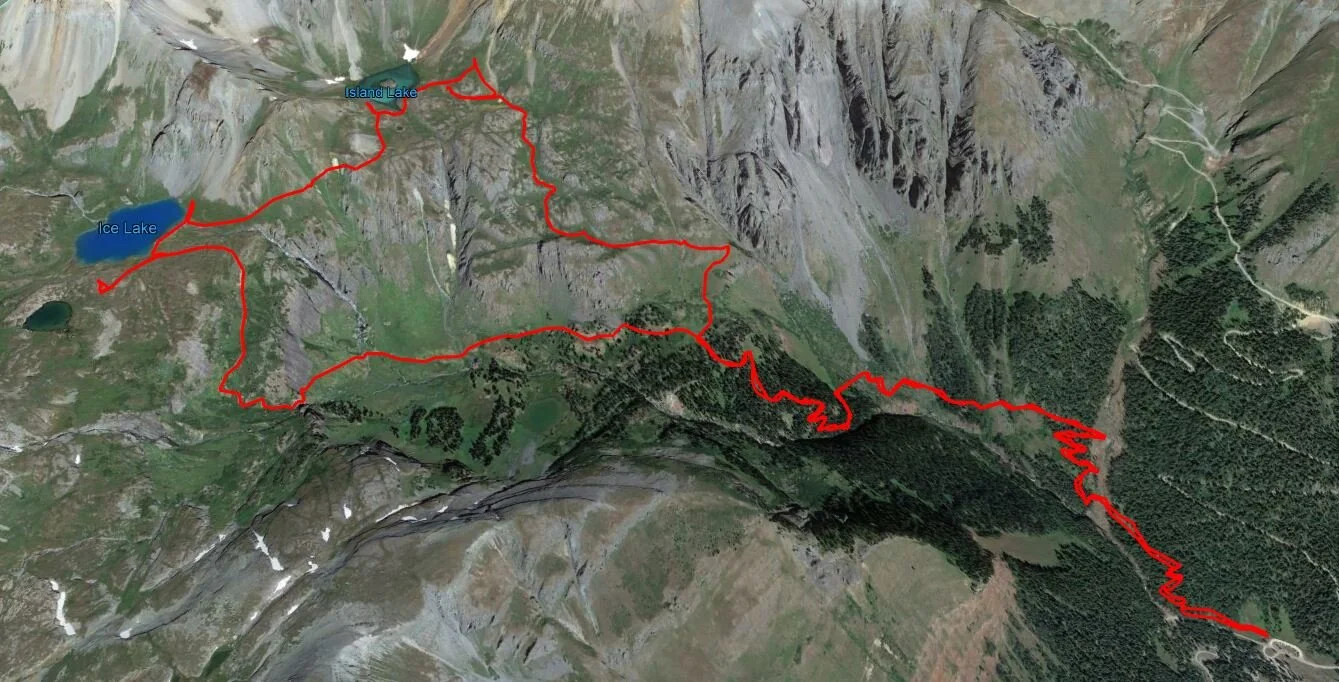
These are the stats logged by our Garmin watch for the full Ice Lake Island Lake Loop:
Trail type: loop
Distance: 8.8 miles*
Elevation Gain: 2,900 feet
Trailhead Elevation: 9,837 feet
Highest Elevation: 12, 420 feet
Hiking Time: 7 hours*
Trail Profile:
*Notes on these numbers: Our total distance logged was 8.8 miles, however, some of that distance is from walking around each of the lakes and exploring. The true total distance without the wandering is about 7.9 miles. It also took us 7 hours to complete the hike, but almost three hours of that time was spent hanging out at the lakes. Yes, they were that good! So our true hiking time was more like four hours on the trail.
If you don’t want to do the full loop, you can just do an out and back hike to either Ice Lake or Island Lake. Many people just do the out back to Ice Lake to see its amazing blue color while avoiding some more elevation gain needed to reach Island Lake.
Hiking to Ice Lake: 6.6 miles round trip, Ice Lake elevation: 12, 270 feet
Hiking to Island Lake: 6.2 miles round trip, Island Lake elevation: 12, 420 feet
Which way should you hike the Ice Lake Island Lake Loop?
If you’re opting to do the loop to both lakes, we would hands-down recommend going in a counter clockwise direction, hitting Island Lake first and Ice lake second. This is how we did it and how we describe the hike below. Doing it this way gets all the elevation gain out of the way up front, so from Island Lake it’s all downhill. Also, the views hiking from Island Lake towards Ice Lake are out of this world…they are the most amazing views of the entire hike, and trust us, you don’t want to have your back to them.
How to Get to Ice Lake and Island Lake in Colorado
From Silverton
The trailhead for Ice and Island Lakes is the Ice Lake Trailhead, just 20 minutes west from the quaint mountain town of Silverton. Take route 550 North out of town. After two miles, you’ll take a left onto route 585, or South Mineral Campground Road. This is an unpaved gravel road, but doable in a 2WD car with careful and slow driving. It’s bumpy and rough and will take a while… we went about 15 mph the entire way.
The trailhead is found about 4.5 miles up this road, where you’ll find a sizeable parking lot on your right. If the lot is full, cars were parked along the side of 585 a pretty far distance down the road. However, the forest service really prefers people to choose a different hike or wait until a spot opens rather than parking along the road, and be sure to obey any no parking signs. If you want to be guaranteed a spot in the lot, your best bet is to get there early, around 7 am. Or, you can stay at the campground right across the street…we’ll talk more about that in just a bit.
Beyond the trailhead, 585 becomes a 4WD road, so keep that in mind if you’re driving a 2WD car.
From the North
From Ouray in the North, the trailhead is about 50 minutes away. To get there, you’ll have to take the infamous Million Dollar Highway. This is a 25 mile stretch of route 550 between Ouray and Silverton that’s considered one of the most scenic drives in the U.S.…but it’s also one of the most dangerous.
I was nervous about making the drive after reading about it, and actually driving it confirmed my reservations! This road is straight up scary. It’s basically a road carved right alongside a mountain, so you’ll have a steep mountain face to your left, and then a vertical drop to your right. Oh, and just for fun, there are no guardrails, nor is there very much room for error. But hey, the views are amazing.
Take your time on this road. And don’t drive it in bad conditions like rain or snow. The scariest sections are only along a few short stretches, but they are pretty crazy. Also, prepare to be held up for construction zones. We sat for 20 minutes at one point while construction crews were working on the road, fixing up patches from recent rock slides. Comforting, right?
You’ll continue along highway 550 until you see the turn for 585 on your right.
Best Time to Hike to Ice Lake and Island Lake
The summer months are the best time to hike to Ice and Island Lake, but of course, they are also the busiest. In July and August, the weather is good and the trails are clear of snow and ice, and usually you’ll find a lot of wildflowers.
Early September is the tail end of the snow-free hiking season here. In fact, when we hiked the trail on September 1st, we were hiking through snow! It was an unusually early dusting that year, but still, you never know with these mountains!
Always plan to start your hike early to avoid afternoon storms that are common in the Colorado mountains. Since much of the hike is exposed and above tree line, it’s important to check the forecast before you head out so you can plan your time and be back below tree line by early afternoon. If you’re not used to altitude, expect your pace to be slower than normal since this hike is all above 10,000 feet!
Where to Stay Near Ice Lake and Island Lake
The closest town to the Ice Lake Trailhead is Silverton, a small quaint mountain town just 20 minutes away. This is your best bet for lodging. But there are also options to camp closer to the Ice Lake trailhead…
South Mineral Campground near Ice Lake
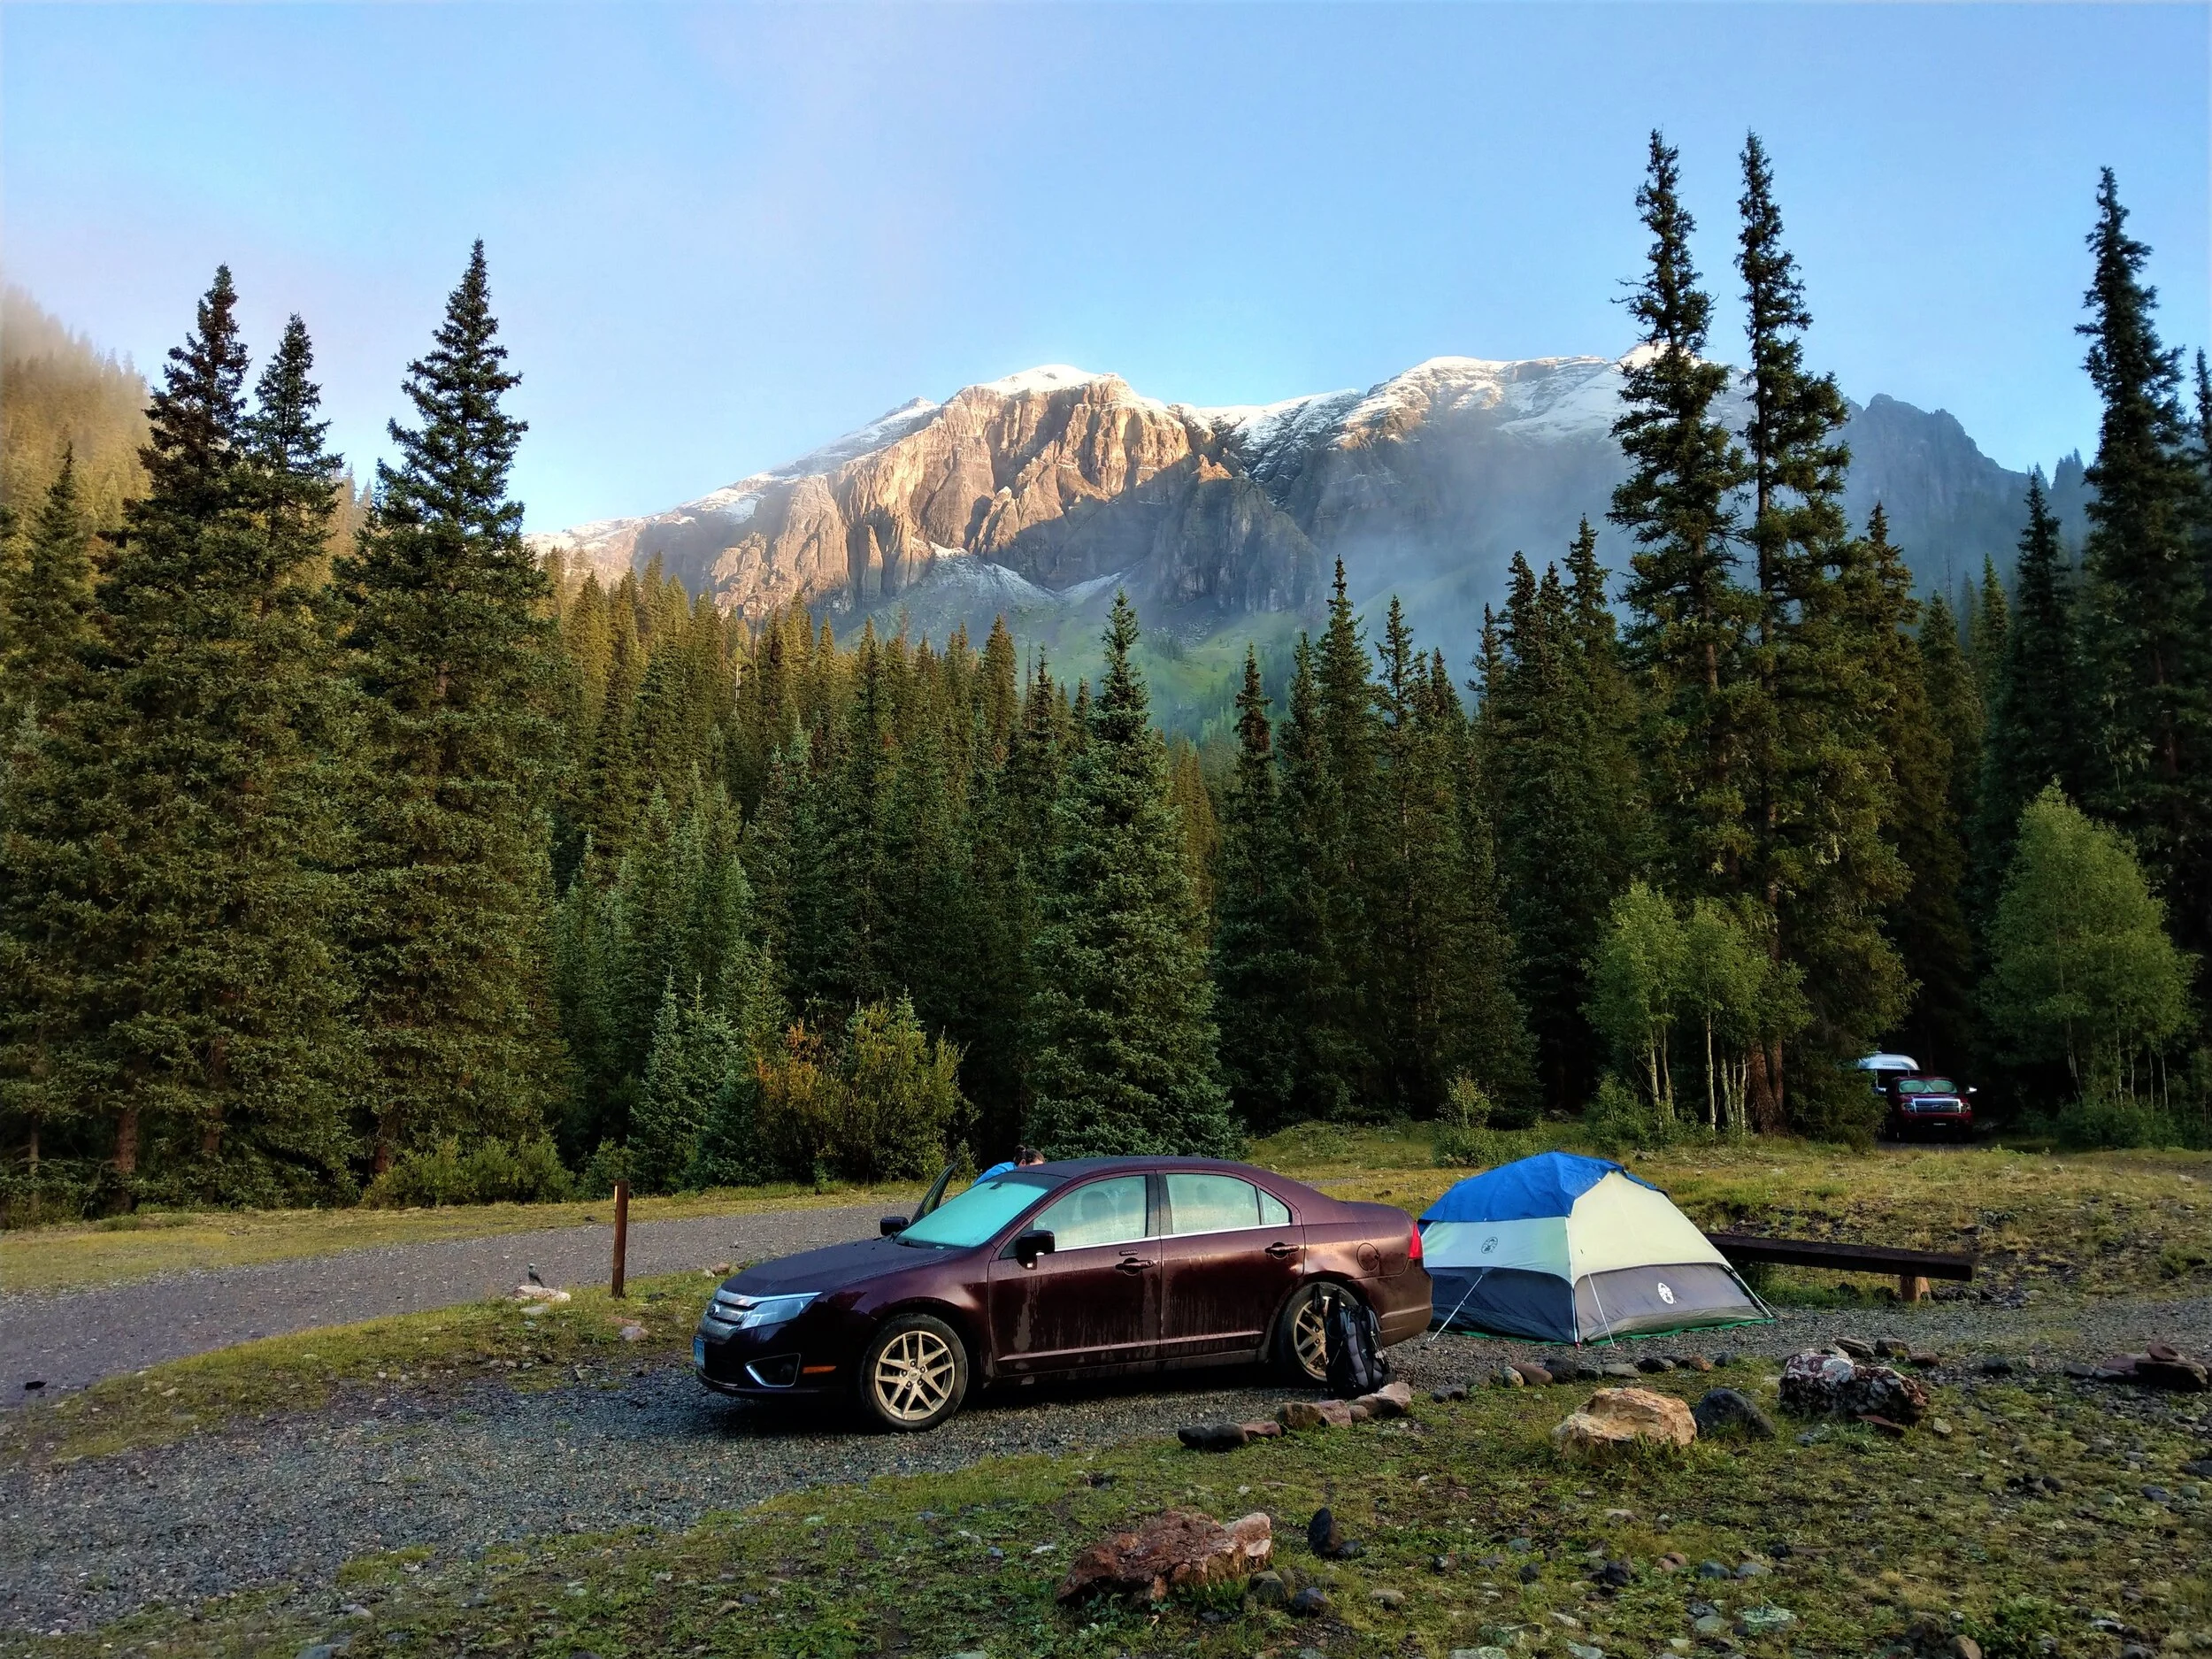
If you’re camping, an awesome campground near the Ice Lake Trailhead is the South Mineral Campground. It’s located literally right across the street from the trailhead, so you can just walk over from your site and not have to deal with parking or a really early wake up call.
The catch? Well, for one, it’s the most popular campground in the National Forest, for obvious reasons. There are 26 sites and they are all first come first serve…no reservations are taken. So you kind of have to just show up and hope for the best. To give you some reference, we got there just after 6 pm on a Sunday night and there were only two sites left. We snagged one and the other was taken just minutes after. On Friday and Saturday nights, I’m sure you would have to get there much earlier.
The other thing is that it is a relatively expensive campground, costing $30 for a pretty basic site with just vault toilets. There is potable water though and the sites are really nice. They are spread out from each other nicely and most are shaded and surrounded by trees. And the scenery in the area is amazing with views of the red and green mountains characteristic of the San Juans. South Mineral Creek runs through the campground…our site was right next to it, giving us a nice soothing sound for falling asleep to. We thought it was worth it for the convenient location right next to the Ice Lake Trailhead for sure. There’s also a super nice campsite host named Jeff…if he’s still around when you’re there, tell him we say hi!
The campground is open about mid-May to early September, with the exact dates dependent on the current weather and conditions. When we were there the first few days of September, the host said he was getting ready to close up shop within the next week.
Dispersed camping
If the campground happens to be full when you’re there, there is a ton of dispersed camping along road 585 leading up to the campground and trailhead. Make sure to camp in clearly designated areas and at least 100 feet away from the creek. It’s free, but of course, you have to be totally self-sufficient and practice good leave no trace principles, carrying everything out with you.
Just fyi, the road past the campground does become a 4x4 road, so unless you have the right vehicle, the trailhead and campground are as far as you can go. But if you can continue on, there’s a really nice dispersed camping site for a tent that’s in a super nice spot just a short walk from that waterfall.
Can you camp at Ice Lake and Island Lake?
You can indeed backcountry camp at either Ice Lake or Island Lake. Just remember that afternoon thunderstorms are common in the mountains, so make sure you’re prepared to get a little wet. Also be sure to bring a bear can to carry and store your food. And bring a water filter, which is a must in this area.
If you do decide to camp at one of the lakes, try to find a spot that’s already been used to avoid any further damage to the vegetation in the area, and practice very good Leave No Trace Principles, packing out everything that you pack in.
Another thing to keep in mind is that there’s really no privacy at all if you camp along the lake. There are no trees or secluded areas, and you’ll be out in the open, so keep that in mind for times when you have to find a spot to use the bathroom in privacy!
Do You Need a Permit to Hike to Ice Lake and Island Lake in San Juan National Forest?
No, a permit is not needed for the Ice Lake hike, at least for now.
However, this hike is popular, and gaining more popularity every year, as most outdoor spaces are. Sometimes there’s a ranger that sits at the trailhead, offering advice and counting hikers, particularly on the weekends. Our campground host told us that on the previous Sunday, over 600 people took to the trail, and on Monday there were over 500 people. He said that he thinks a permit system is not too far off, especially because the trail and the surrounding wilderness is starting to really feel the effects of heavy traffic, particularly in the form of people not packing out their trash. So please, if you’re reading this, leave no trace, pack in what you pack out, stay on the designated trails, and pick up any trash you find along the way. Help keep this area natural and beautiful and a place everyone can see and enjoy.
Do You Need a 4x4 to Get to Ice Lake and Island Lake?
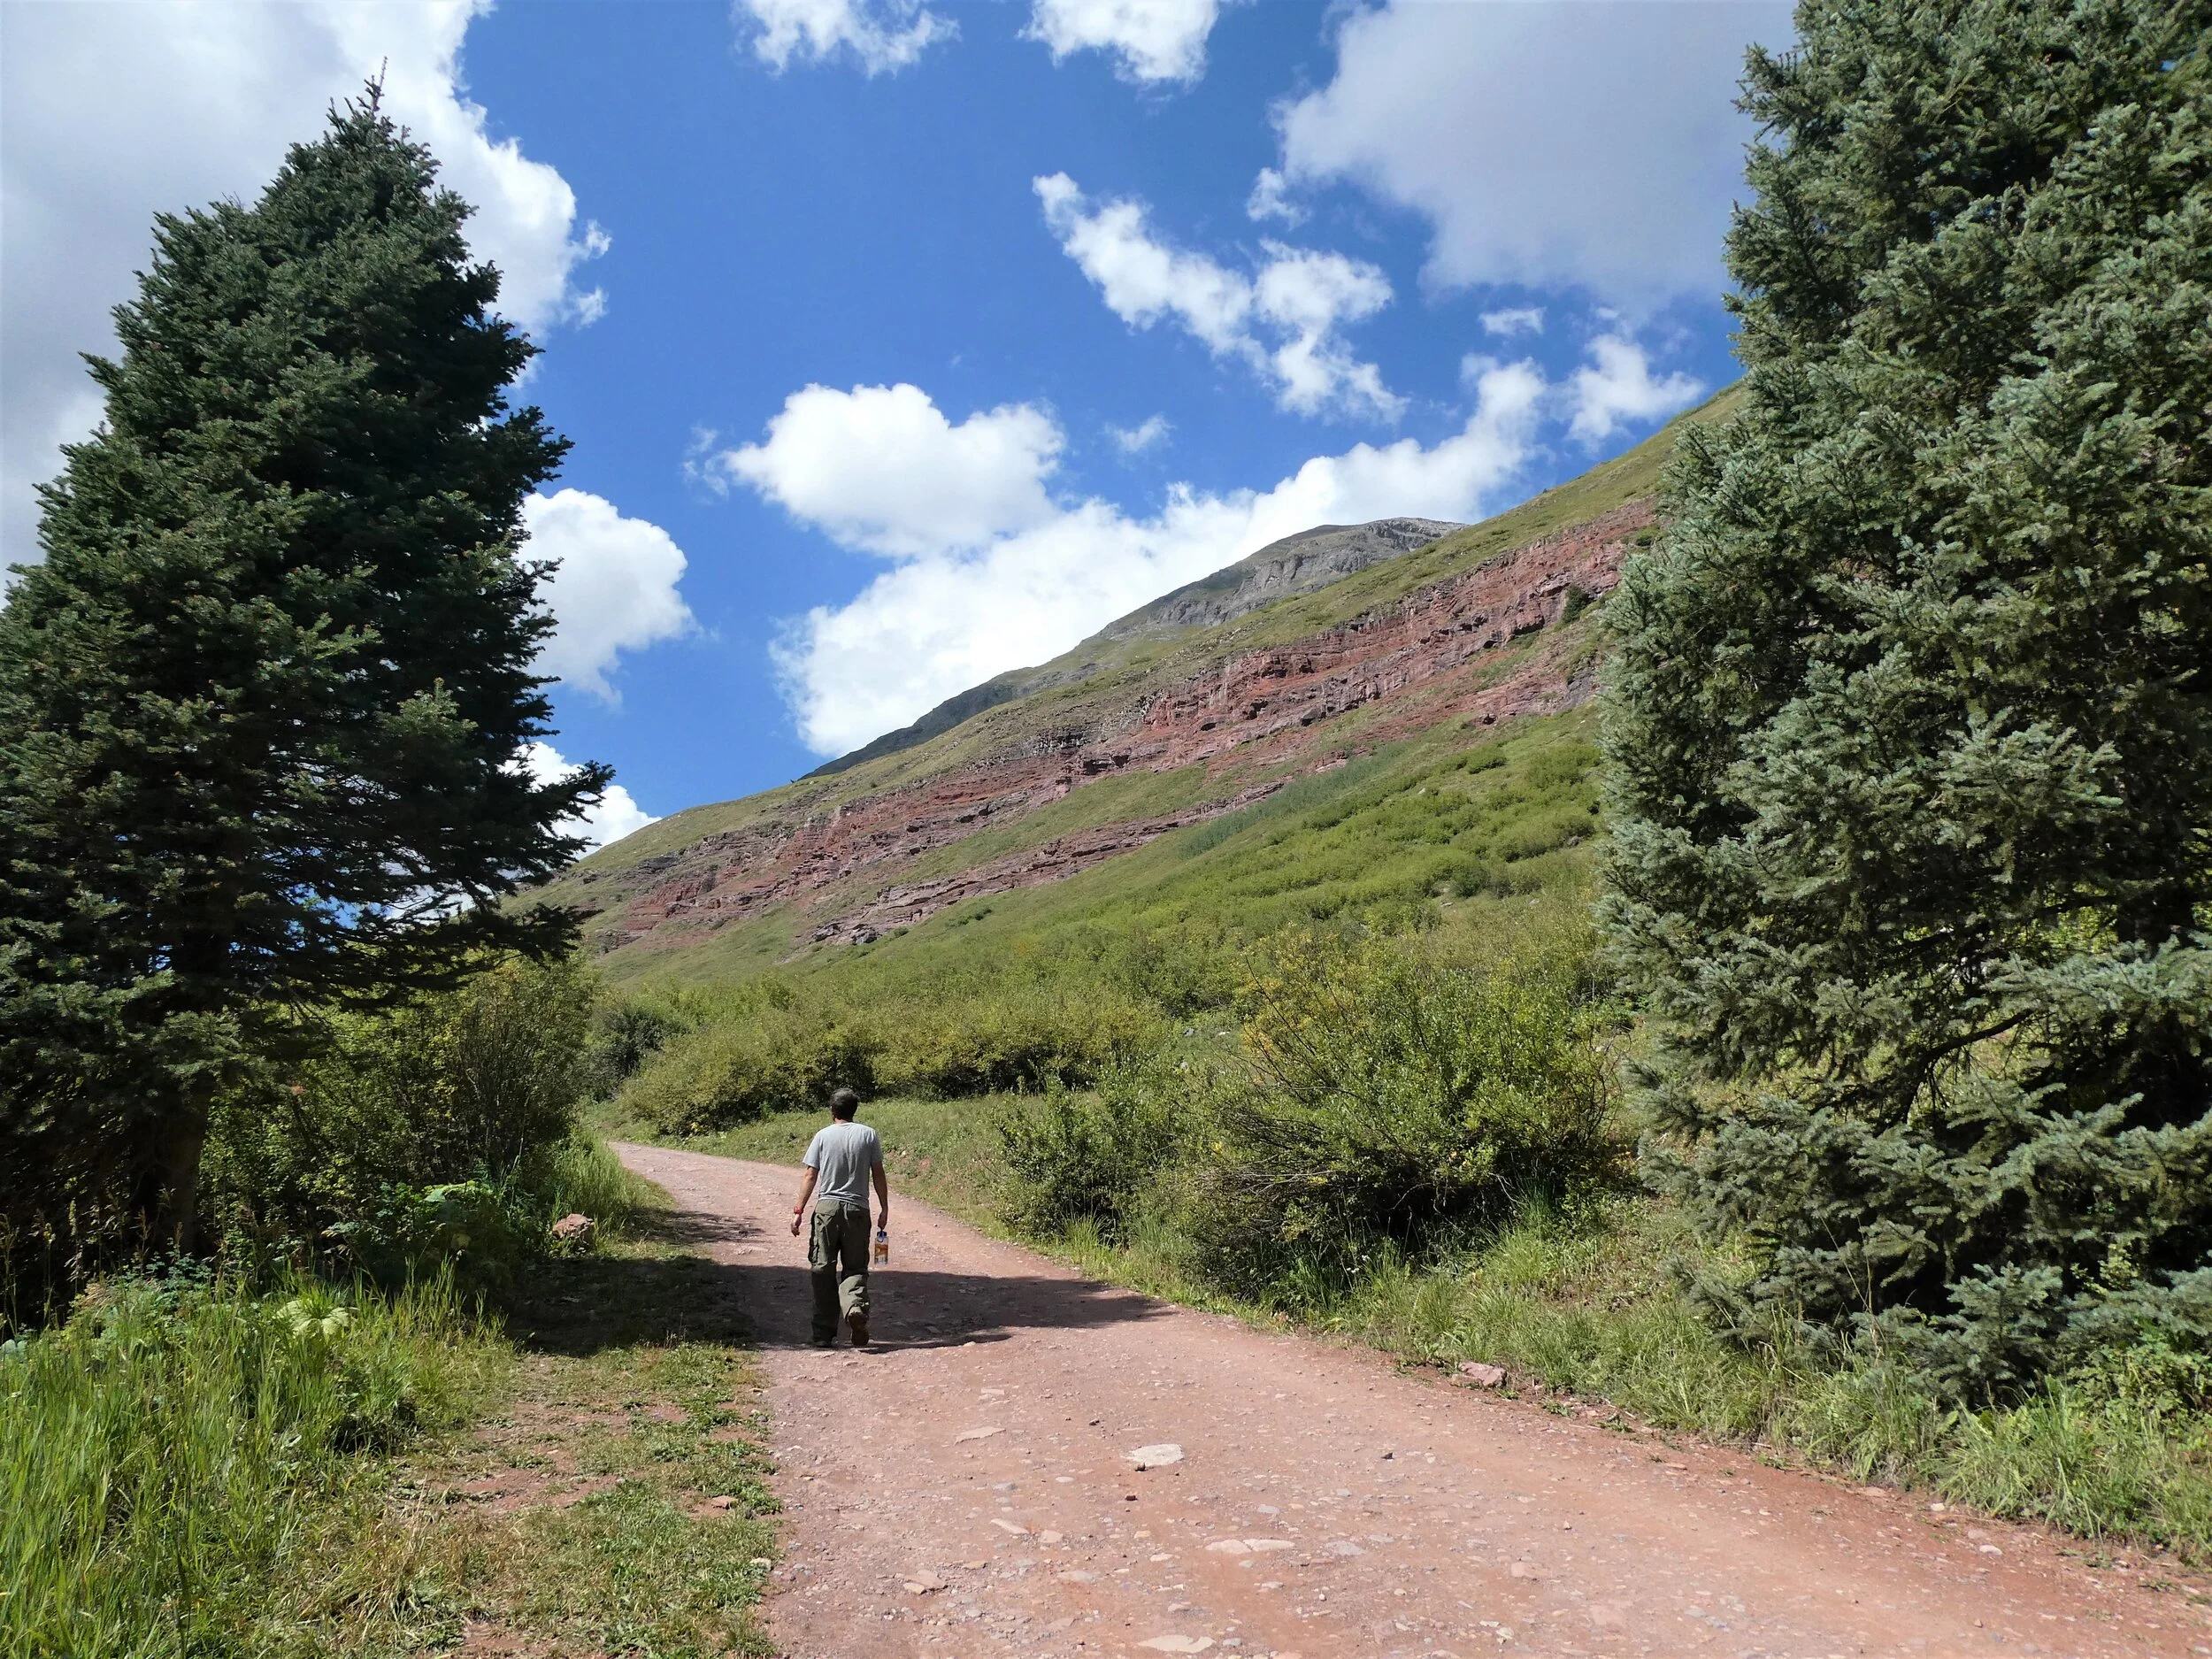
Without a 4x4, we decided to walk the roads instead!
You don’t need a 4x4 vehicle to get to the Ice Lake Trailhead, but the road to it is unpaved and sometimes rough, as we described above. We felt so fortunate that we could still get to Ice Lake with our 2WD car, because actually, the majority of places and trailheads in the San Juans require a 4x4. There are so many places on our list that we have yet to visit in San Juan National Forest, so there’s no doubt we’ll be back (hopefully sooner than later) with a 4x4 so that we can access more trails!
Hiking to Ice Lake and Island Lake in San Juan National Forest - An Overview
Ok, here’s what you’ve been waiting for…all the details on the hike to both Island and Ice Lake. Here, we share our experience on the trail and why we absolutely loved this hike.
We were staying at the South Mineral campground, making sure to get to bed early for an early morning wake up call the next day. At some point in the middle of the night, we woke up to what sounded like a monsoon pounding down on our tent. Awesome. We got worried that the rain would continue into the next day and keep us from hiking…but we eventually drifted back off to sleep. We woke up around 5 am to no rain! Woohoo. Fast forward to 5:30 am, and the rain started again. Our spirits were a little down. So much for our 6 am start! We laid there listening to the pitter patter until, eventually, it slowed down and then finally stopped.
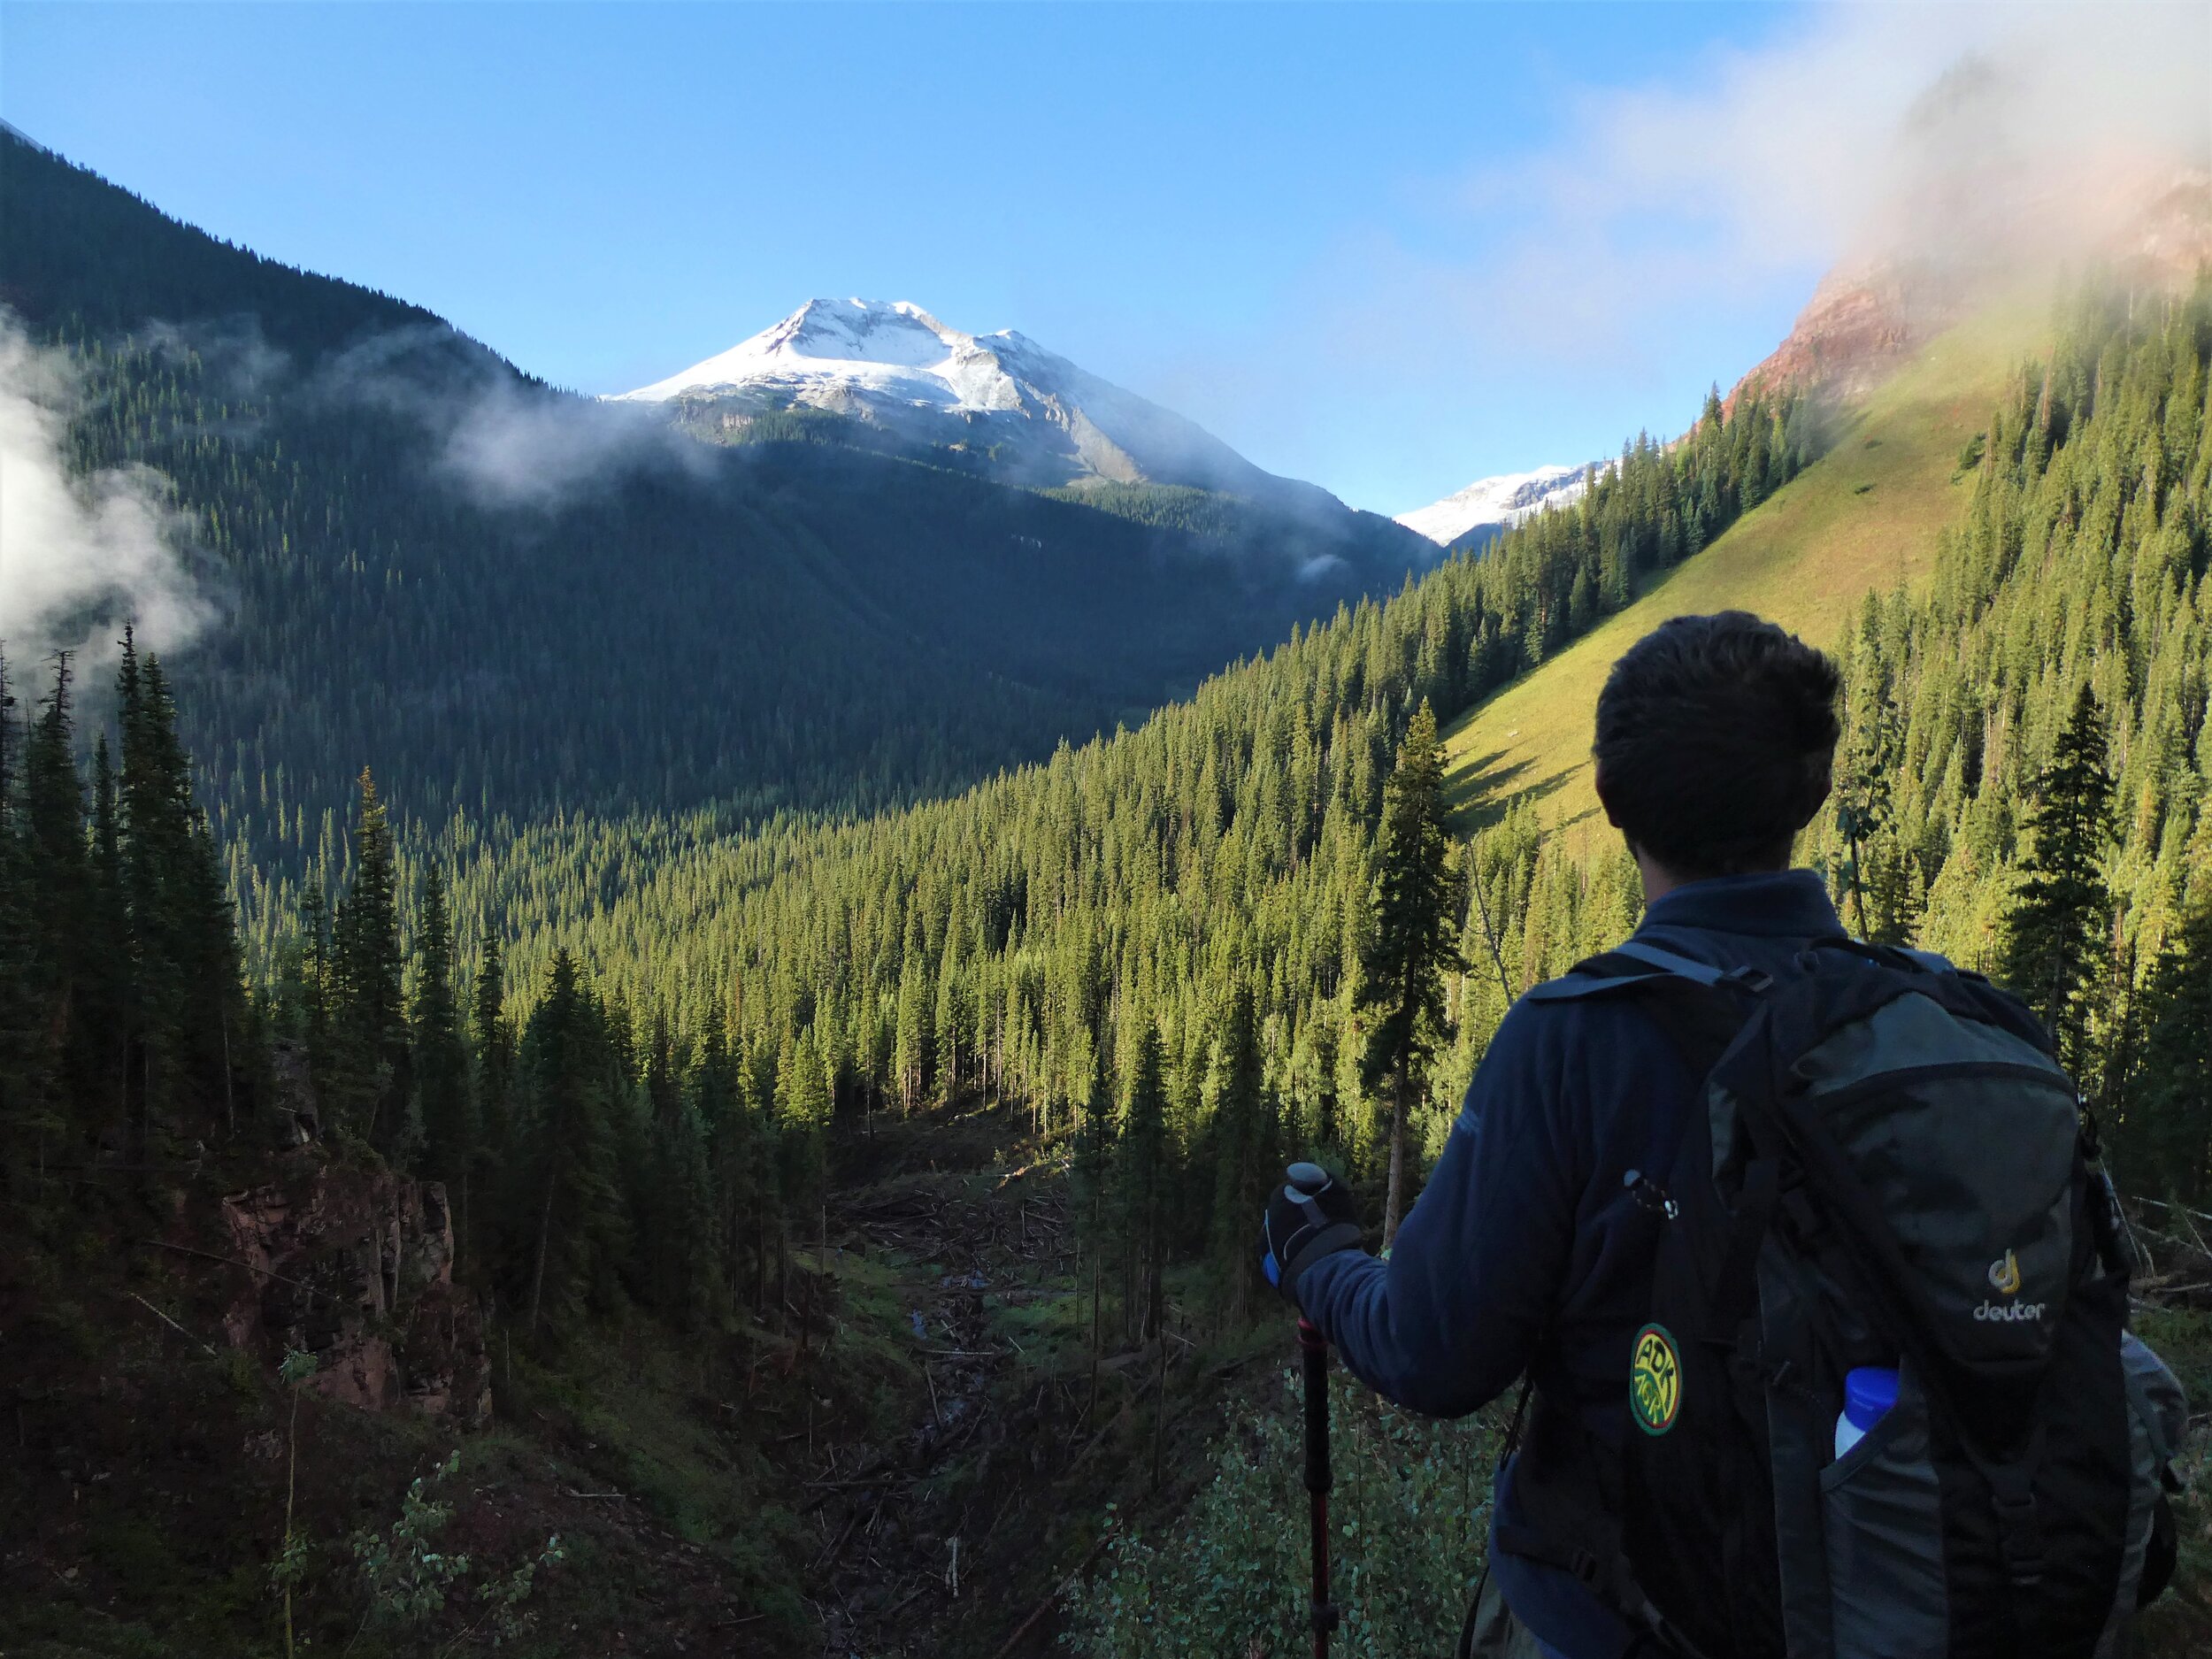
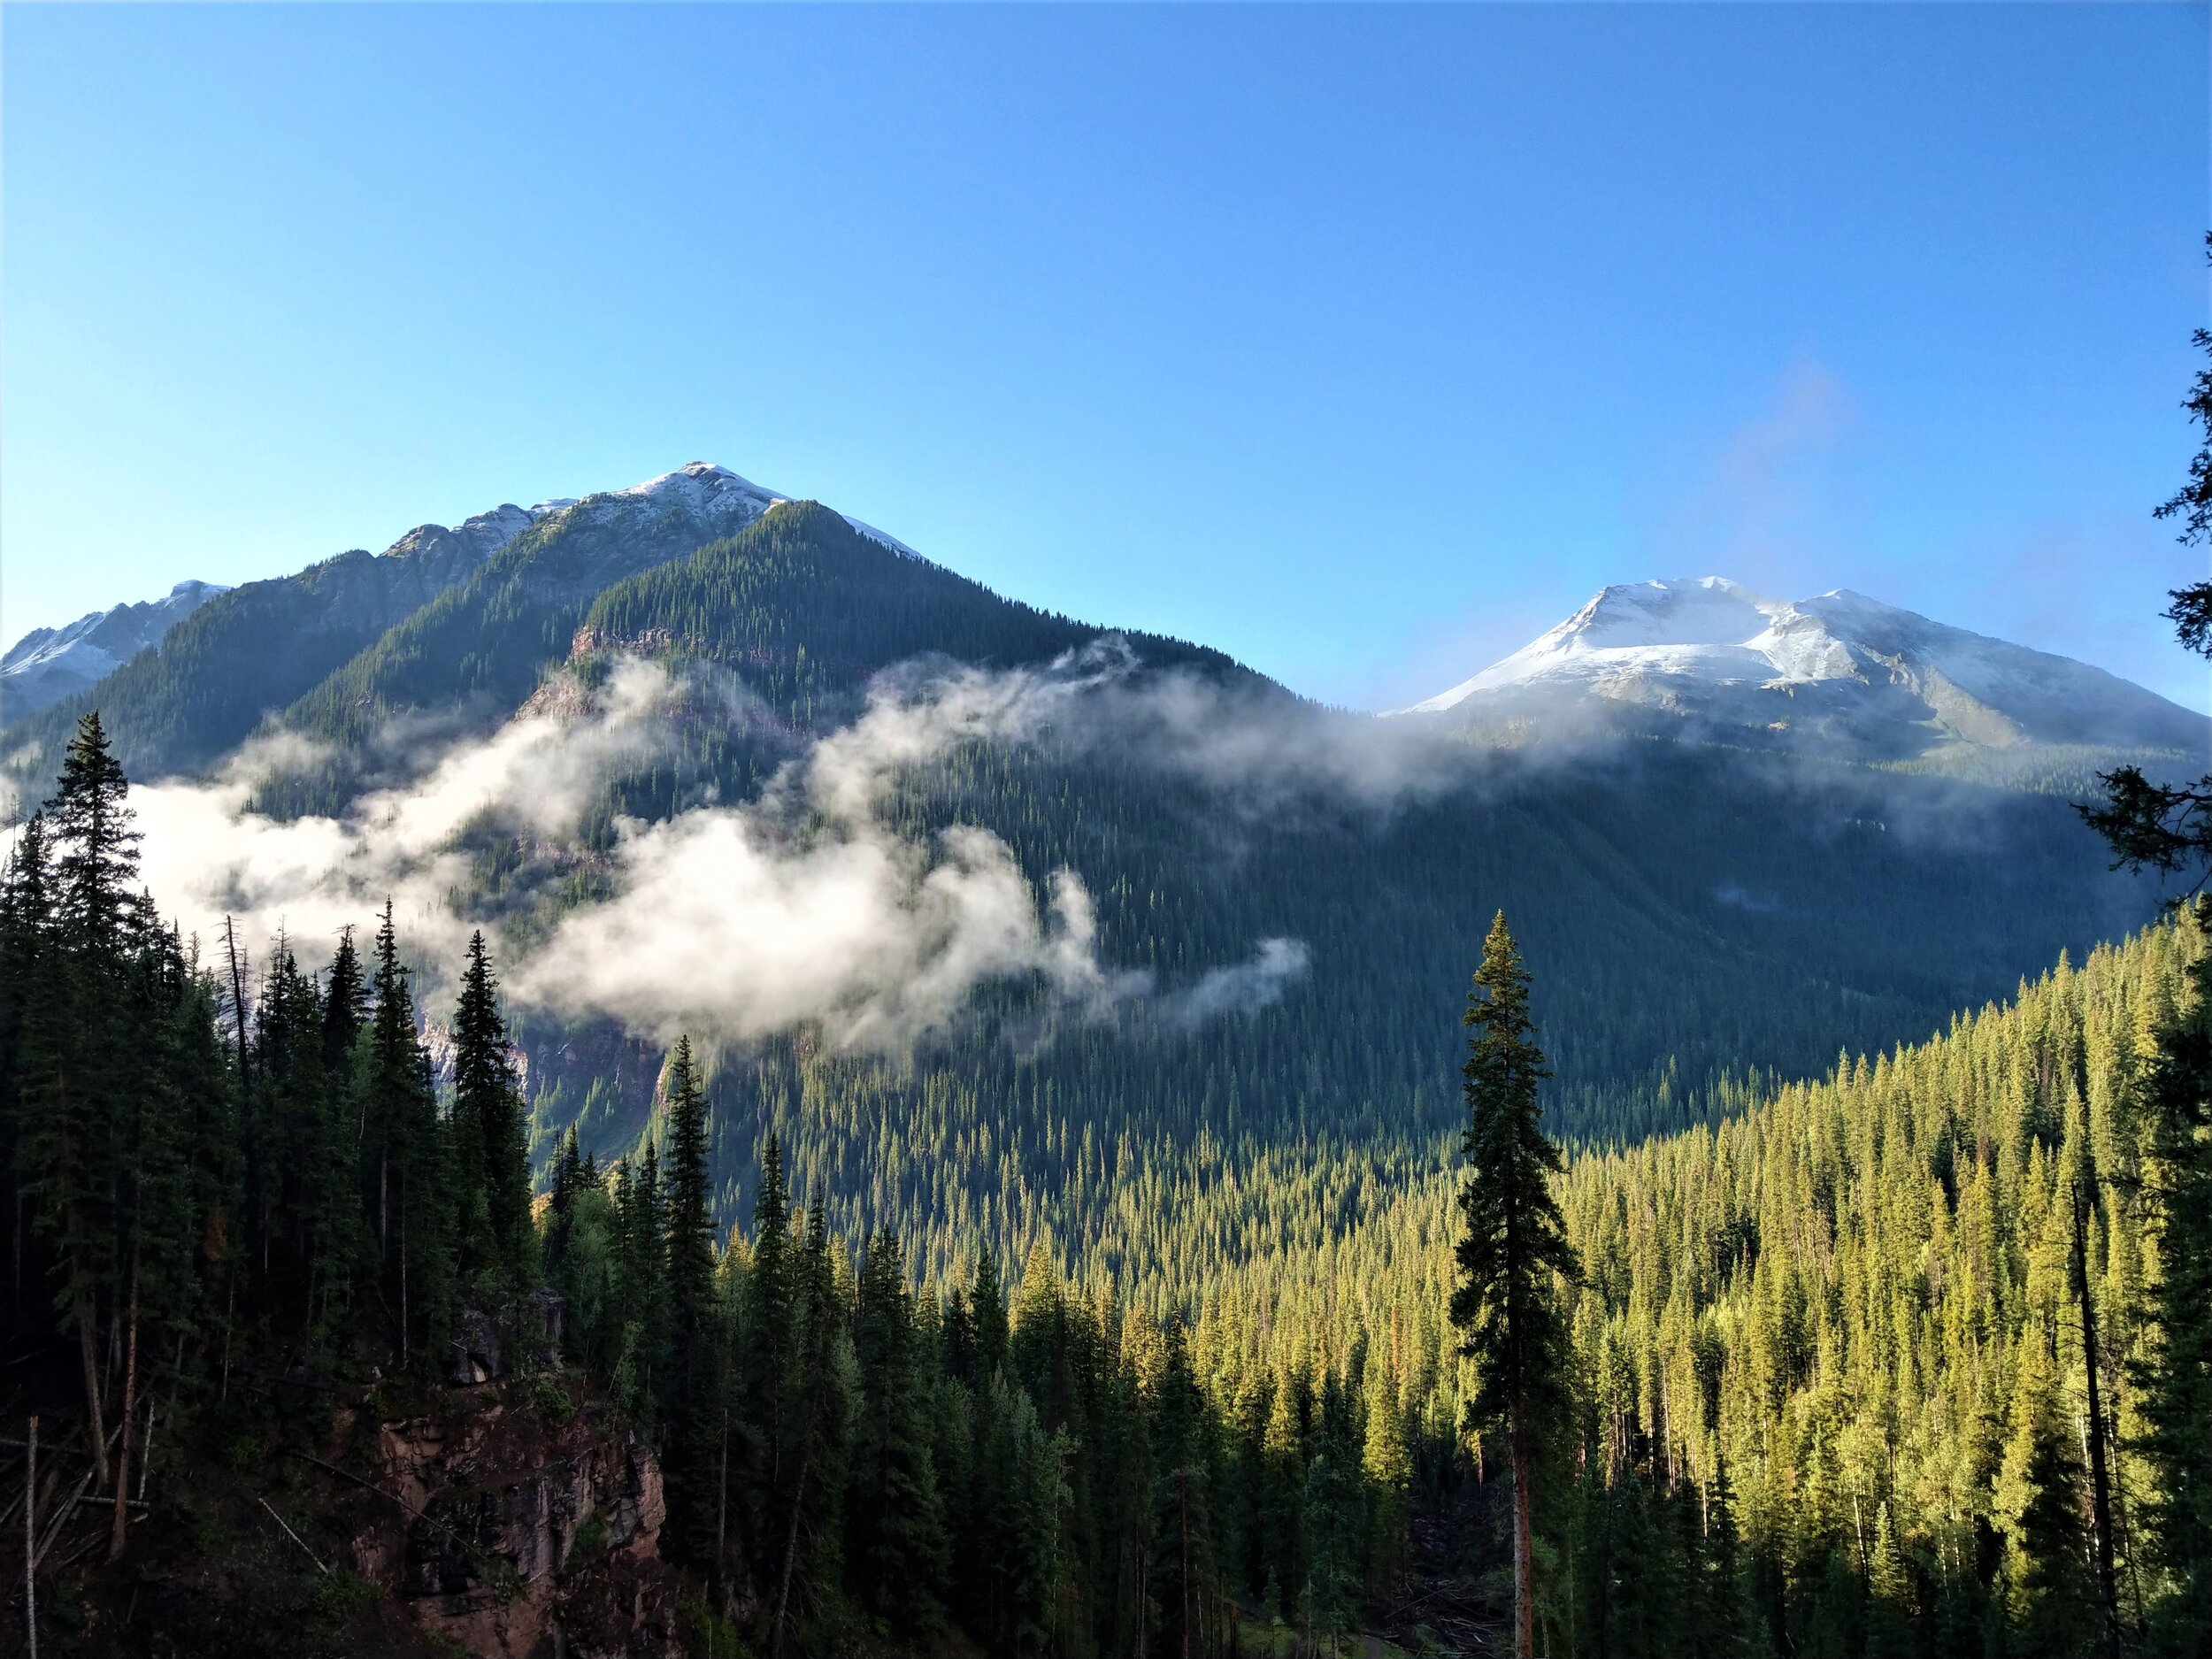
When we eventually crawled out of our warm sleeping bags, we emerged from our tent to see something quite unexpected…there was snow on the mountaintops! What was rain down in the campground was actually snow up in the higher elevations. It was super pretty, and actually, in our opinion, made the hike 1000 times more epic being surrounded by snow-capped mountain views. Even the campground host said we lucked out getting such an early snowfall, as it’s something most hikers in this area don’t see.
So, off we went, starting about an hour and half later than we originally planned.
At the trailhead, there’s a little booth set up. It looked like it was for rangers to hang out and help people get started on the trail by answering questions and giving advice. This wasn’t staffed on the day we hiked (a Tuesday) but we’re guessing it’s staffed more on the weekends when the bigger crowds come. There is a pretty good trailhead sign, though, with a map and trail information.
The overall hike wasn’t difficult in terms of technical features or anything like that. Its toughness comes simply from its steepness at such high altitude. Let’s go over each section of the hike.
The hike to Island Lake
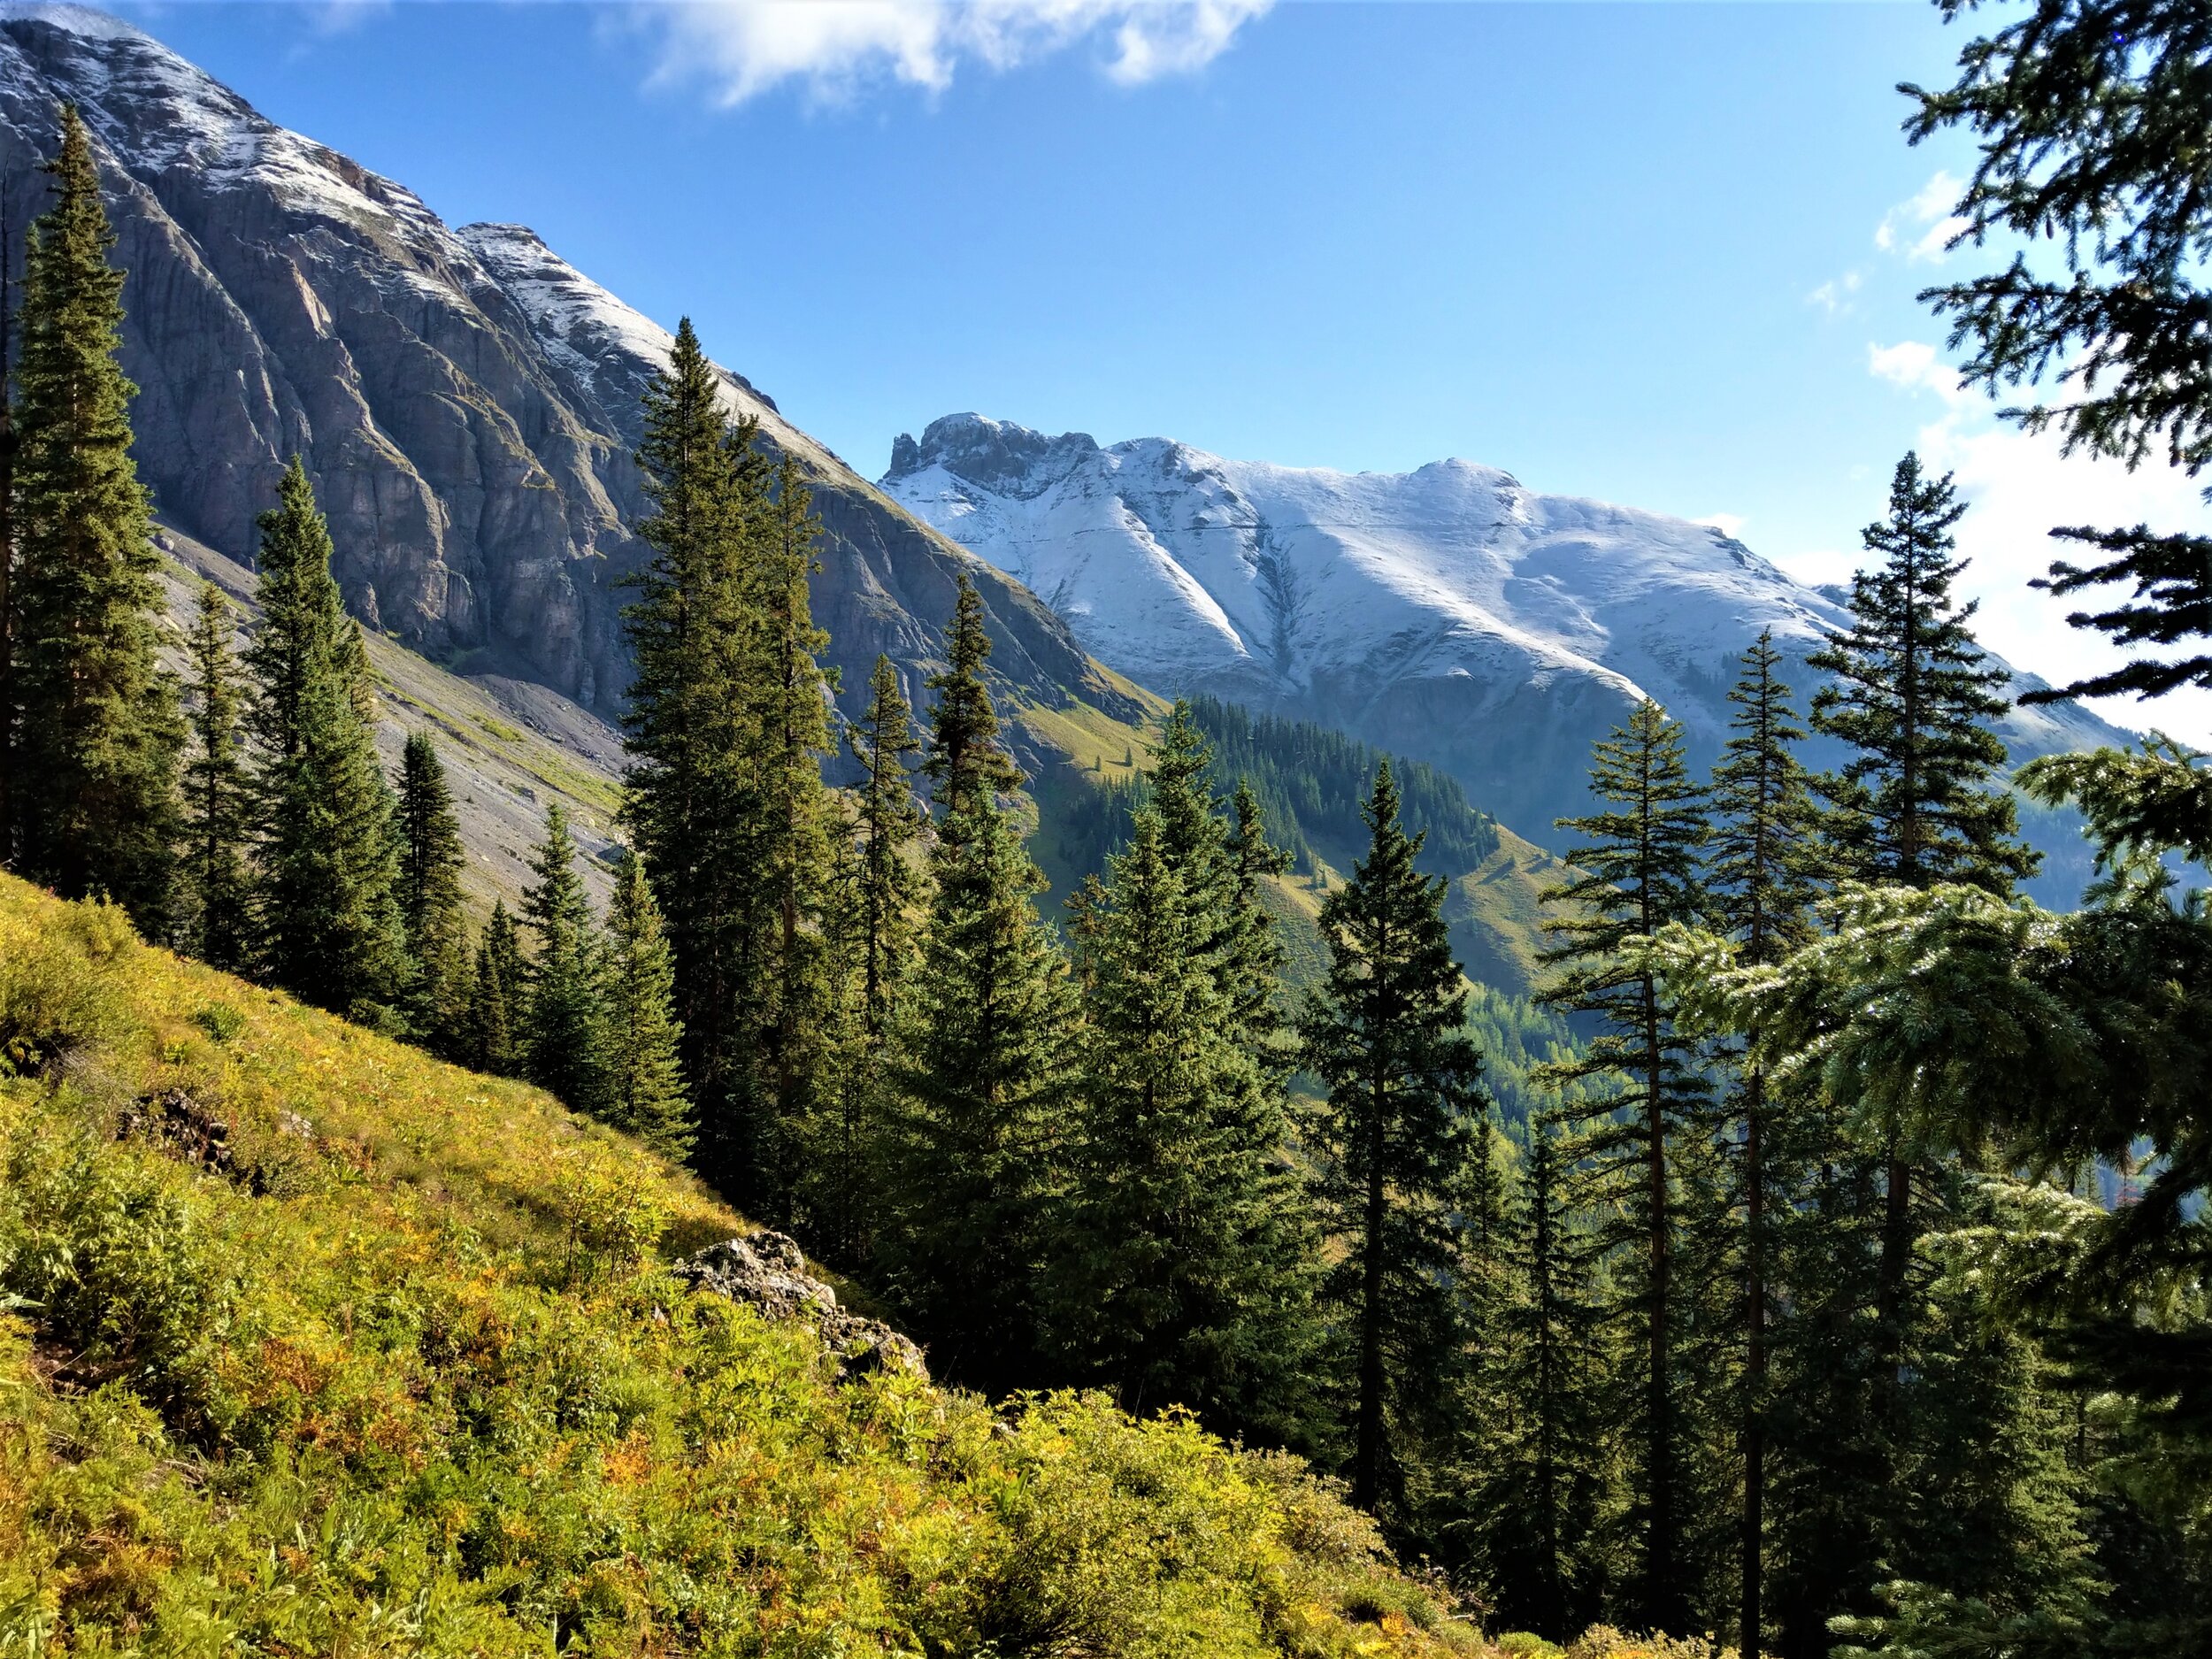
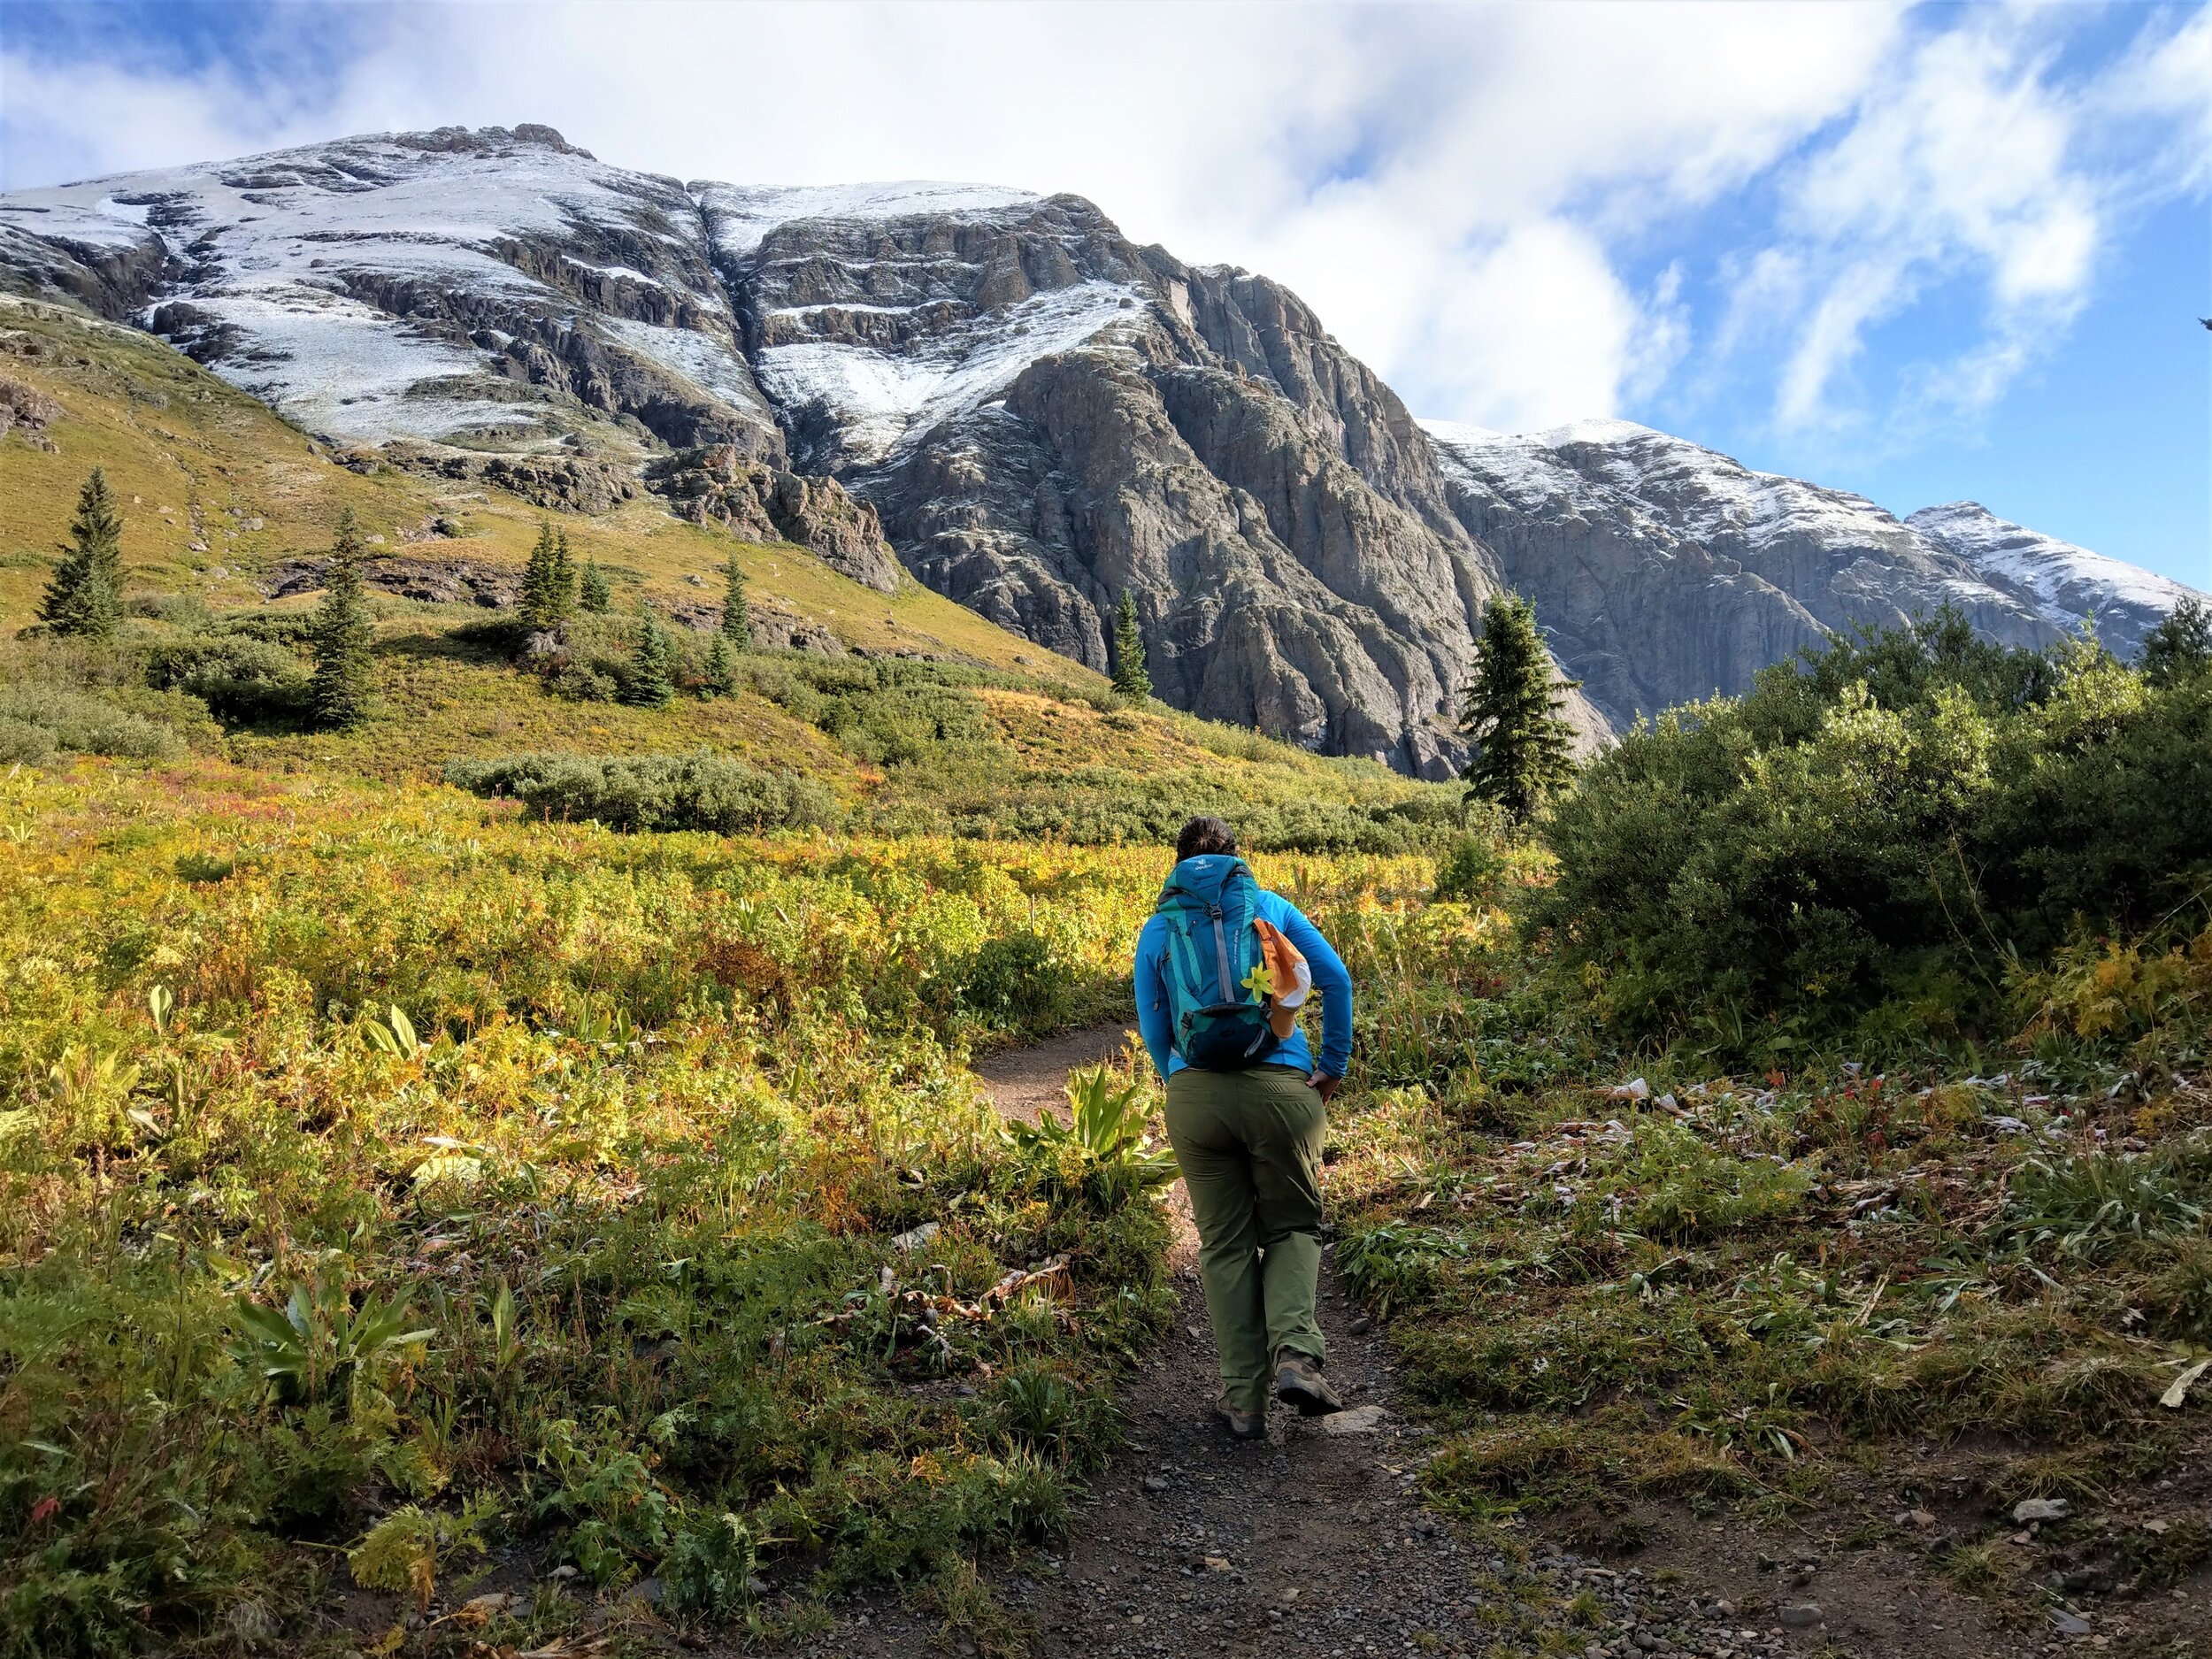
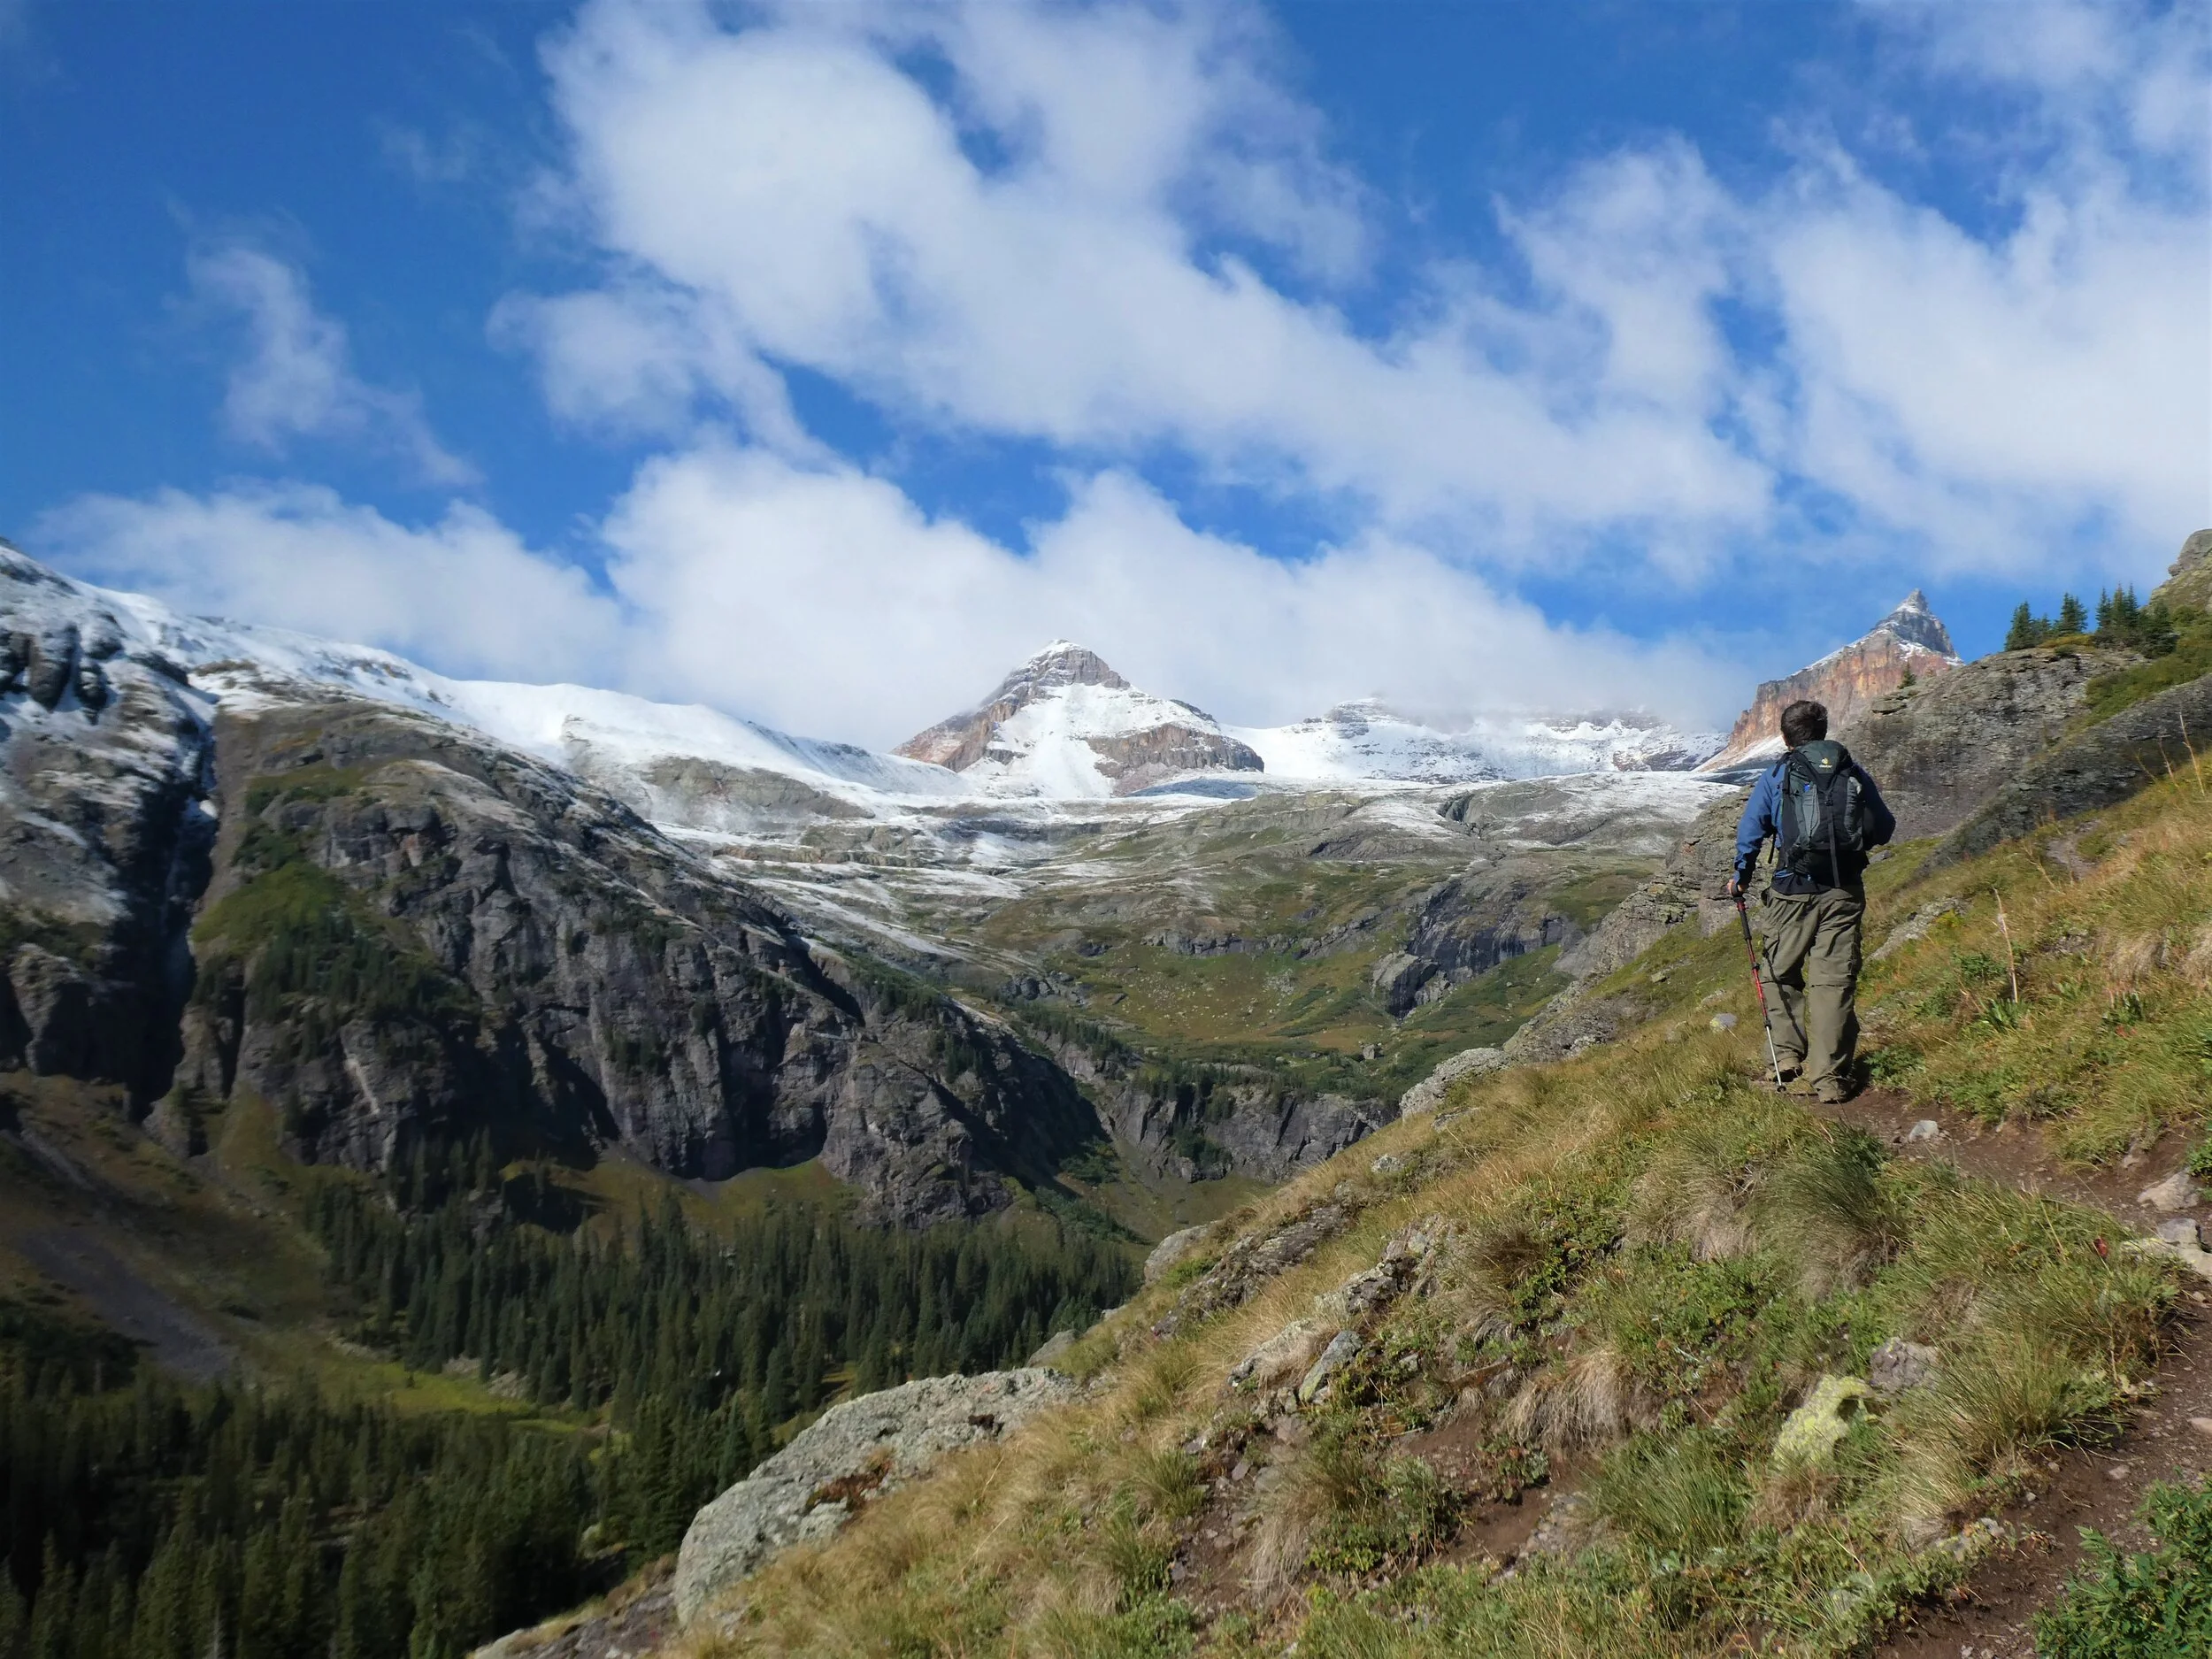
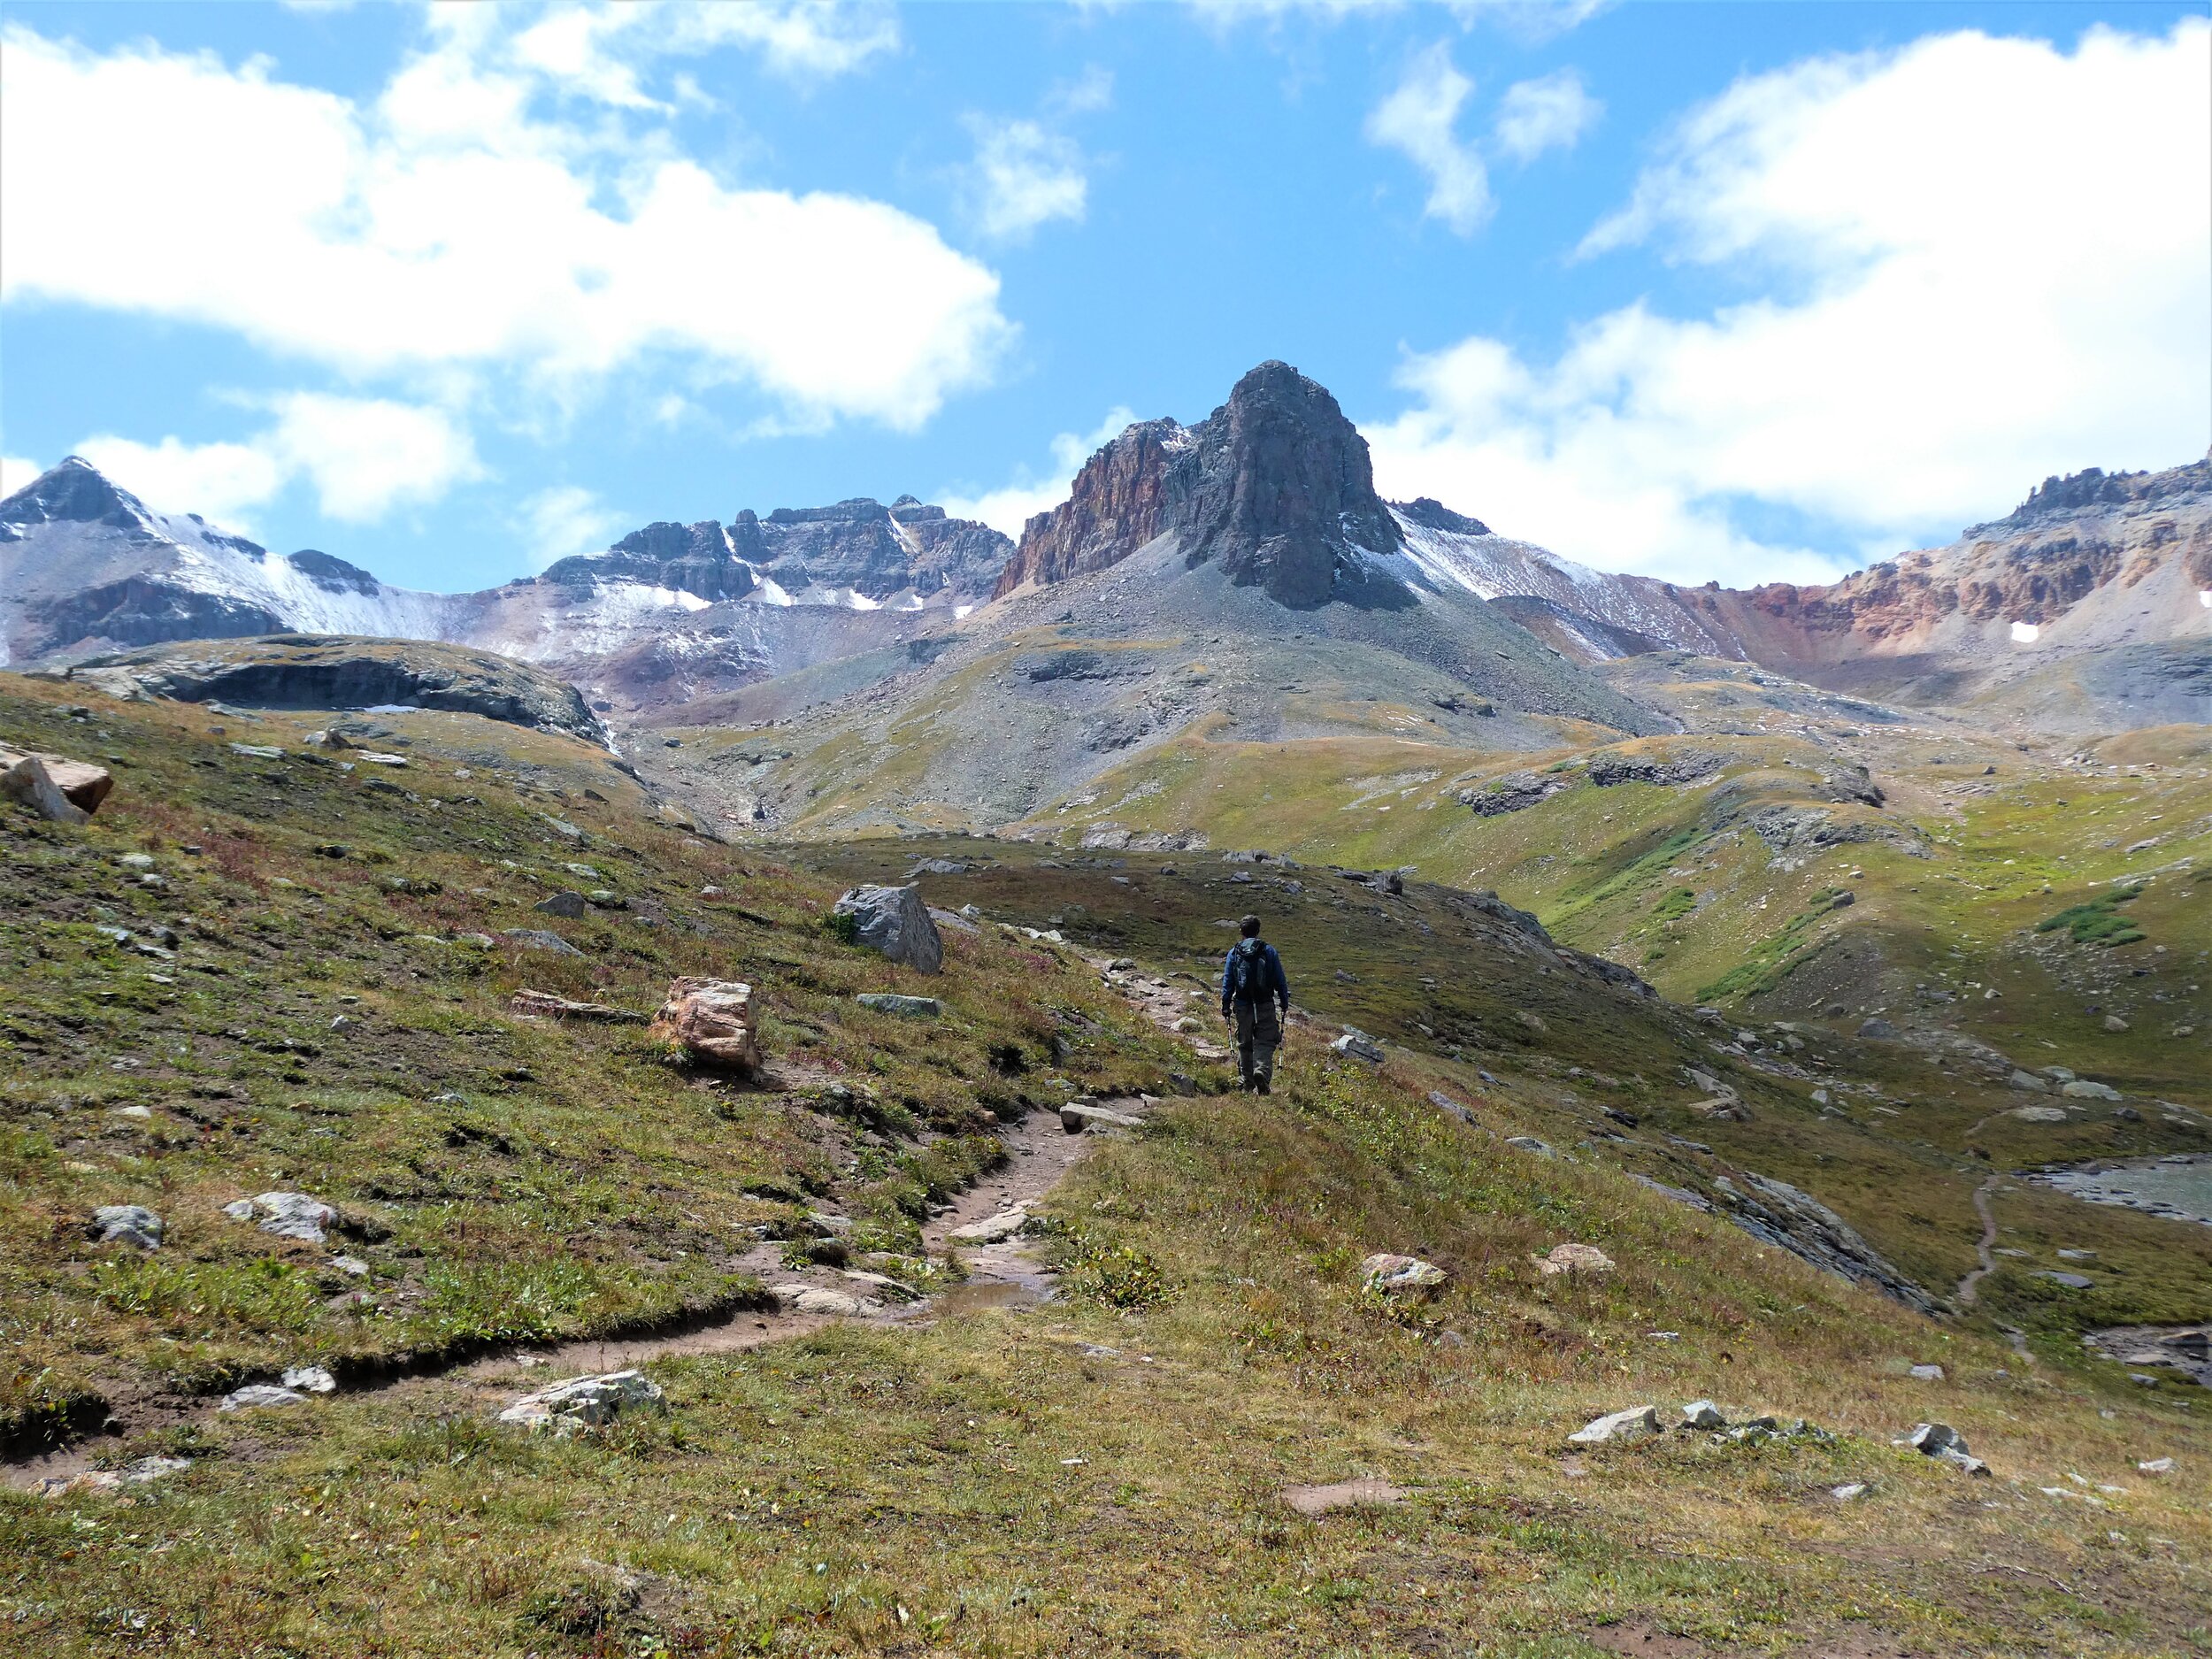
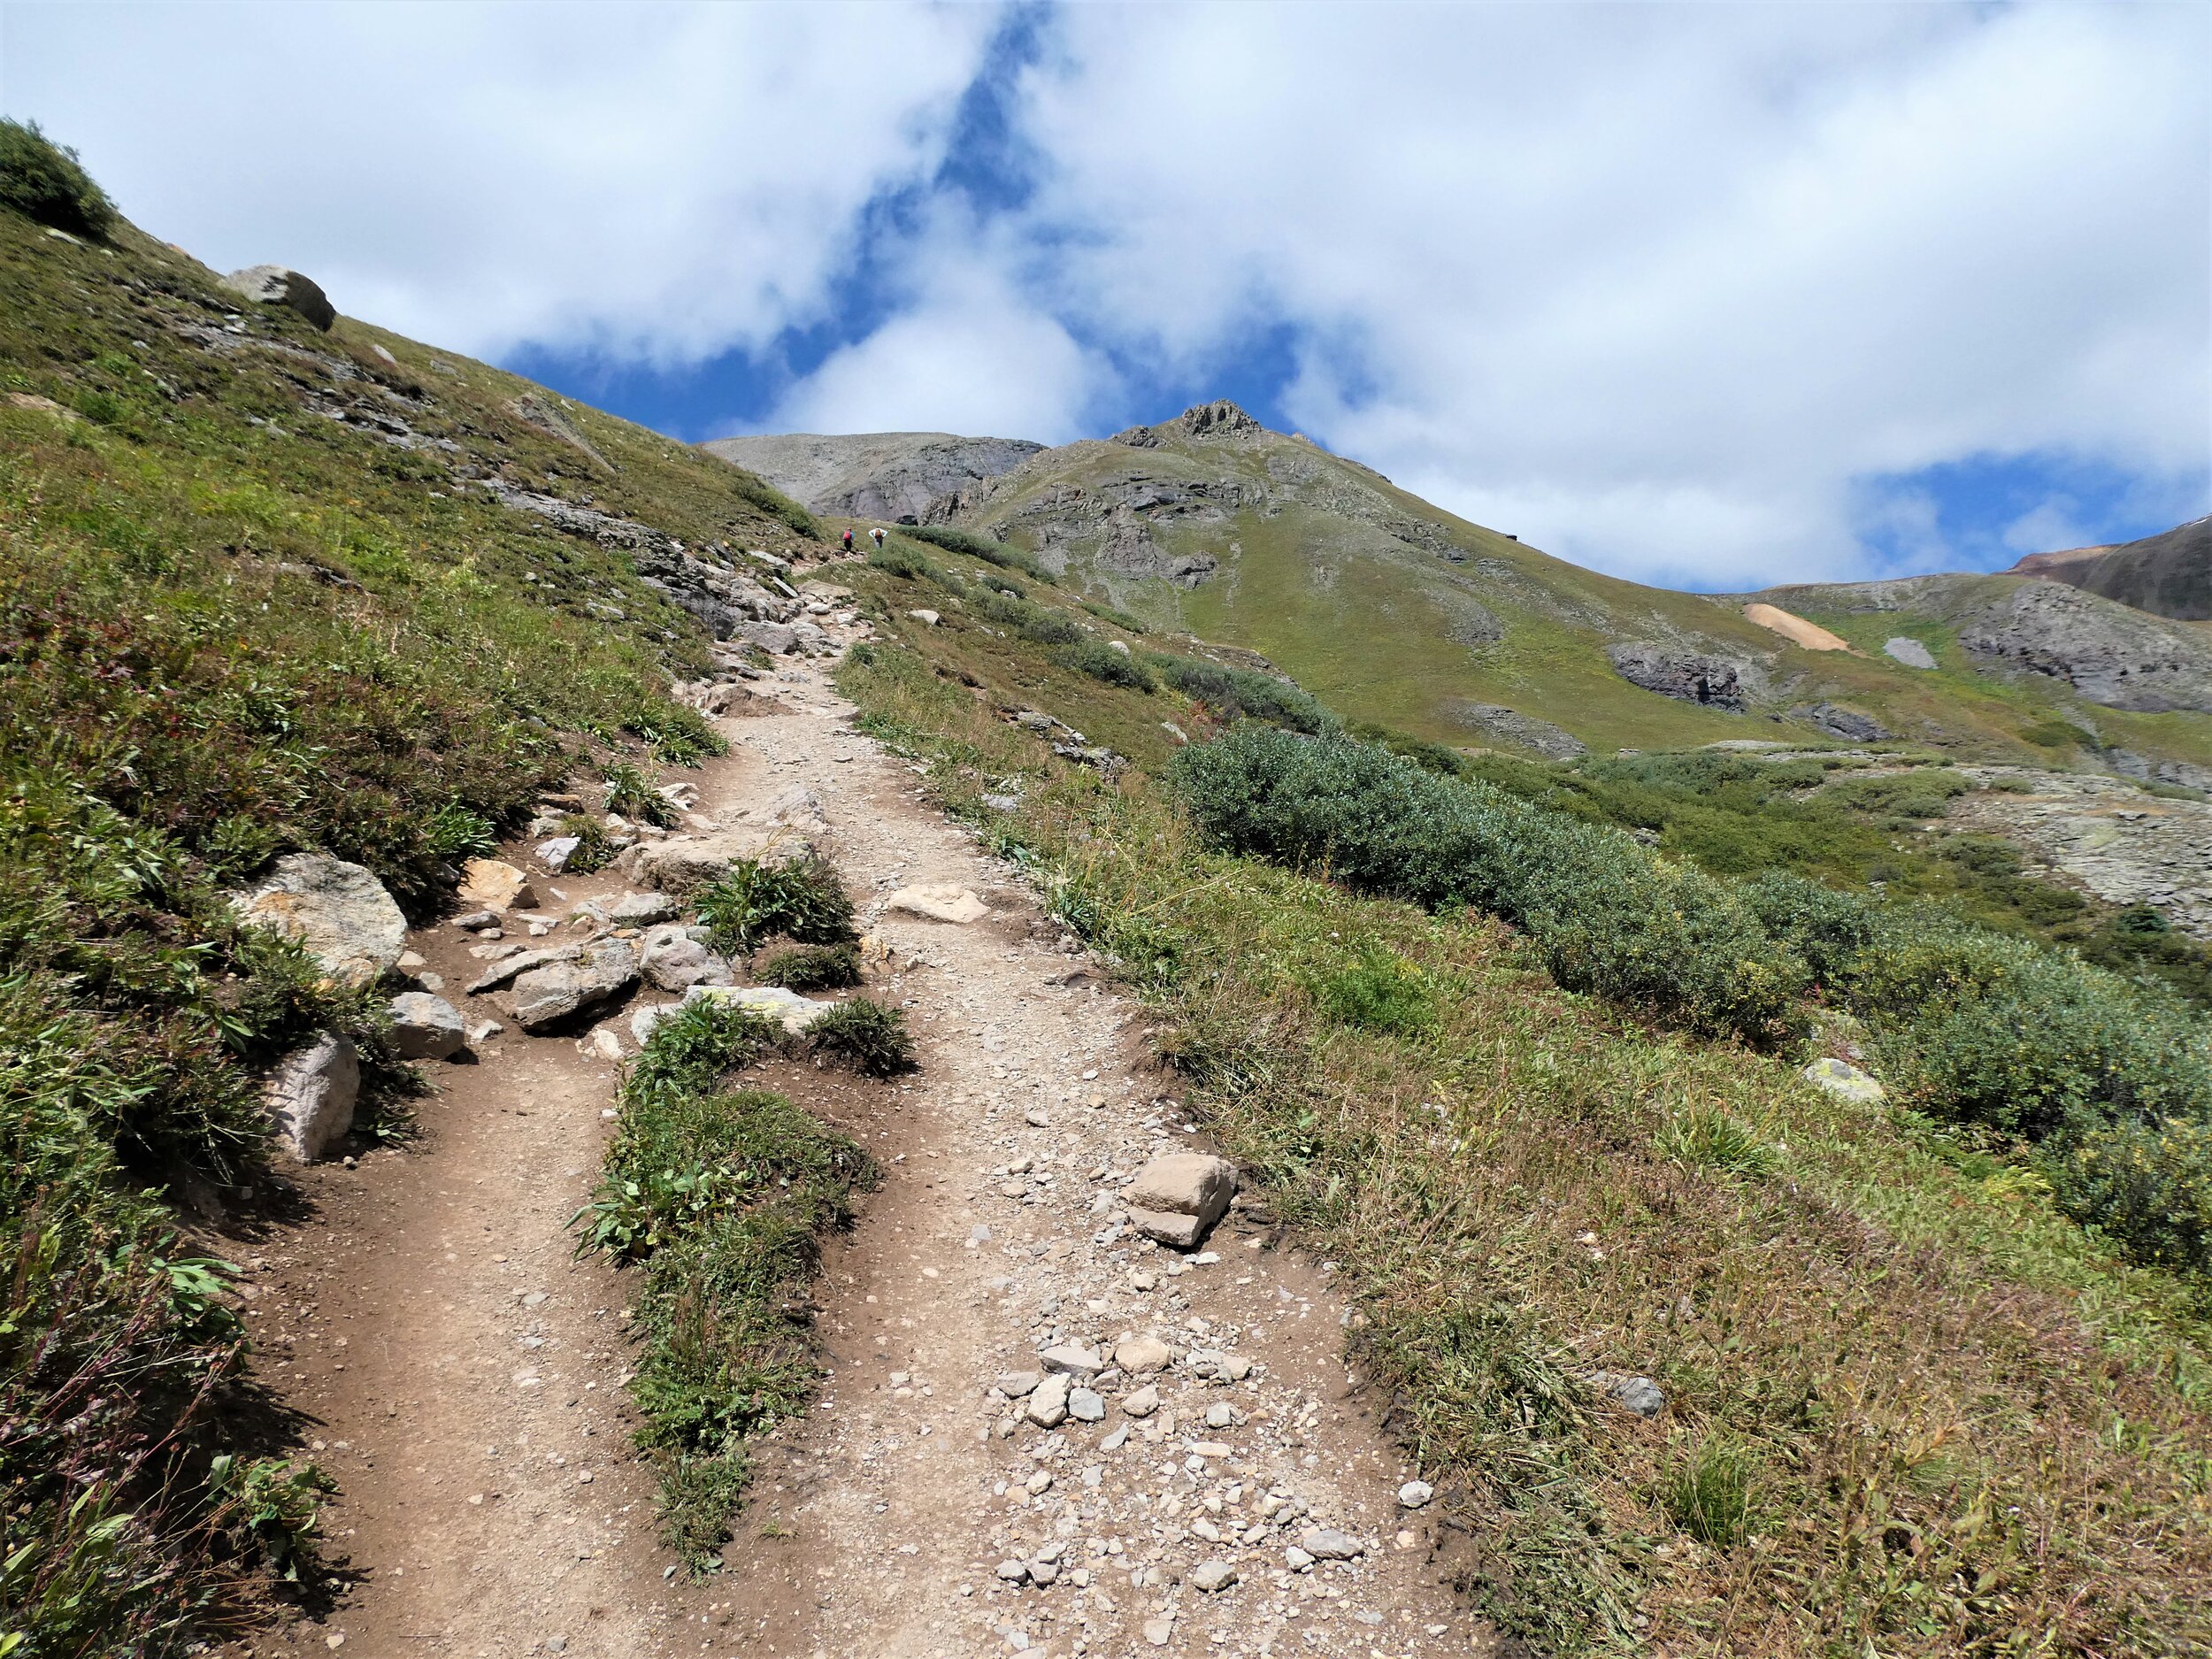
The first part of the trail is a steady climb up with some small switchbacks weaving in and out of the trees to epic mountain views that make you feel like you’re staring out at a real-life Bob Ross painting. The snowcapped mountains and the rising steam from the previous night’s rain just added to the scenery.
At one point, not far into the hike, you’ll have to carefully traverse over a shaky log bridge over a stream, and you can look upstream to spot the waterfall that feeds it.
As you make the steady climb up the head wall to Lower Ice Lake Basin, you’ll eventually emerge from the tree line and have stunning mountain views. We were already blown away with this hike long before we reached any of the lakes.
At around 2.1 miles, just before topping out at the basin, you’ll arrive at the junction for Island Lake. There is no sign, and so can be easy to miss since it’s just a small narrow dirt herd path going off to the right. We were a little unsure, but we decided to just take it because we knew we were at the right mile marker for the junction according to everything we had read. Our advice is to have some sort of GPS tracker so you can know when and where to look for this path so that you don’t miss it. We got there after about an hour and a half of hiking.
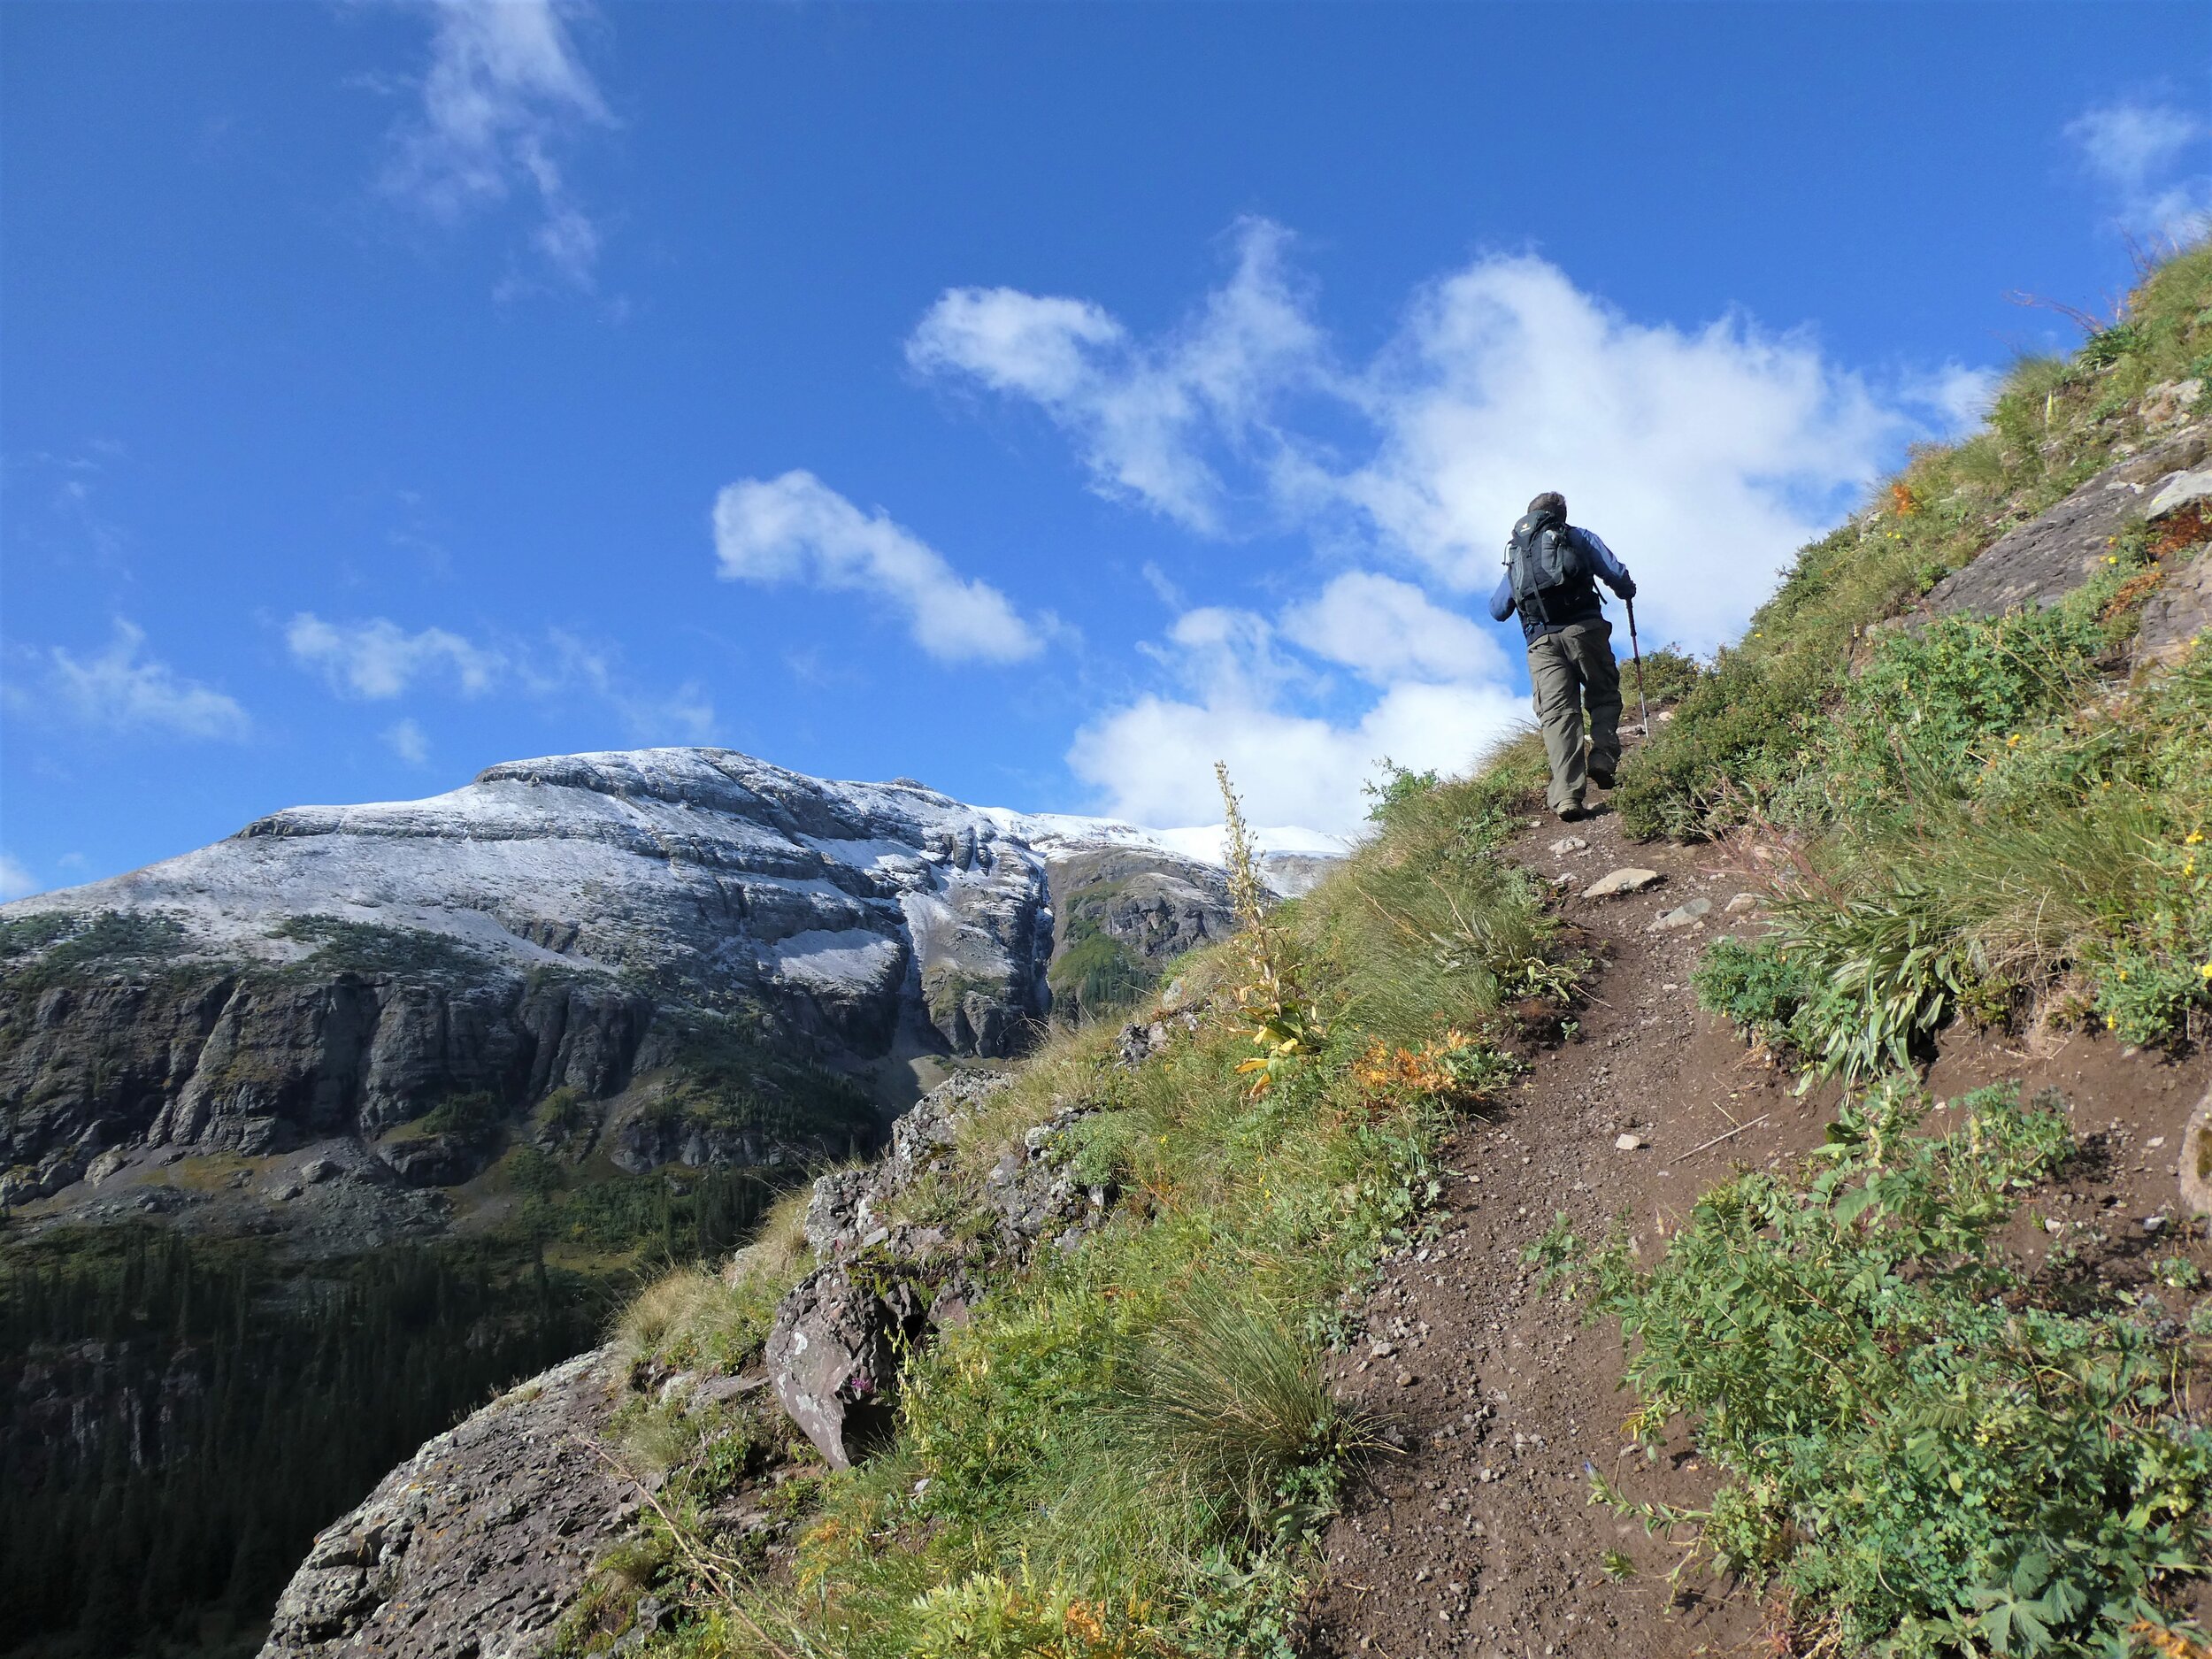
The trail from the junction all the way up to Island Lake is relentlessly steep. The junction is at about 11,430 feet, so this trail climbs 1,000 feet in just a mile up to the lake. It took us just over an hour (I was going pretty slow because of the altitude).
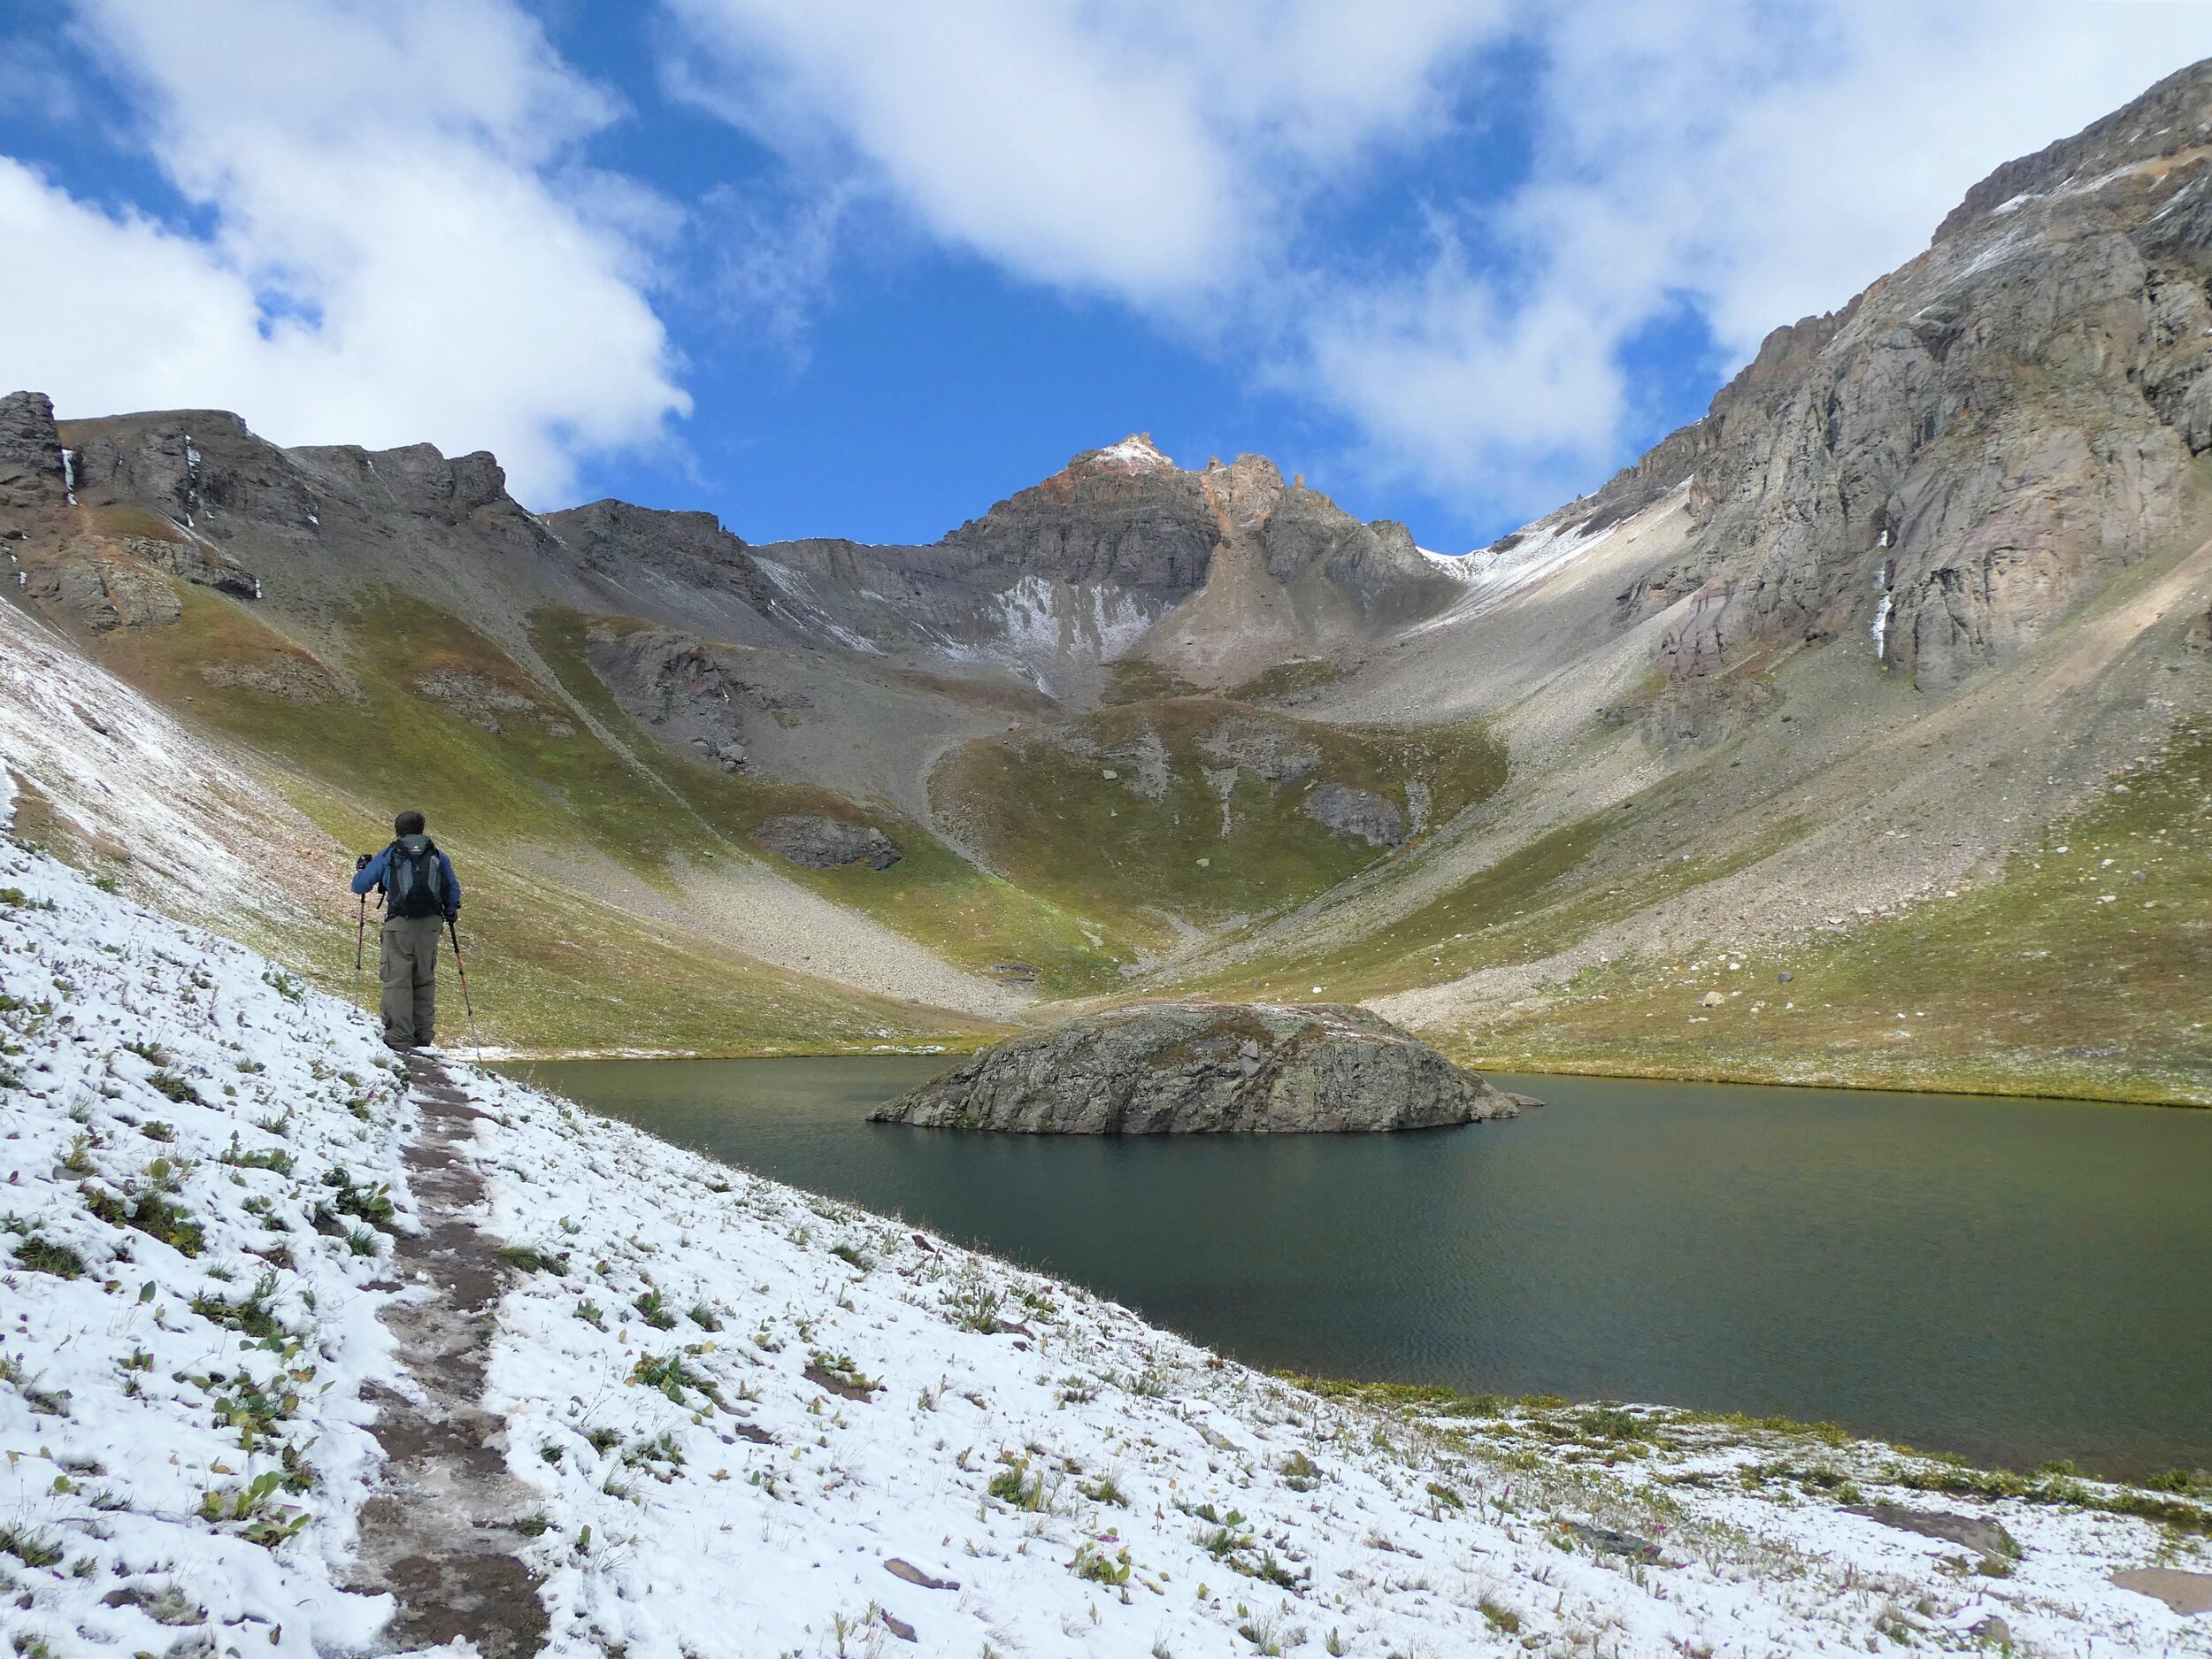
When we hiked this, we started noticing flecks of snow in the landscape around us until we were walking full on in a thin layer of snow from the night’s previous snowfall. It was really pretty and unexpected!
When the trail begins to finally flatten out, you know you’re almost there, and the lake is just ahead. You’ll pass a small tarn to your left and begin to see the lake’s famous backdrop come into view ahead, and you can breathe a sigh of relief that your climbing for the day is pretty much over.
As we got closer and closer to the lake, I was getting excited! At first, as we were climbing, I was a bit worried that Island Lake would be frozen over and that snow would be covering the famous backdrop I had been anxiously waiting to see. But when I saw that characteristic green and brown mountainside backdrop, I knew it was going to be good, and I couldn’t wait to see that brilliant turquoise water I had been waiting for years to see.
We finally emerged over the final crest to see the lake, and…
Well. Ok. Honesty time here. I was a little let down. But let me explain. Here is Island Lake…
Not quite the bright turquoise green water we were hoping to see, right? The color of the lake was extremely dark, almost black.
I’m not gonna lie, this got to me for a little bit. I just couldn’t help but think that I waited years to come here and drove over 2,000 miles one way to see those colors and well, they weren’t there. (But don’t worry, I got over it, and the rest of the hike more than made up for this slight disappointment, but we’ll get to that in just a bit.)
I hung around the lake for a while, desperately hoping the colors would magically change before my eyes. Maybe the sun just needed to shine on it more strongly. Maybe the rain from the previous night diluted out the rock flour color a little bit and if I just waited a little bit longer, it would change and everything would be good. As you might have guessed, that didn’t happen.
But let’s be real. The lake was still gorgeous, and I knew I was lucky to finally be standing here regardless, so I couldn’t be too upset really.
We hung out a bit around the lake, enjoying the views and exploring a little. You’ll see along the right side of the lake there’s a narrow herd path that climbs up the side of a mountain to a pass…called Swamp Pass. We actually had plans to make this short climb up, but there was just too much snow, making the narrow path slippery and dangerous. Kevin climbed up a short way to get a little bit of a view, but turned around shortly after.
Oh, and be sure to keep your eye out for little alpine critters!
Another awesome thing about Island Lake was that there was really no one there. Actually, from the trailhead up to the lake, we only passed by one other pair of hikers the entire way who happened to be our neighbors at the campground. When we got to the lake and perched ourselves atop a rock with a view, we watched as various parties came and went, but they were all spread out and didn’t really linger at the lake at all. So it was pretty quiet and we pretty much felt like we had it to ourselves.
So the big question…why wasn’t the lake the gorgeous turquoise color? My answer? I have no idea. My guess is that it’s quite often not this amazing unreal color, but of course, that’s what any social media picture or brochure will show. Even the ranger tent at the trailhead has a picture with the famous blue color. And so I think you just have to come mentally prepared to expect one of those Instagram versus reality situations. My best guess is that the snow and rain from the previous night just diluted out the rock flour that gives the lake its characteristic color. But when we got back to the land of cell service, and because I couldn’t stop thinking about it, I looked up recent pictures uploaded onto All Trails from various hikers, and pretty much every picture of the lake that had been uploaded throughout this particular hiking season showed the lake with that dark color, whereas all the pictures that were uploaded from the previous year were mostly the famous turquoise green. So, I’m not really sure what that means, but if you know the answer…let us know in the comments!
The moral of the story: don’t come expecting the color, but if you do get it, then consider yourself lucky and embrace it!
The hike to Ice Lake
From Island Lake, continue along the trail that leads up the hill to the left of the lake. This is where the hike gets good…like really good.
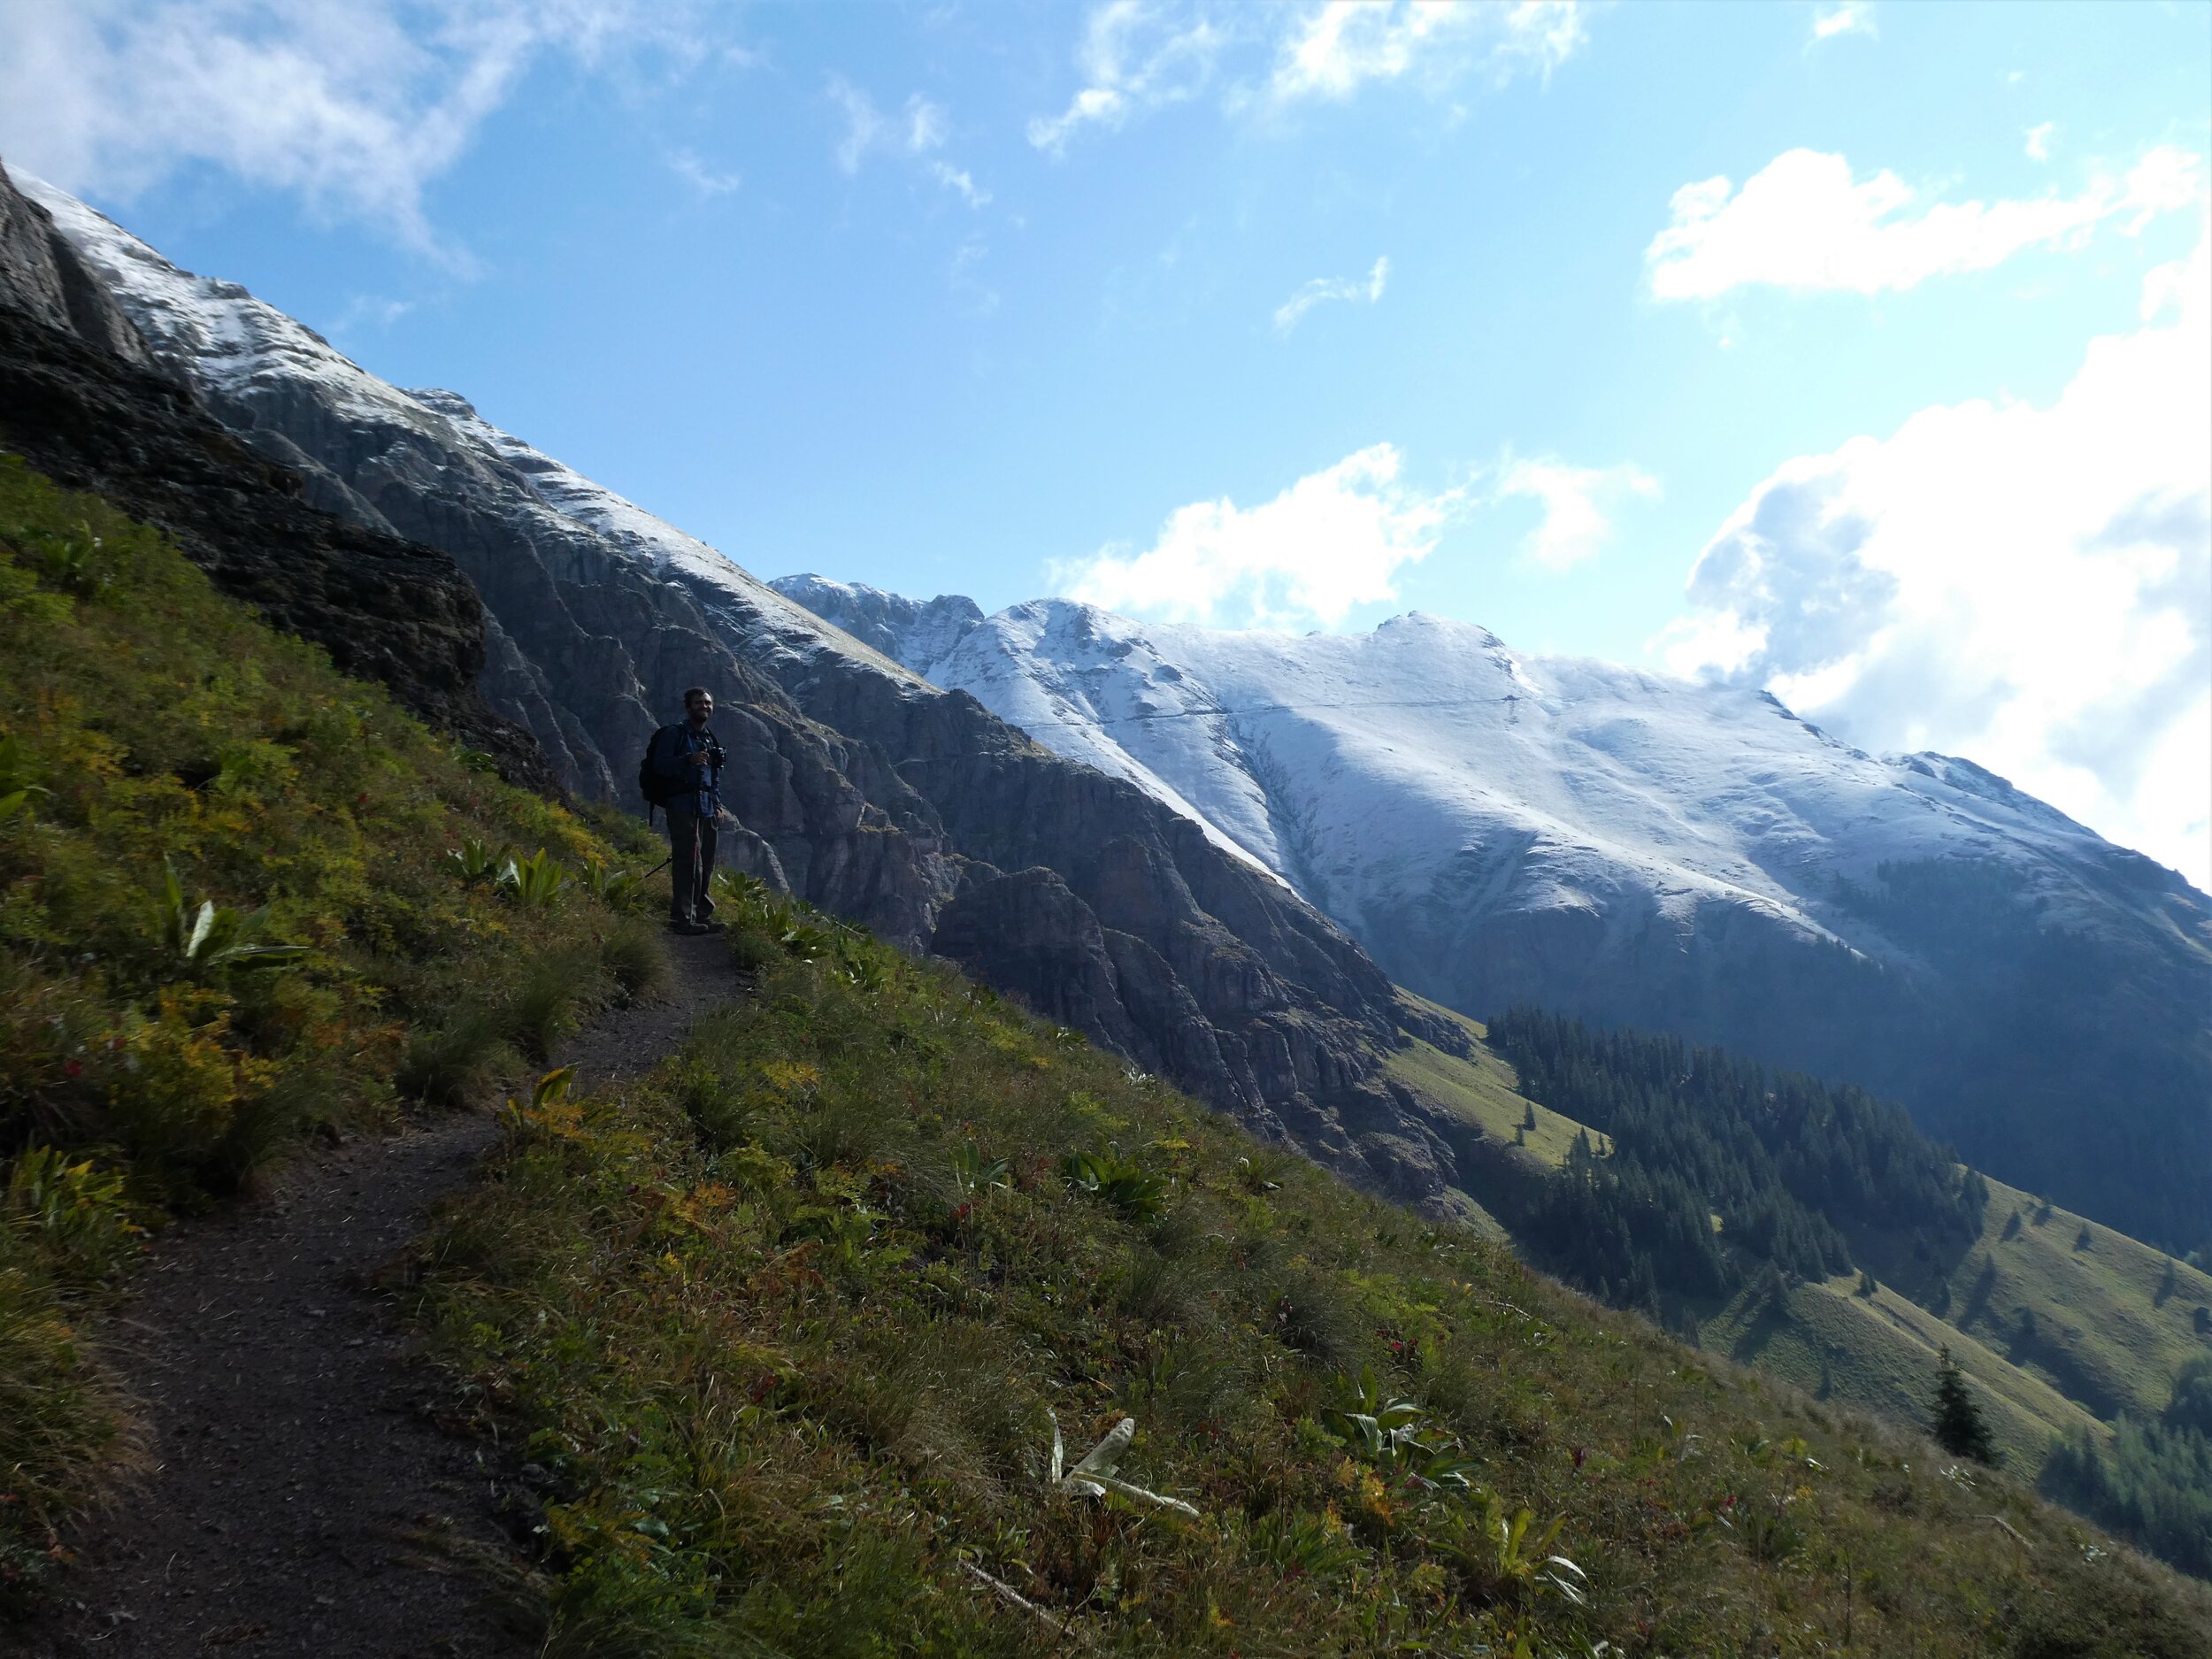
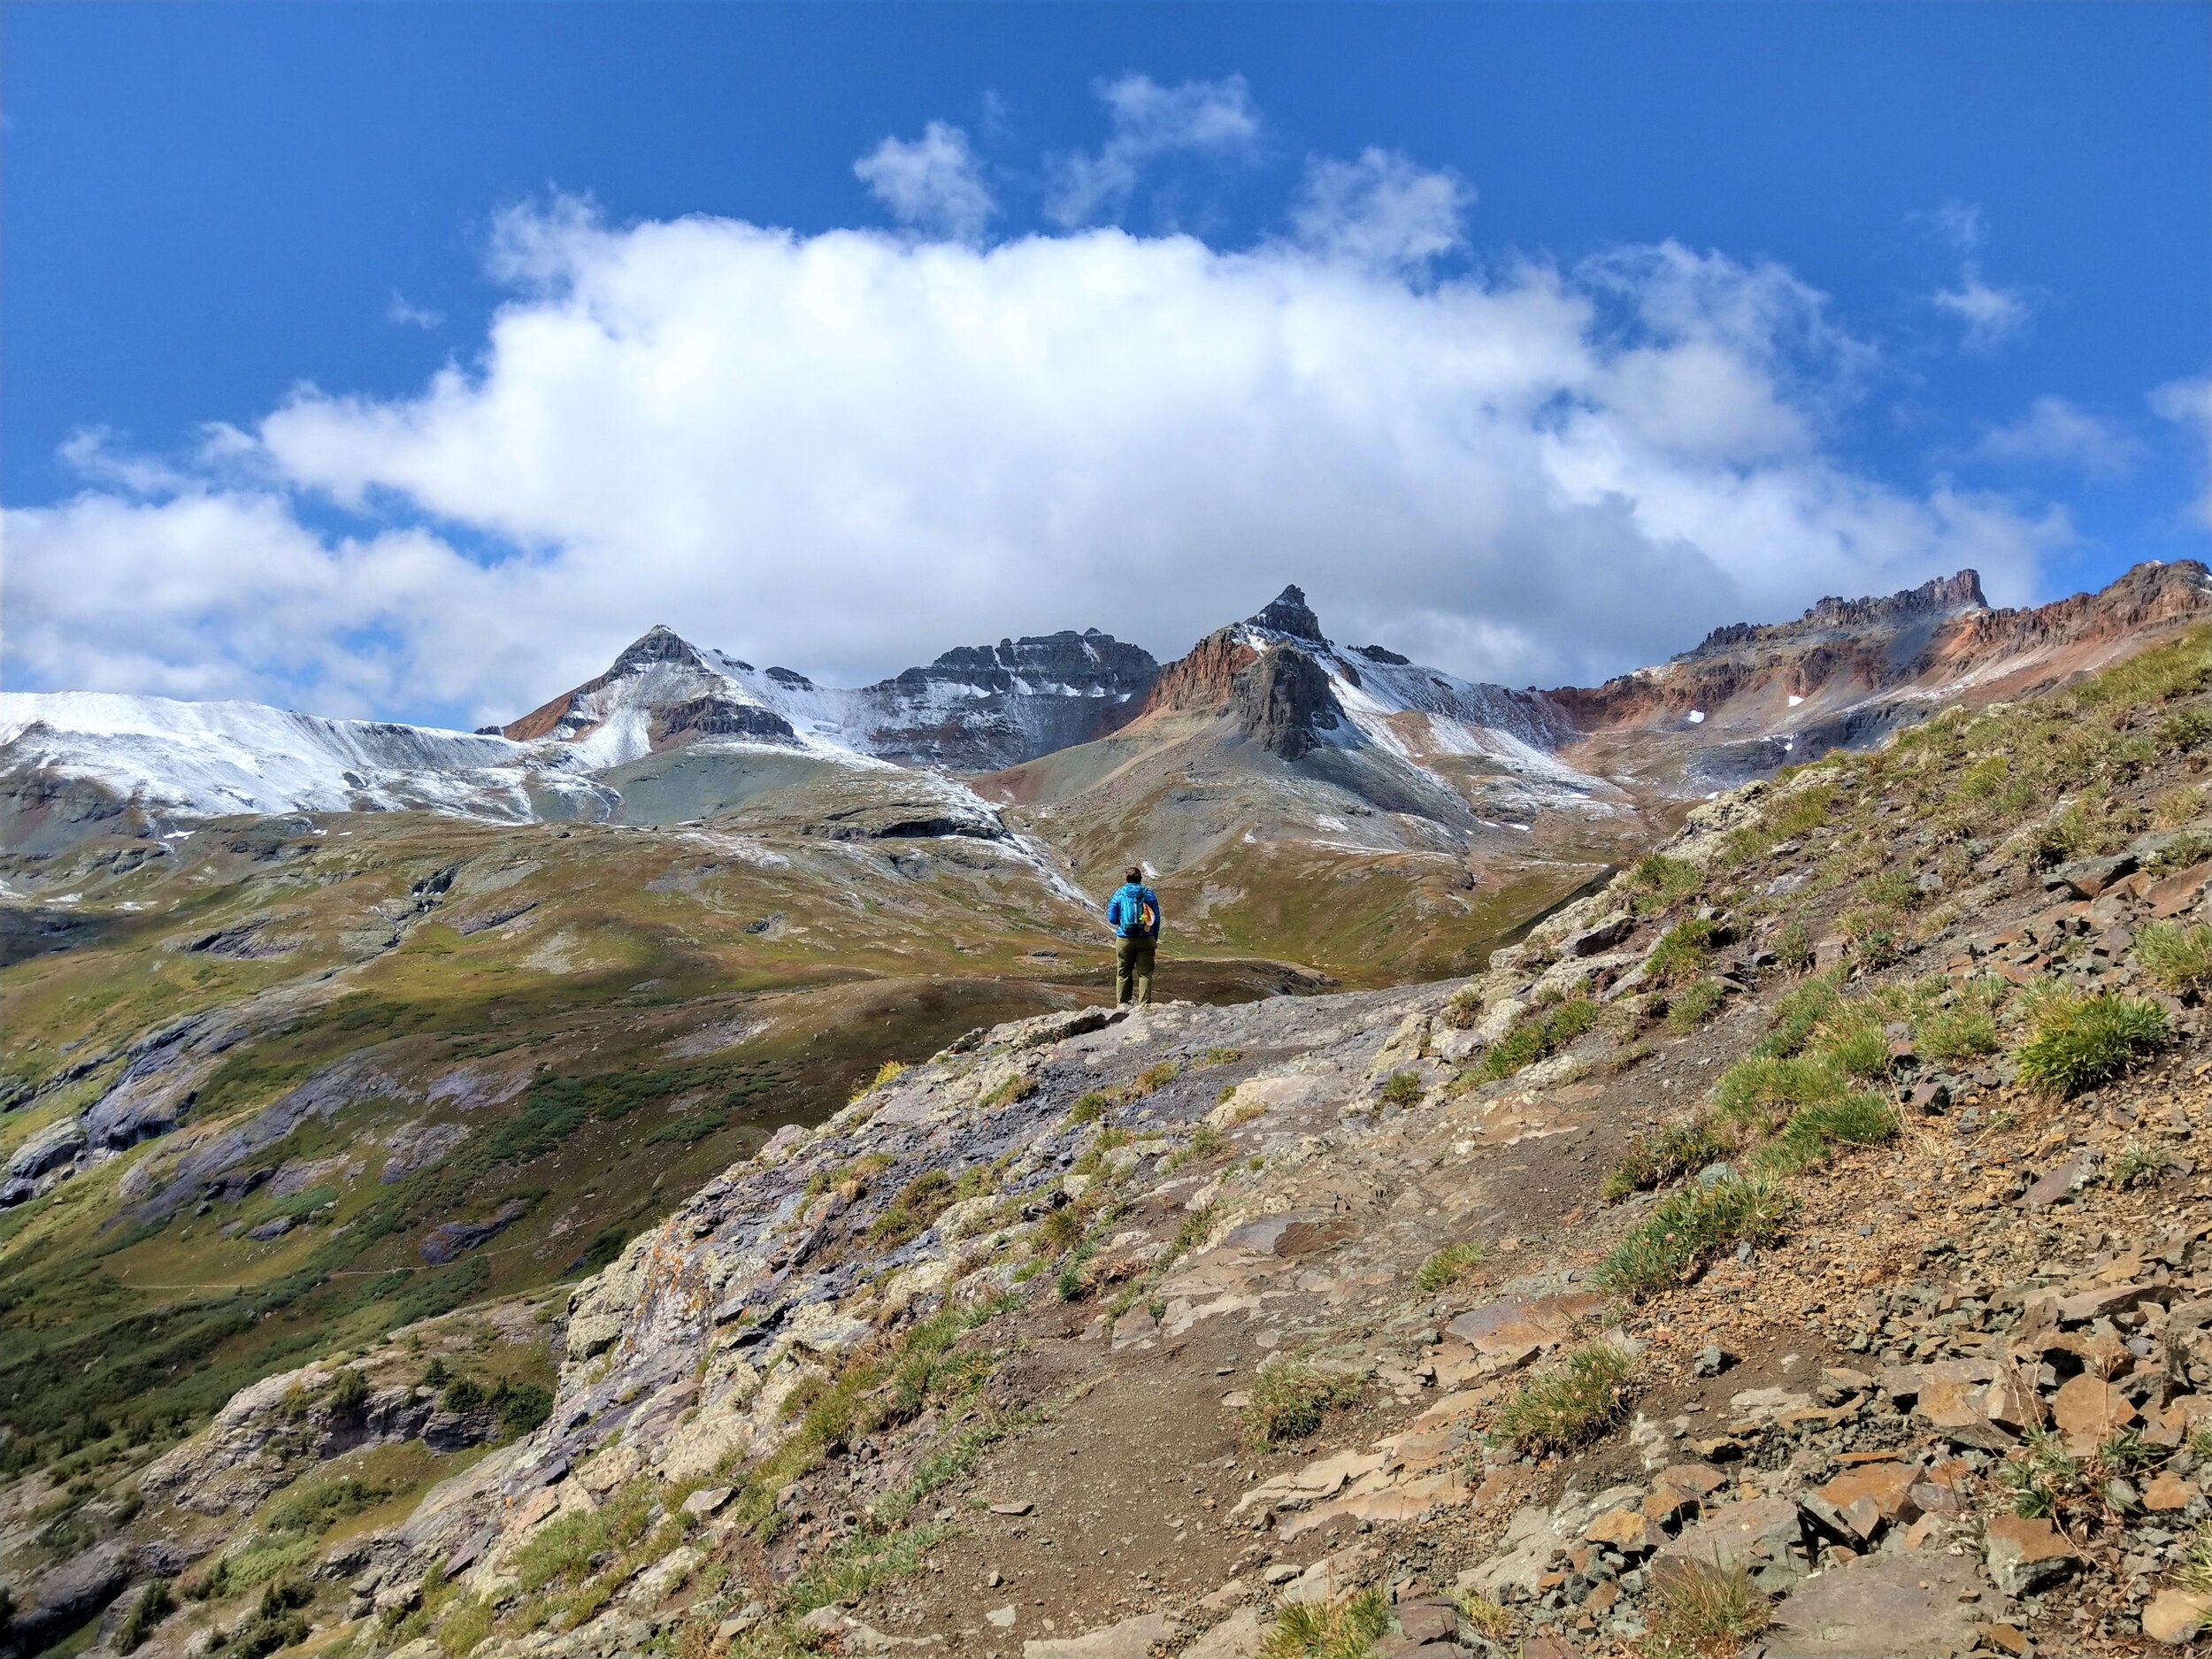
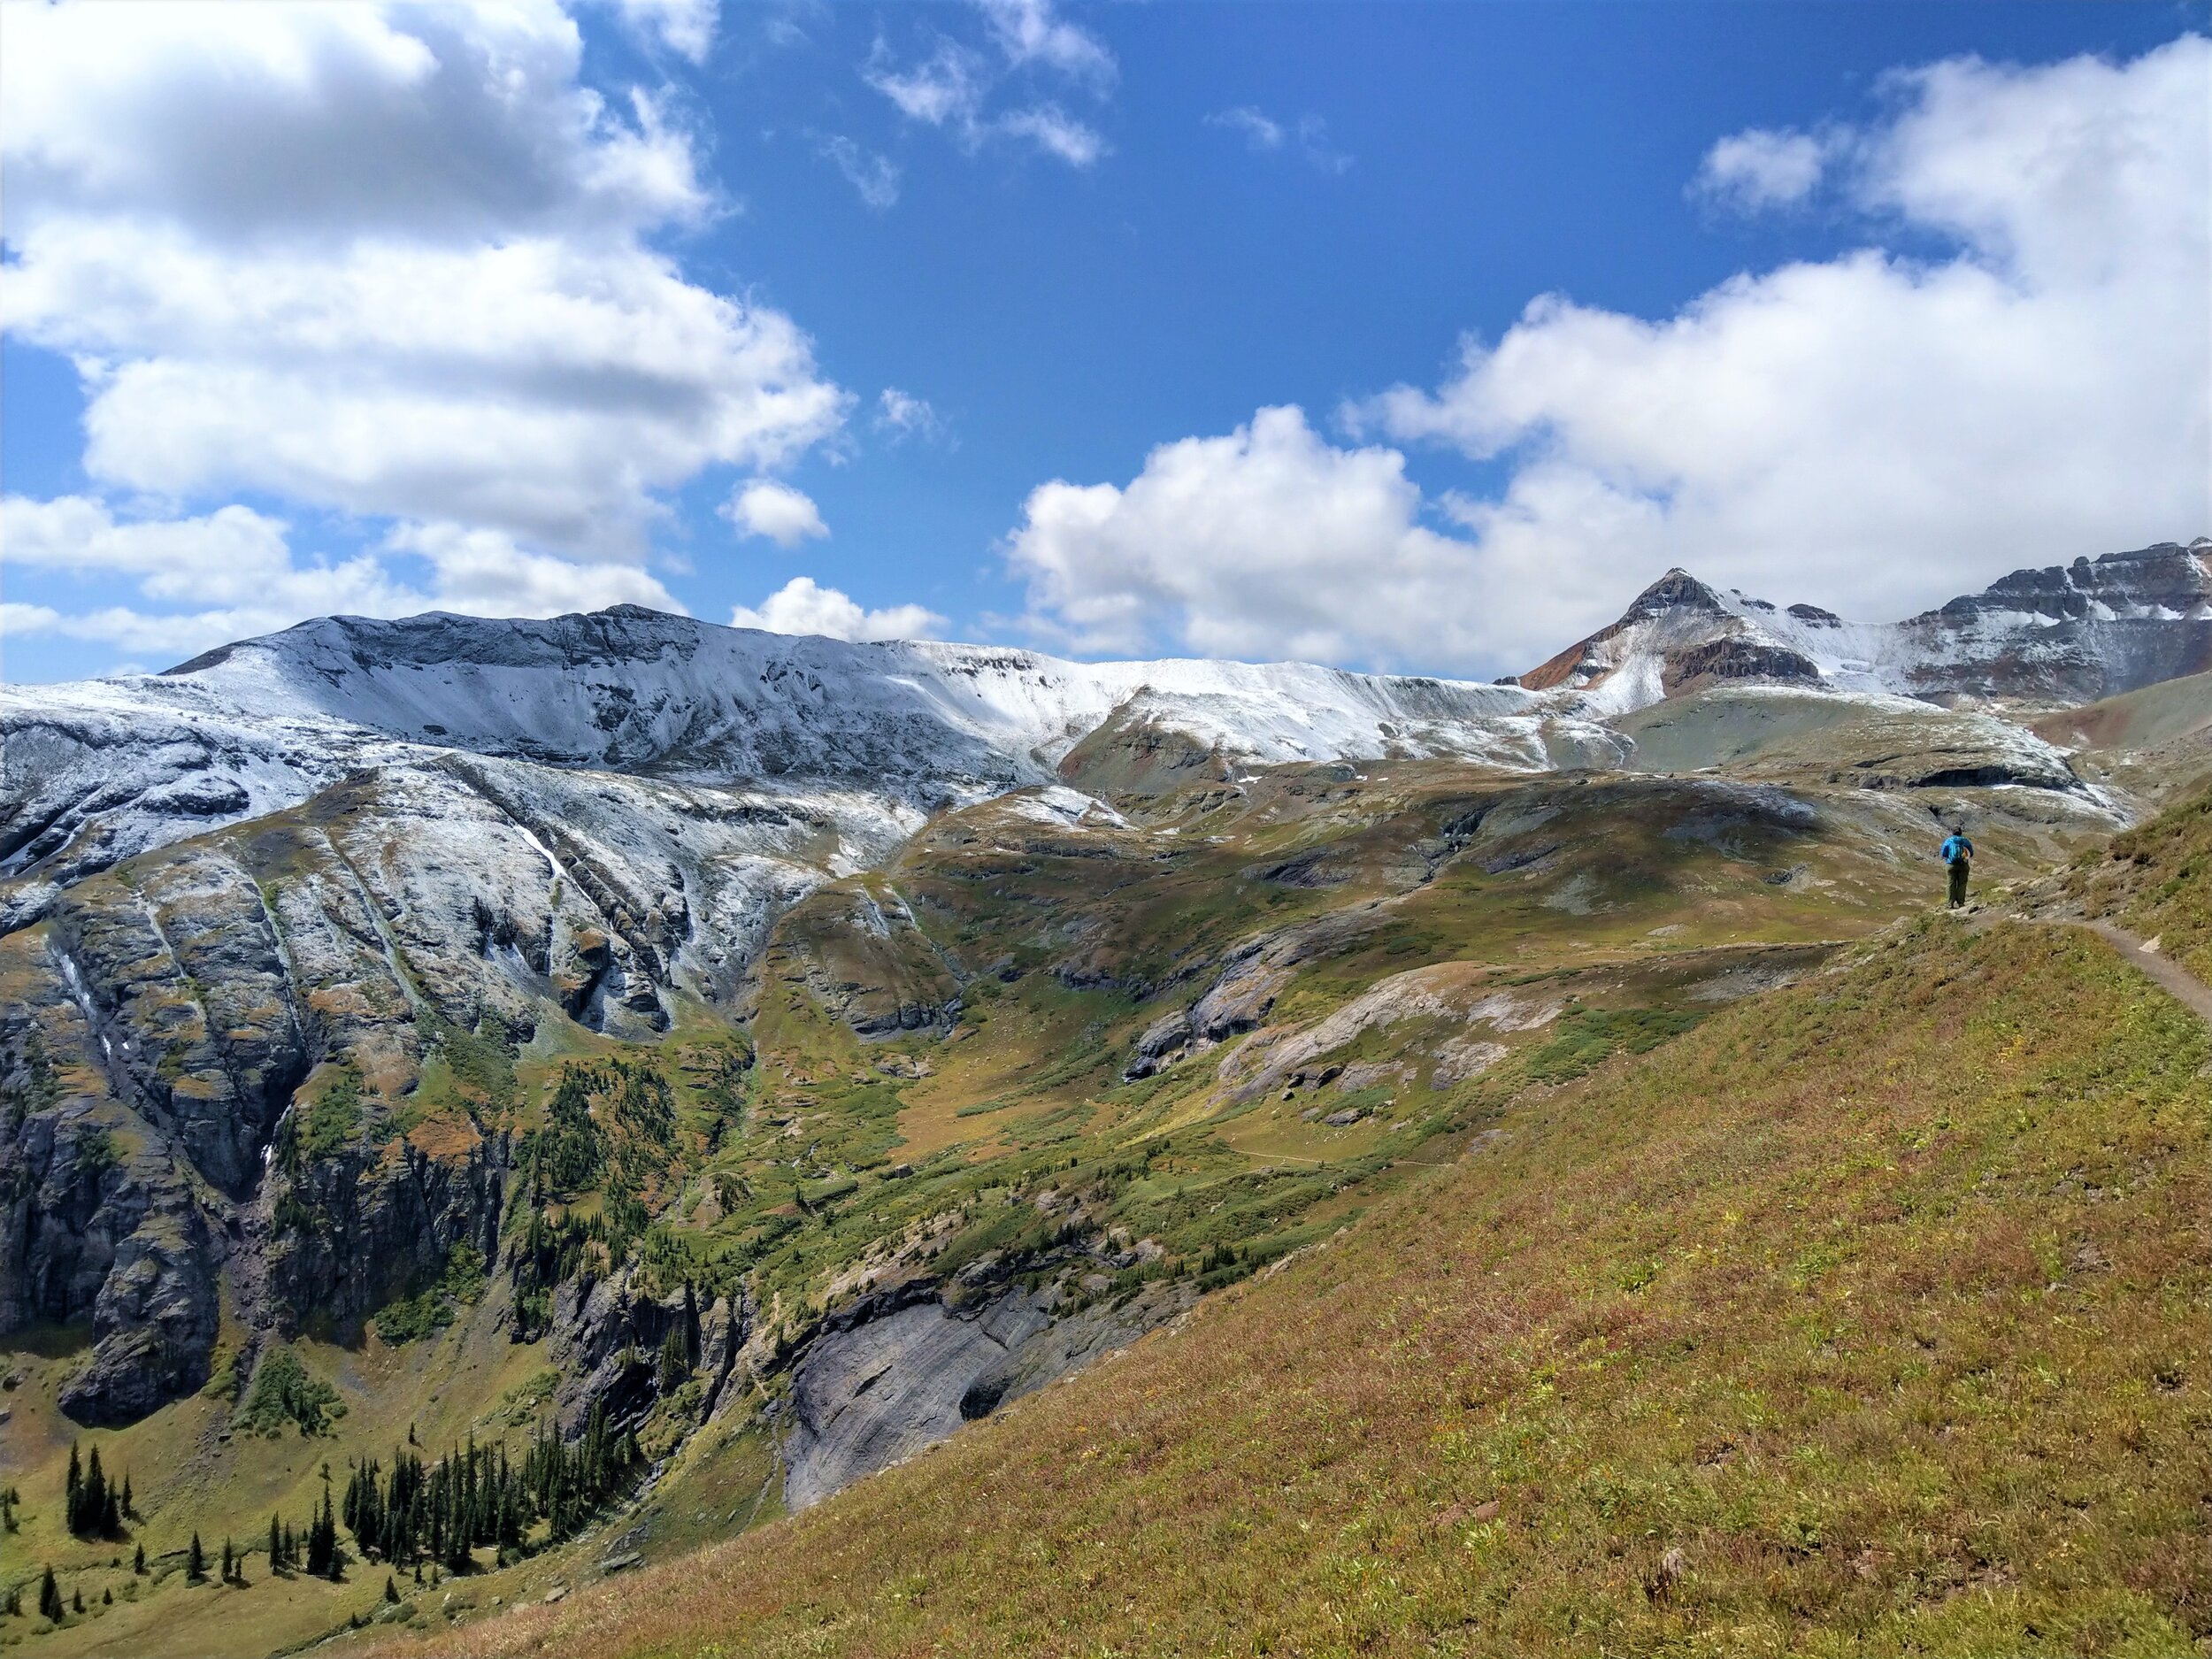
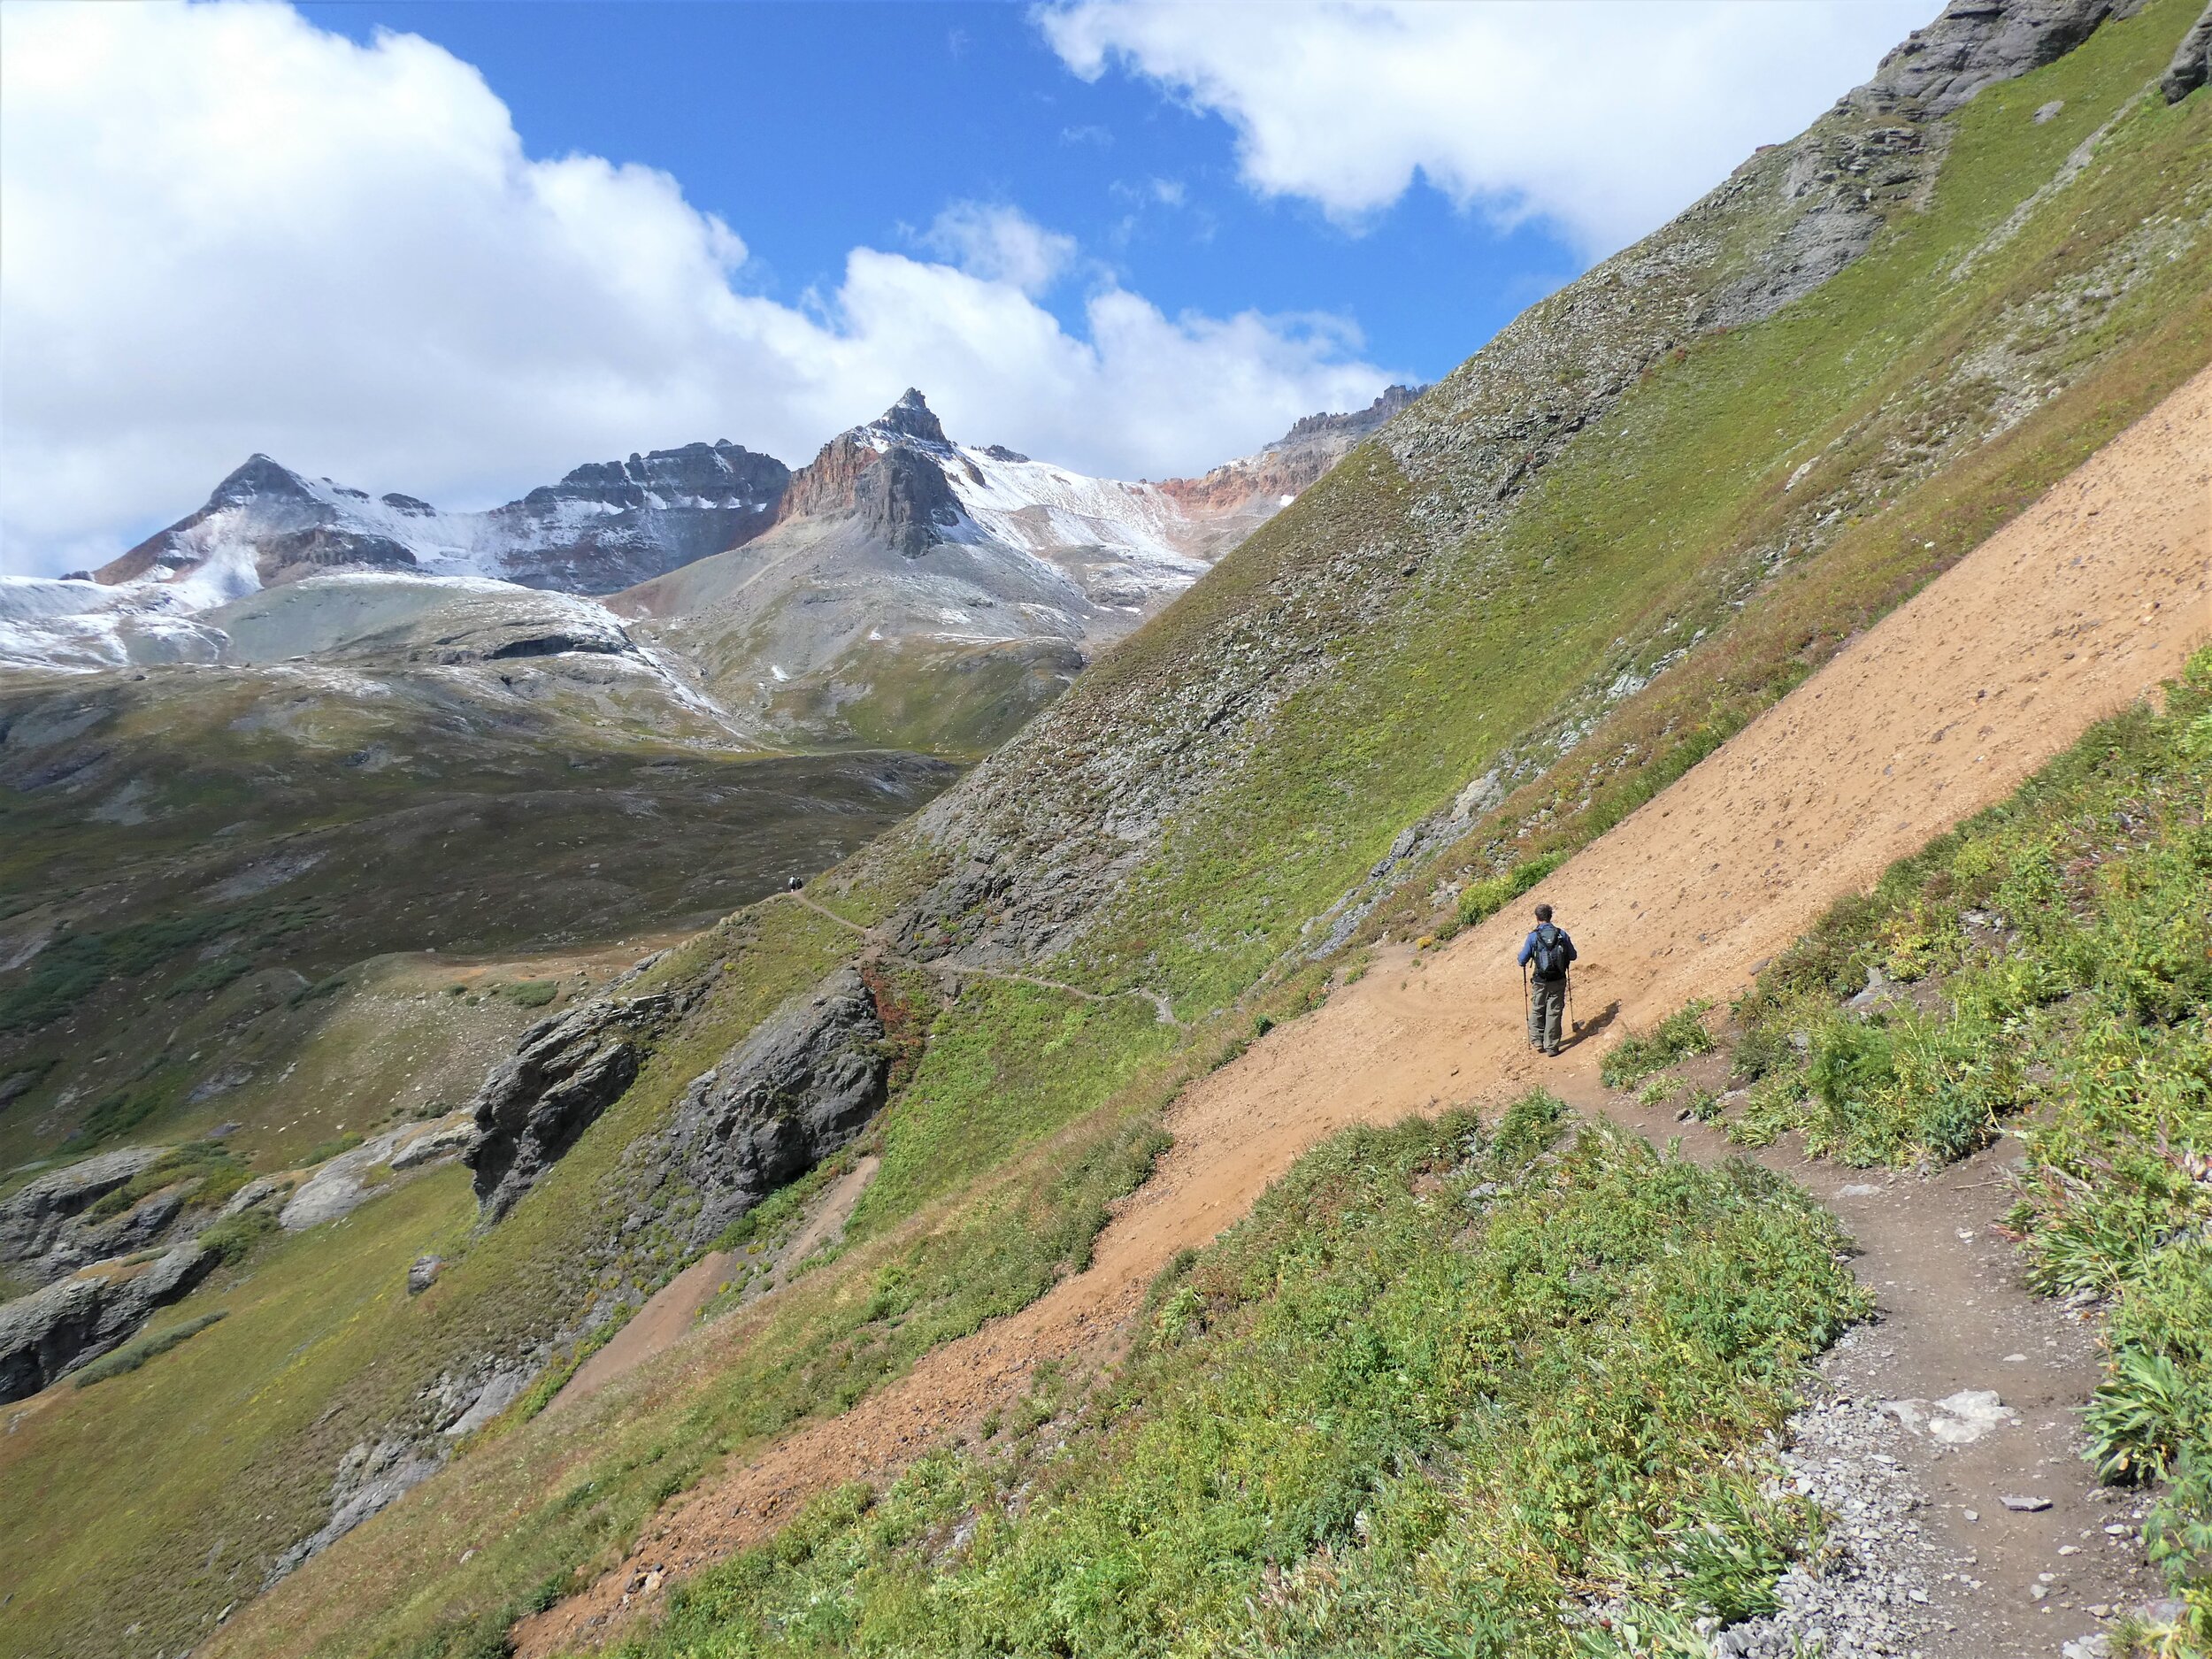
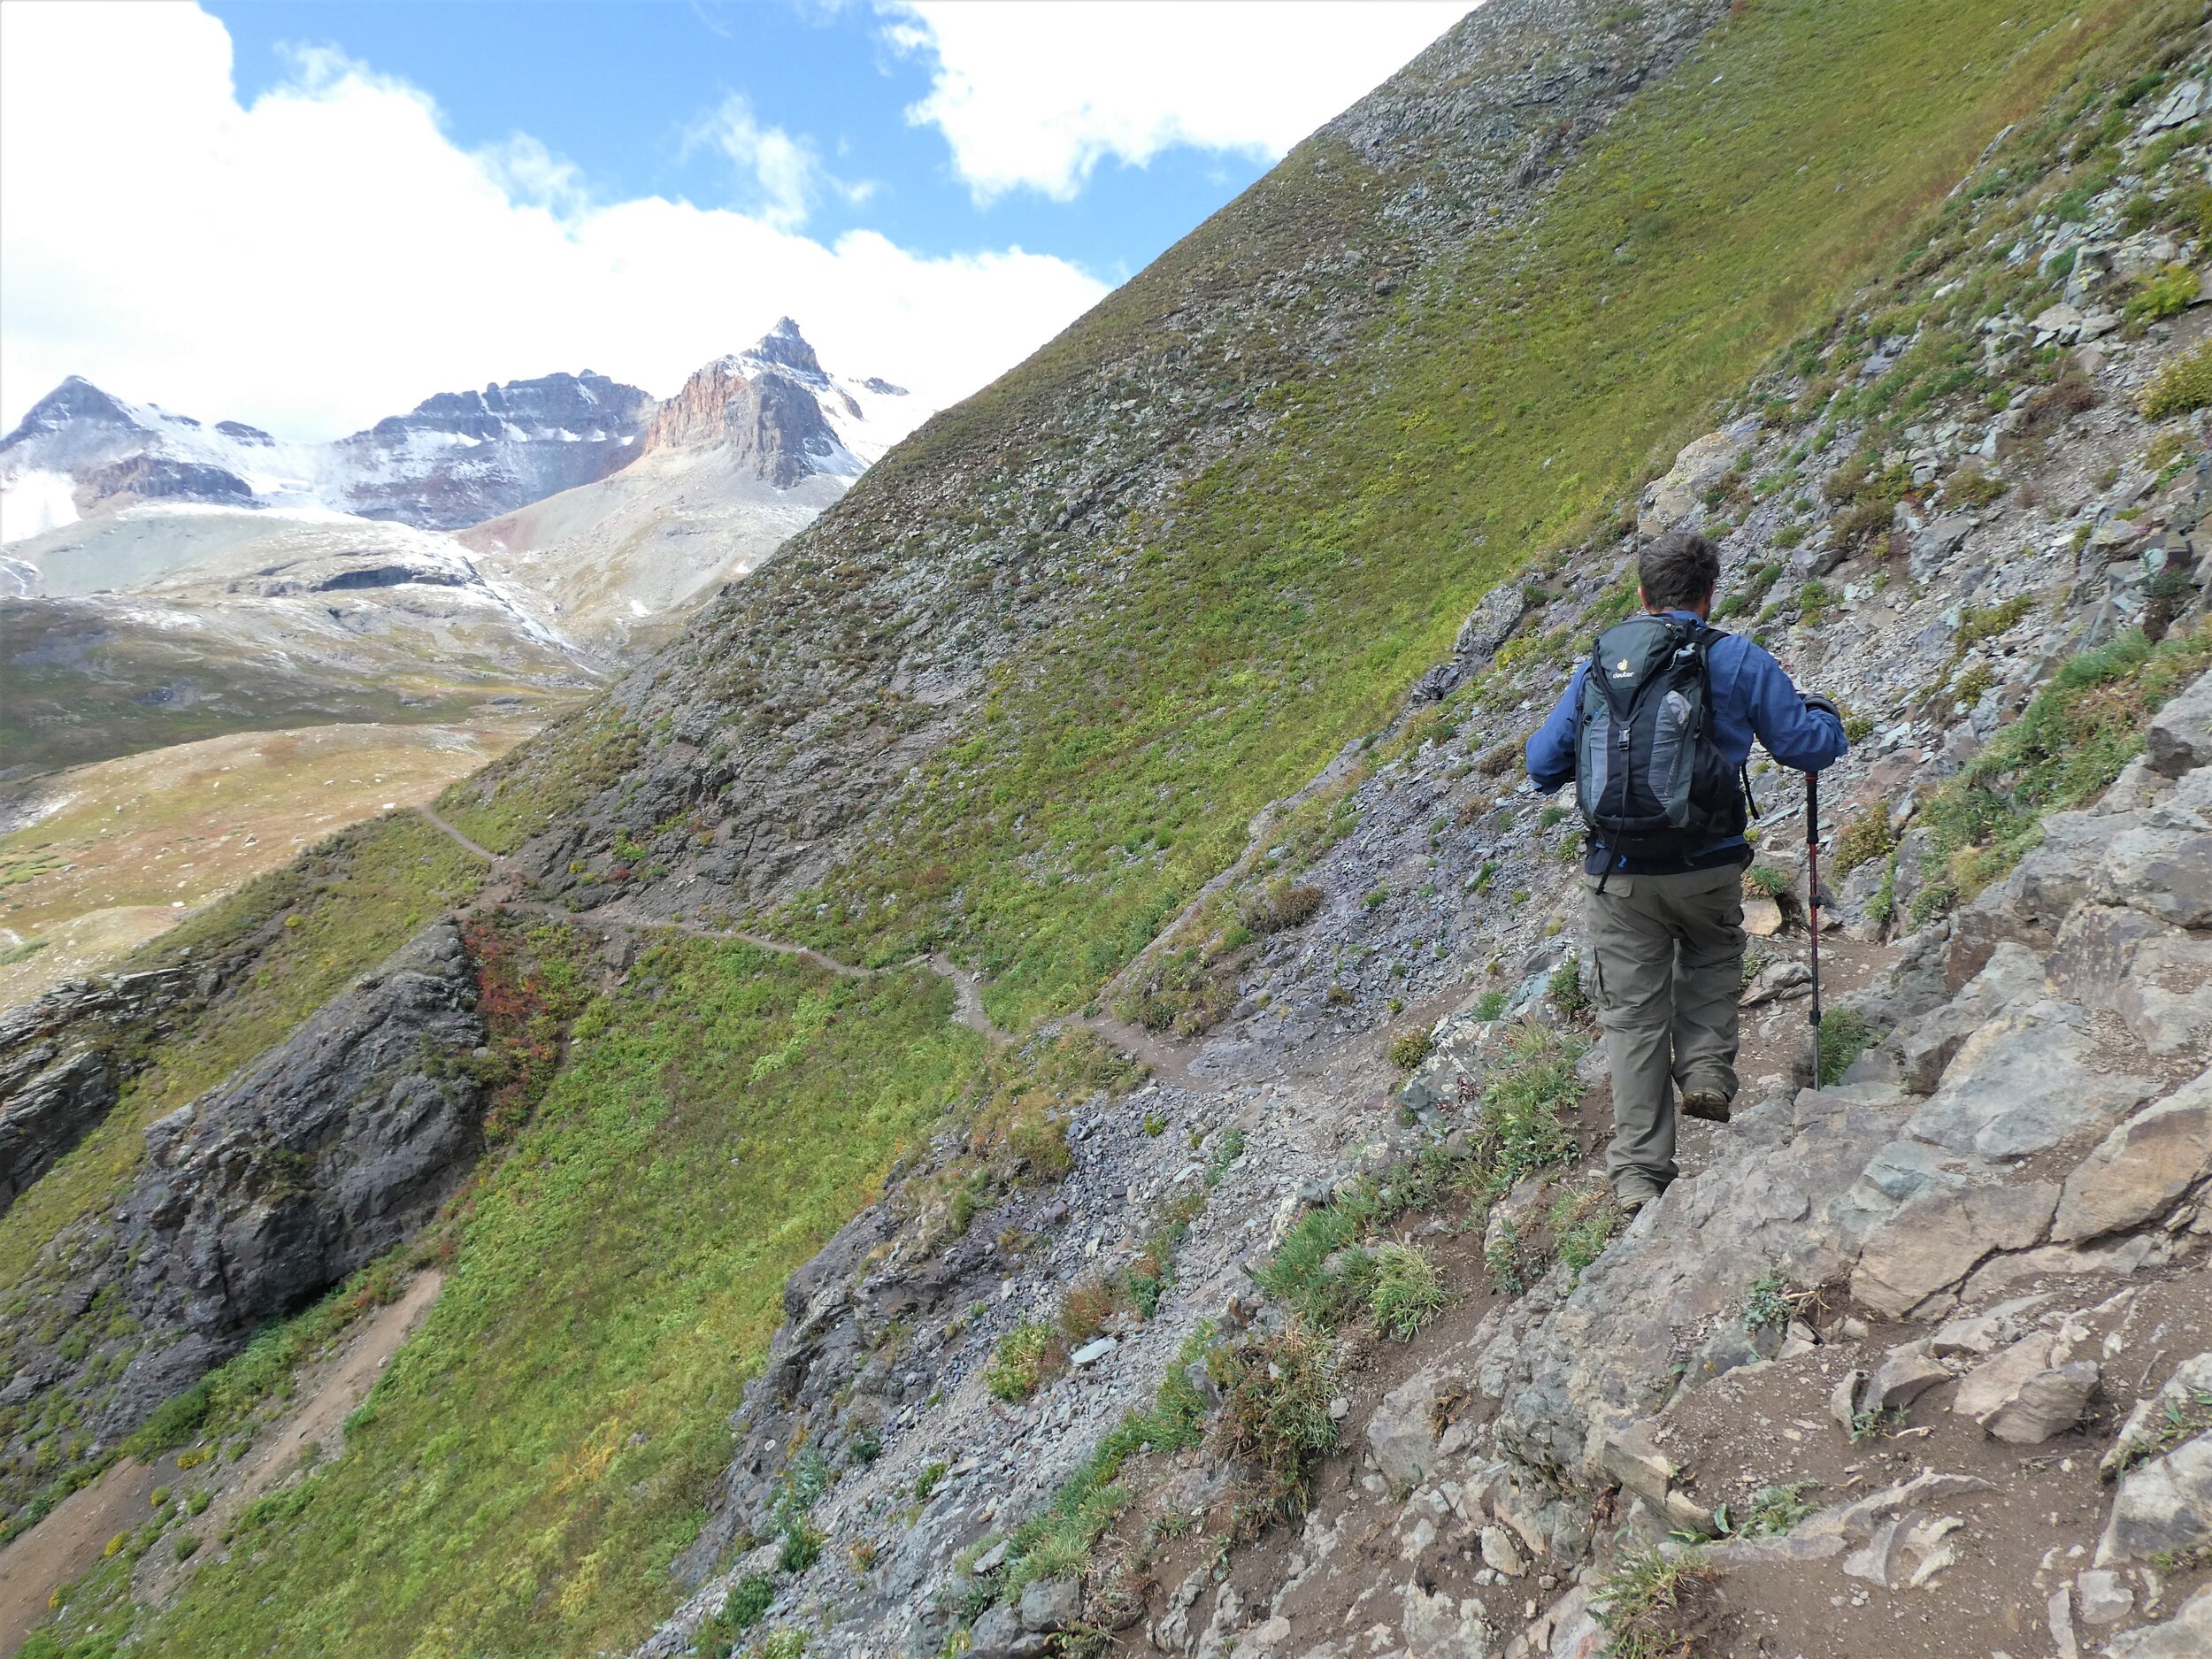
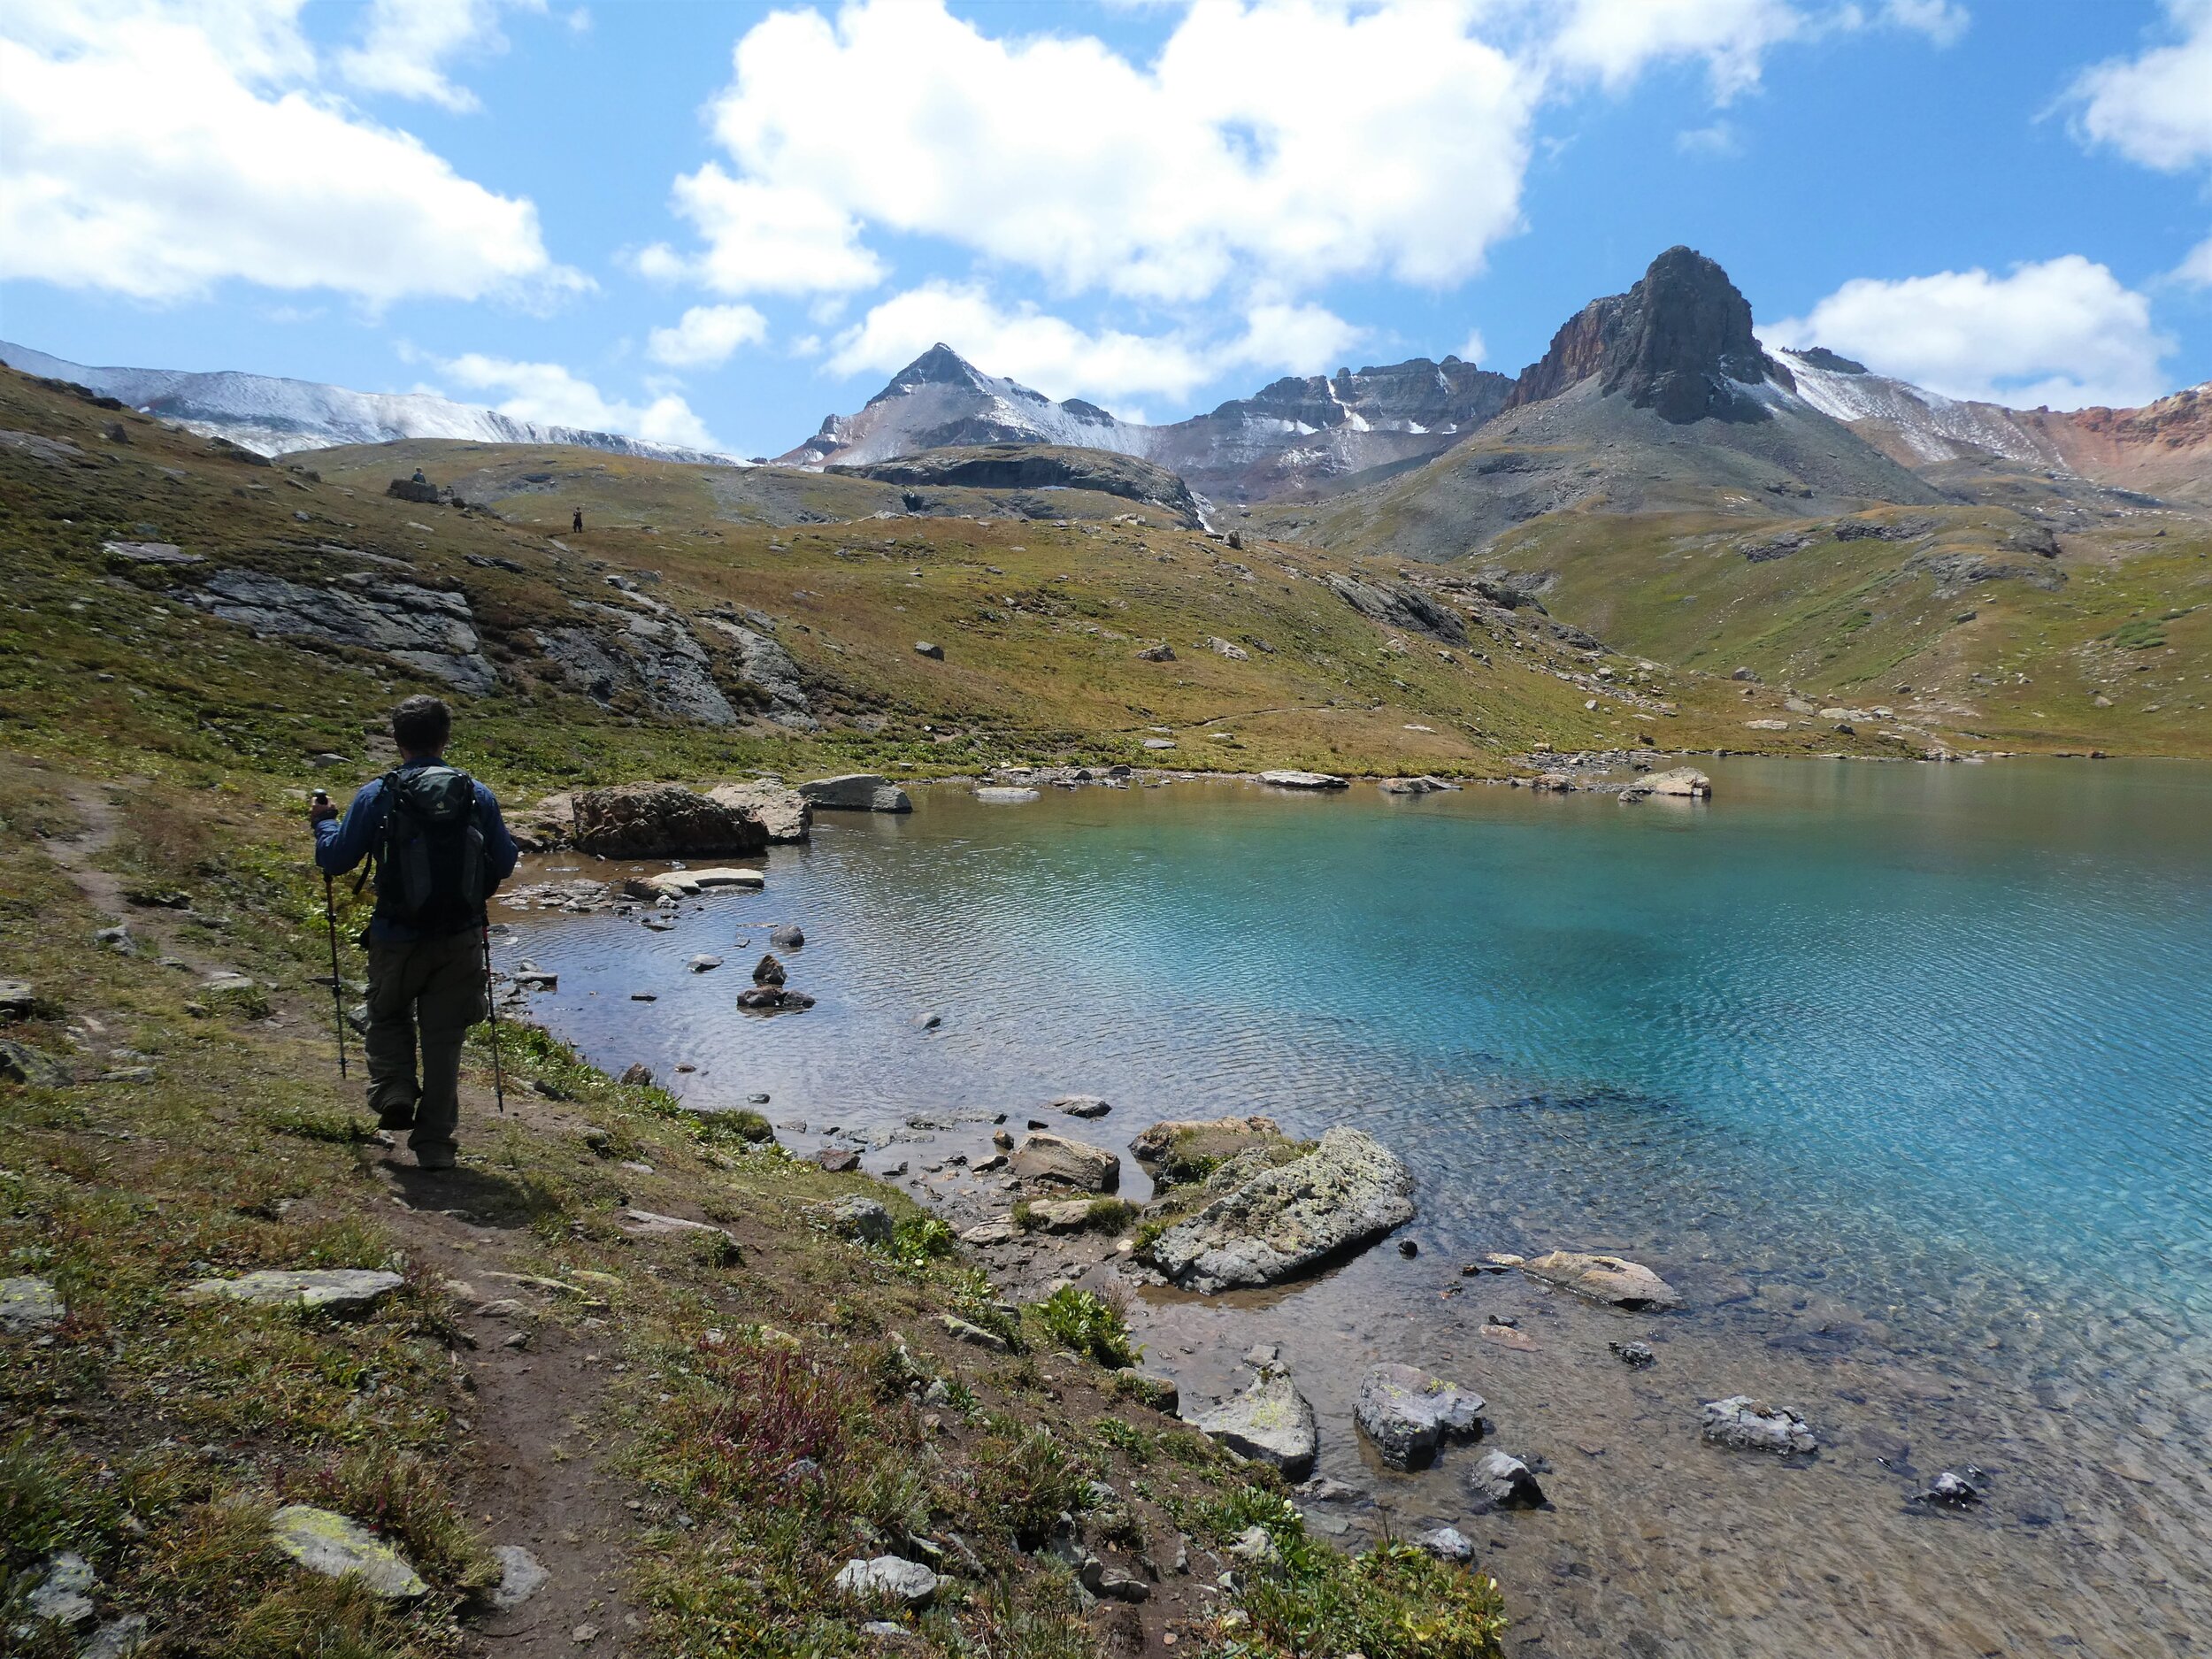
It’s only about three quarters of a mile around the side of a mountain to get to Ice Lake. You’ll be walking along an exposed trail running along the mountain side that will give you stunningly gorgeous views of the San Juan Mountains, and eventually views out to Ice Lake itself. It took us about a half hour to go between the two lakes, but only because we stopped every ten feet to take a thousand pictures (I wish I was exaggerating).
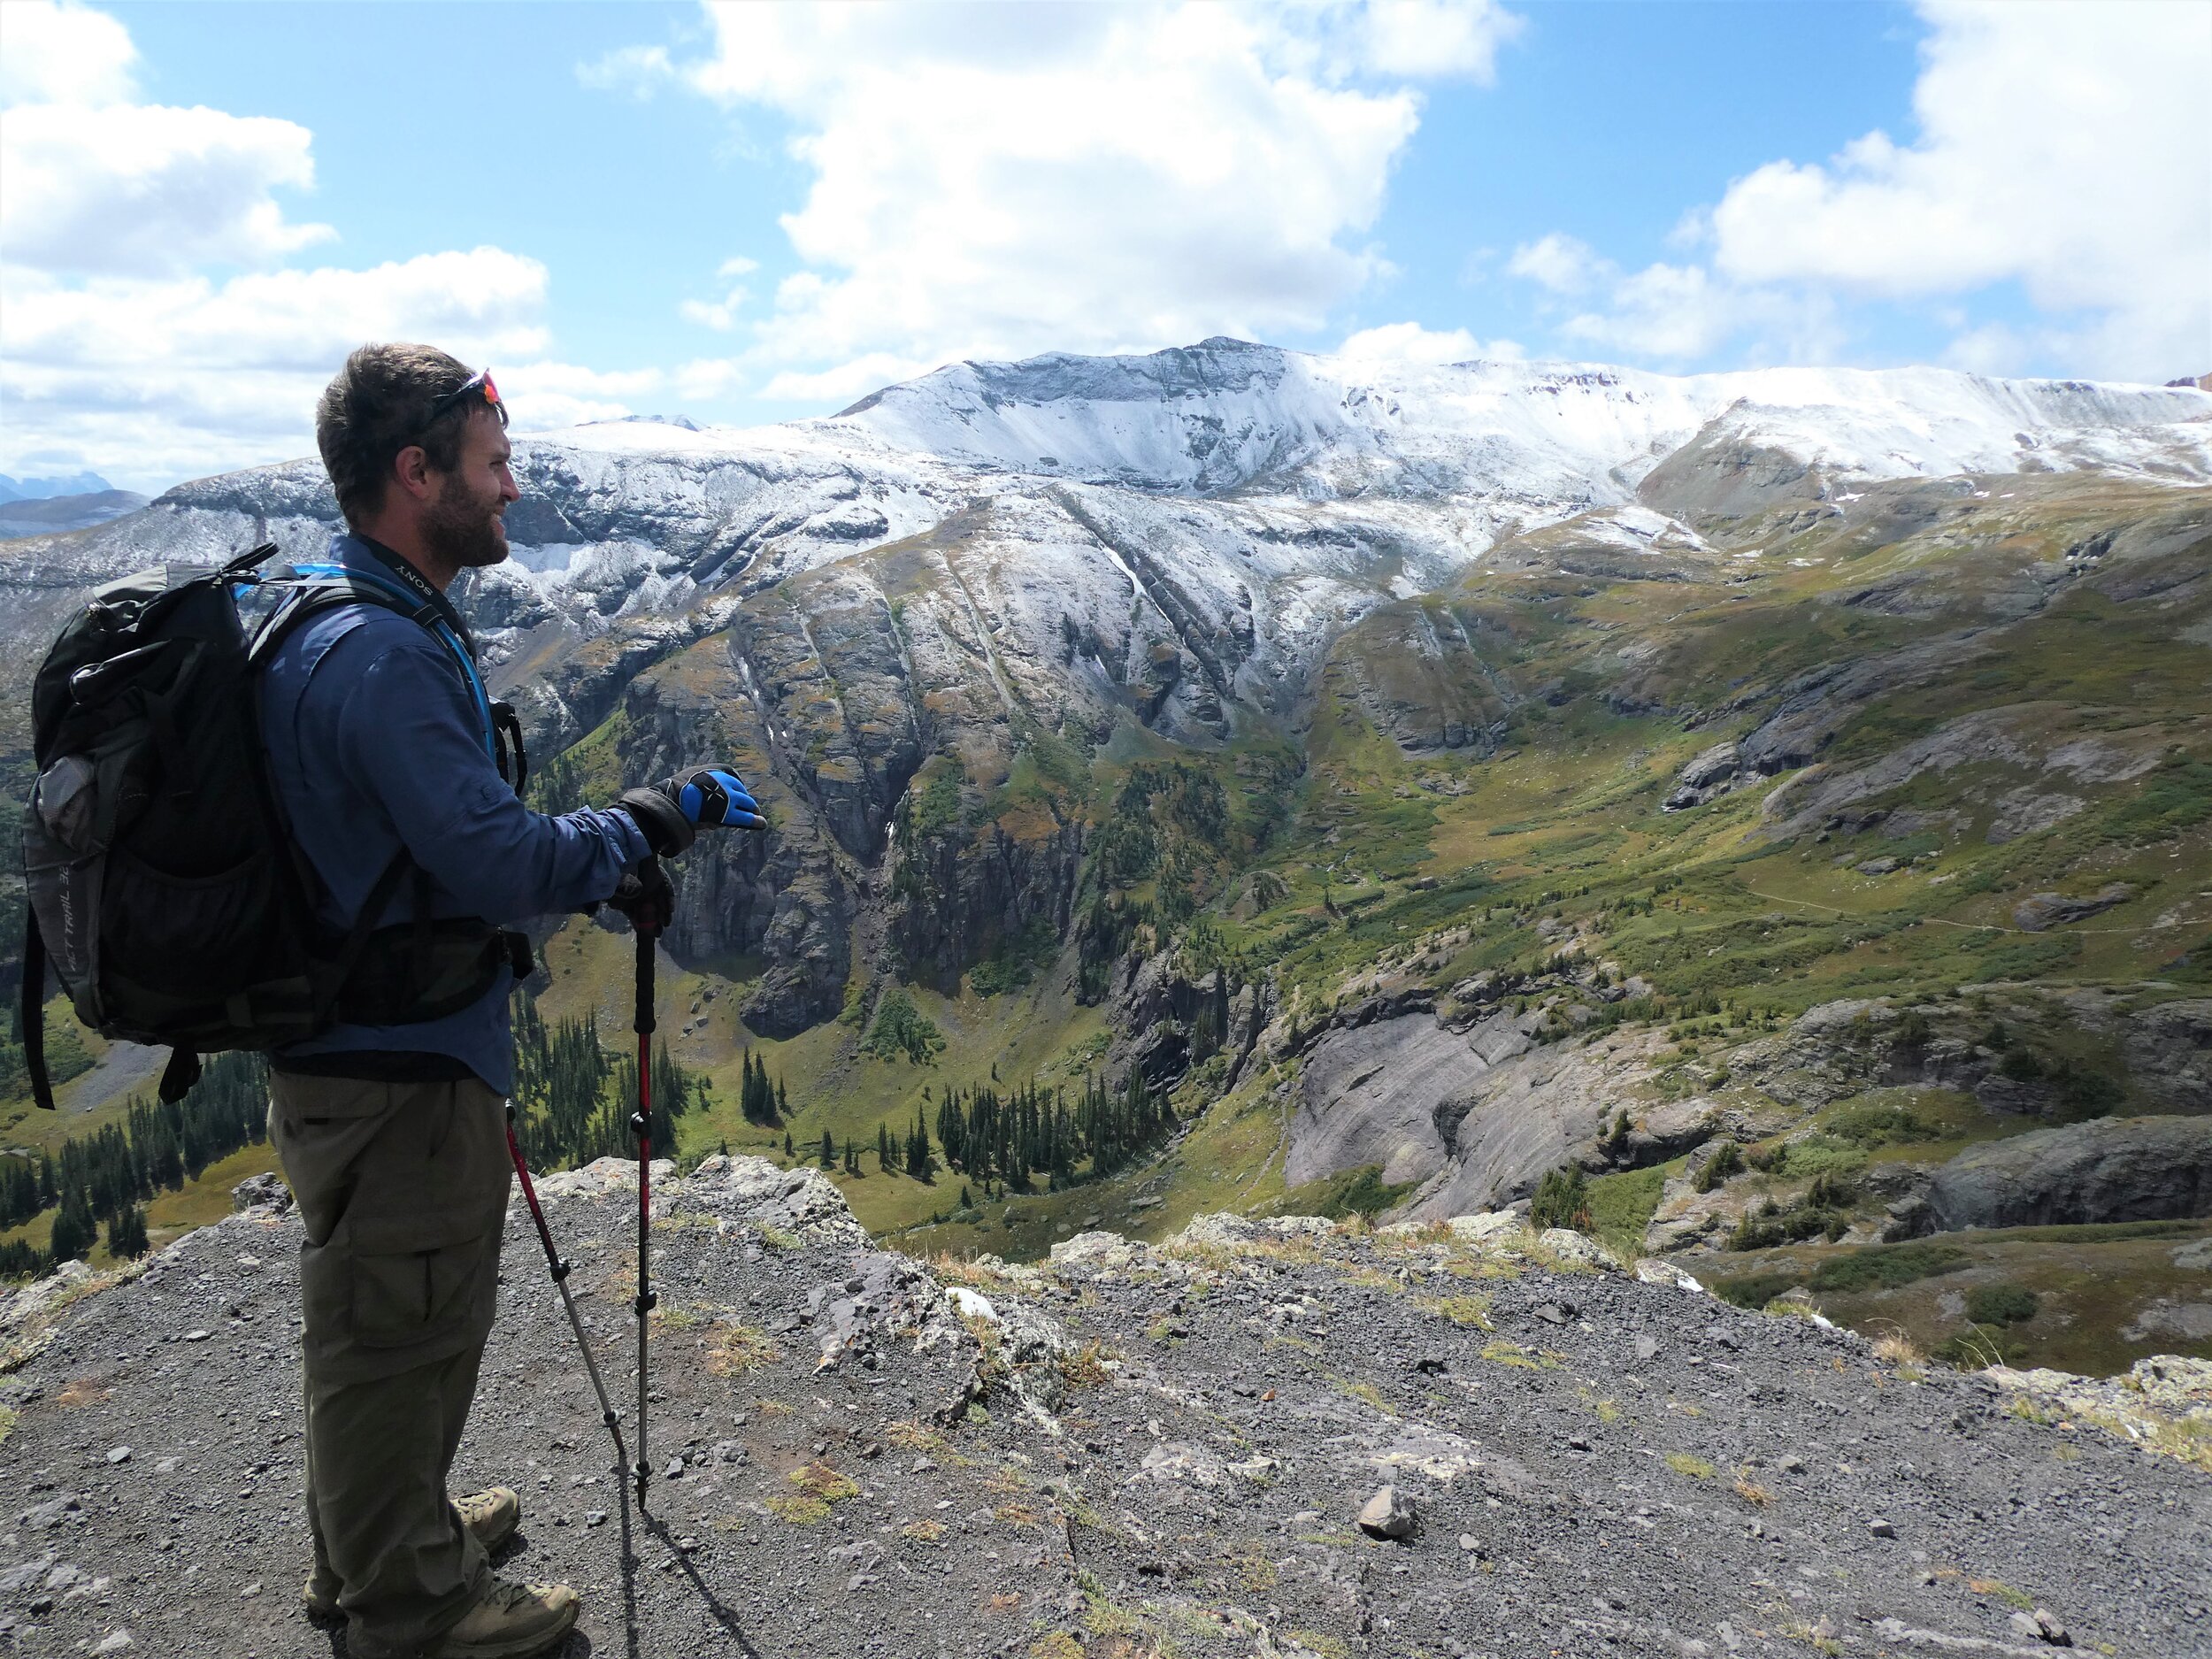
These views literally stopped us in our tracks…we couldn’t get over them. Have you ever had one of those moments where what you were looking at was so beautiful that it just seemed fake? Yea, that’s what it was like for us on this trail. The snow-capped mountain tops were a huge added bonus that added to the scenery, and it was these views that made me say over and over that this was my new favorite all-time hike, completely overshadowing the brief disappointment at Island Lake. And trust us guys, pictures here just aren’t doing it justice.
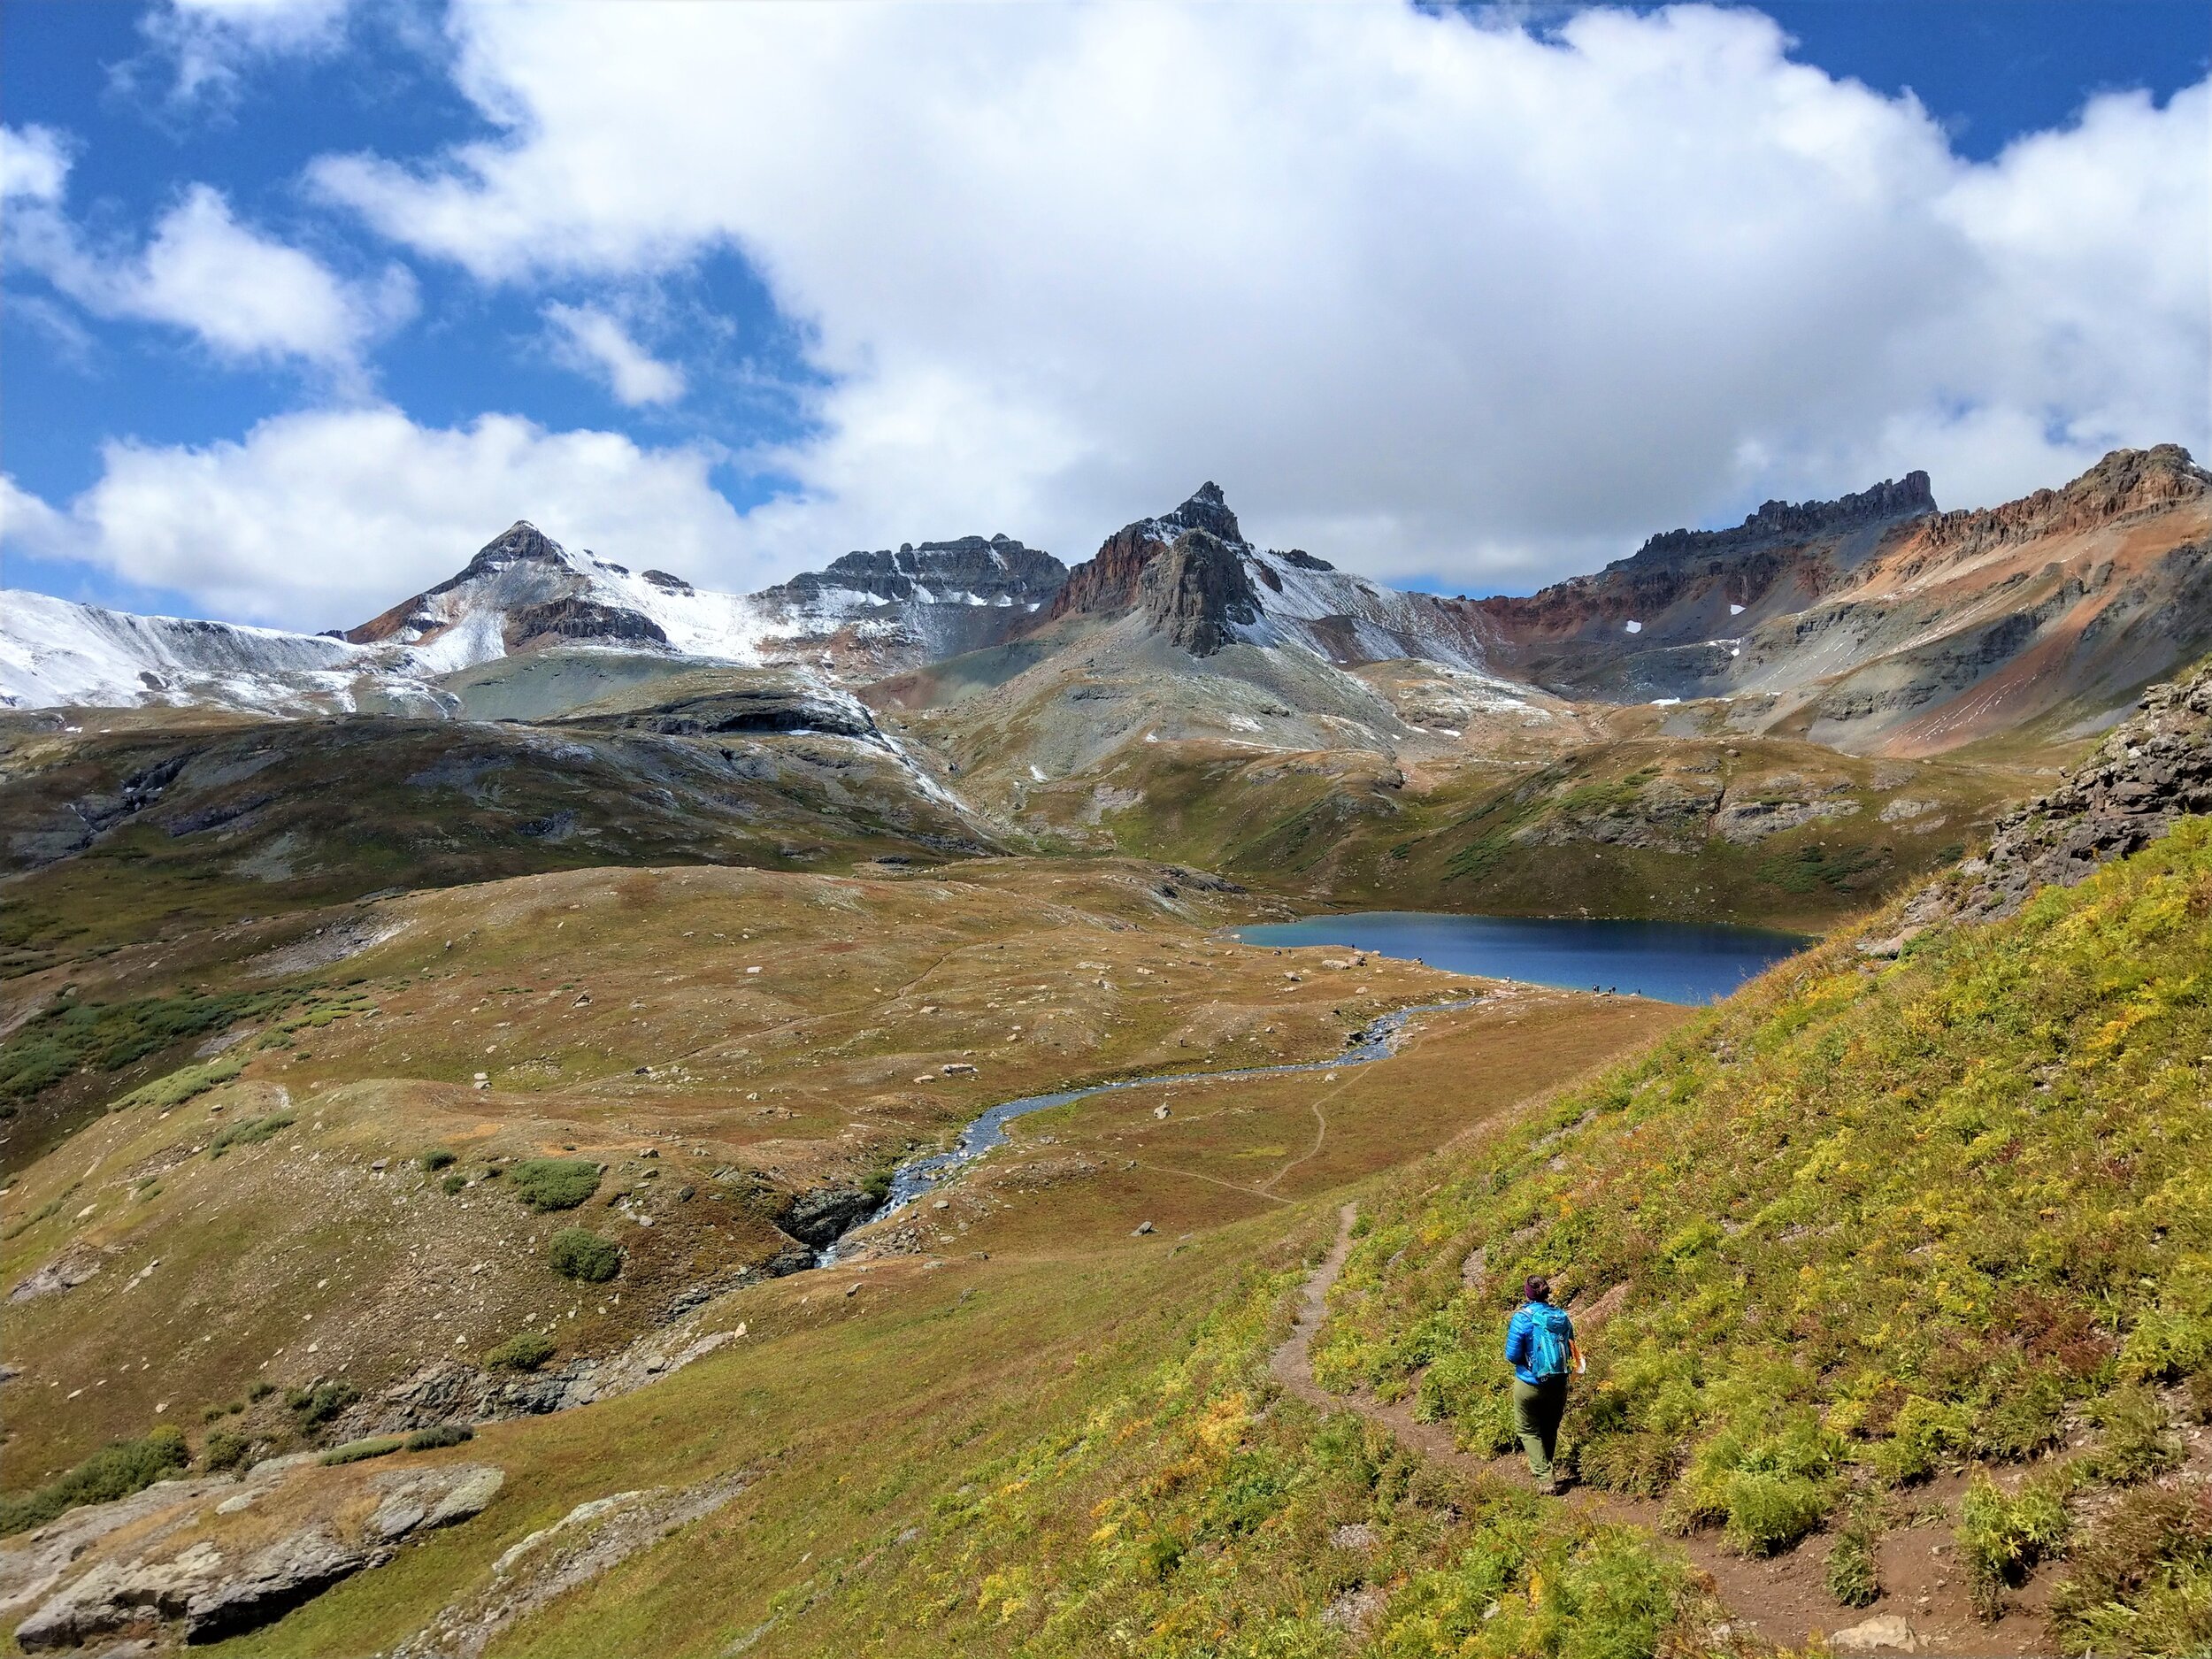
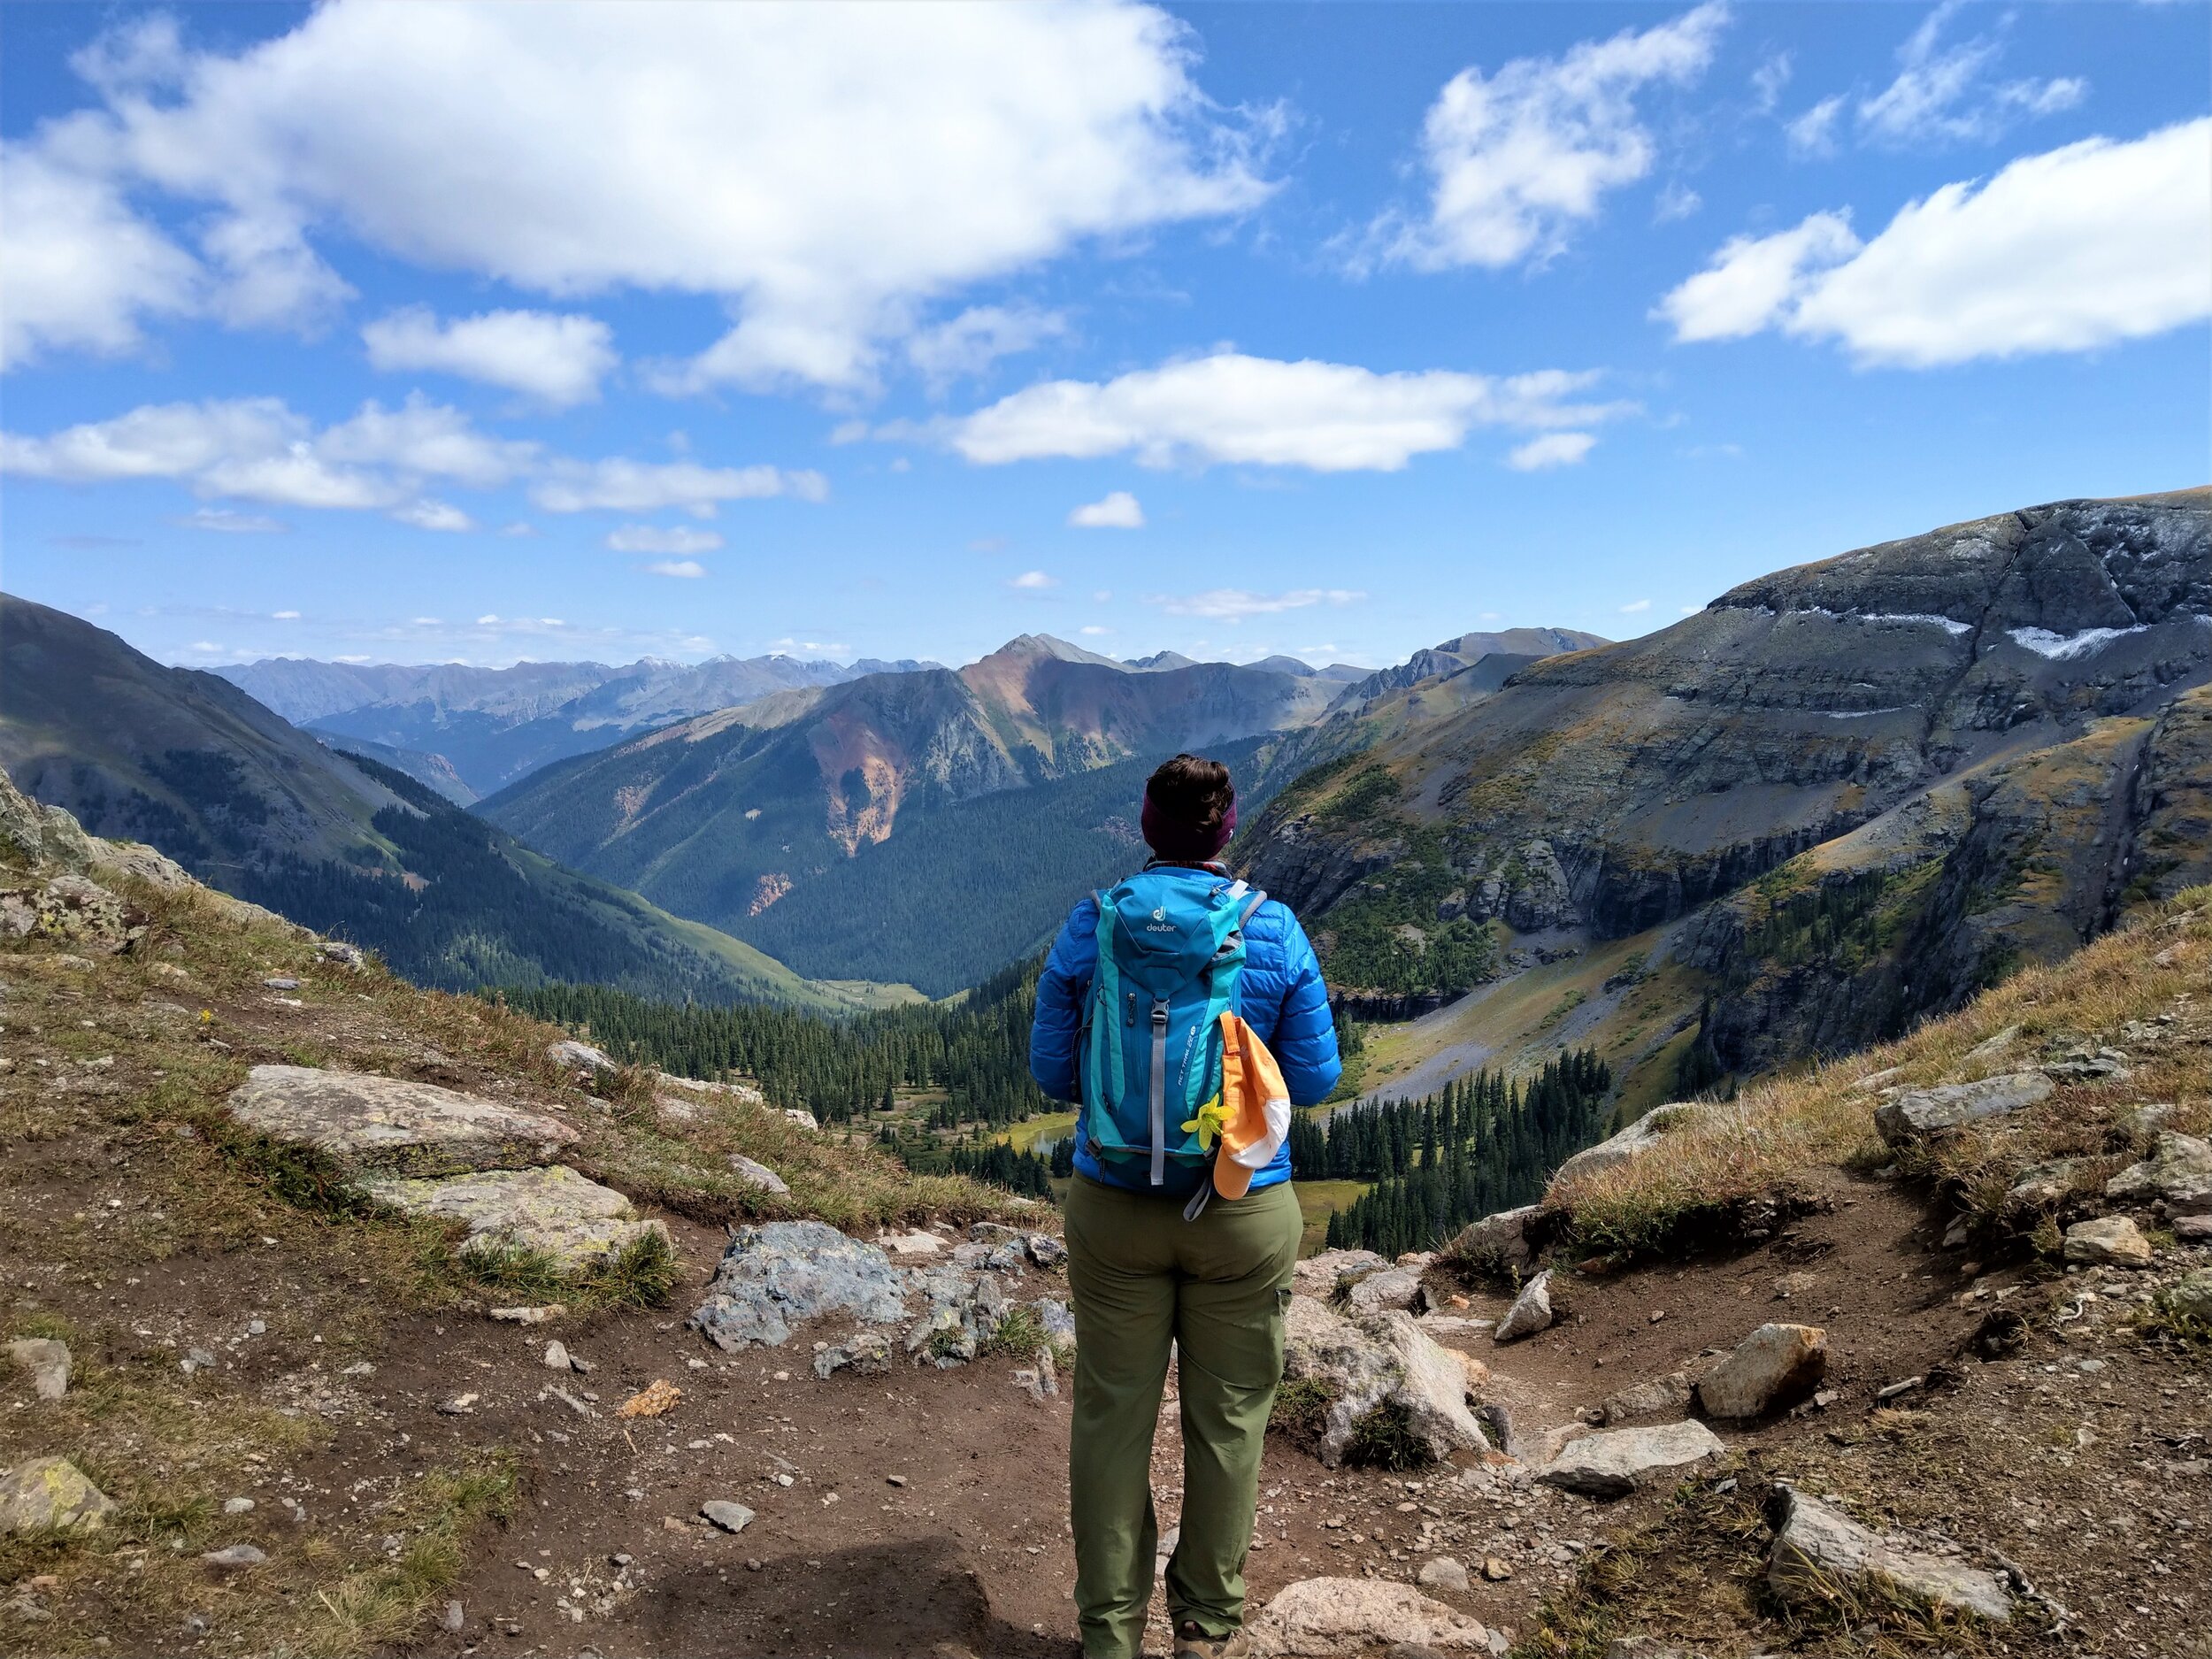
The moment we turned the corner to view over Ice Lake, we basically had to pick our jaws up from the ground.
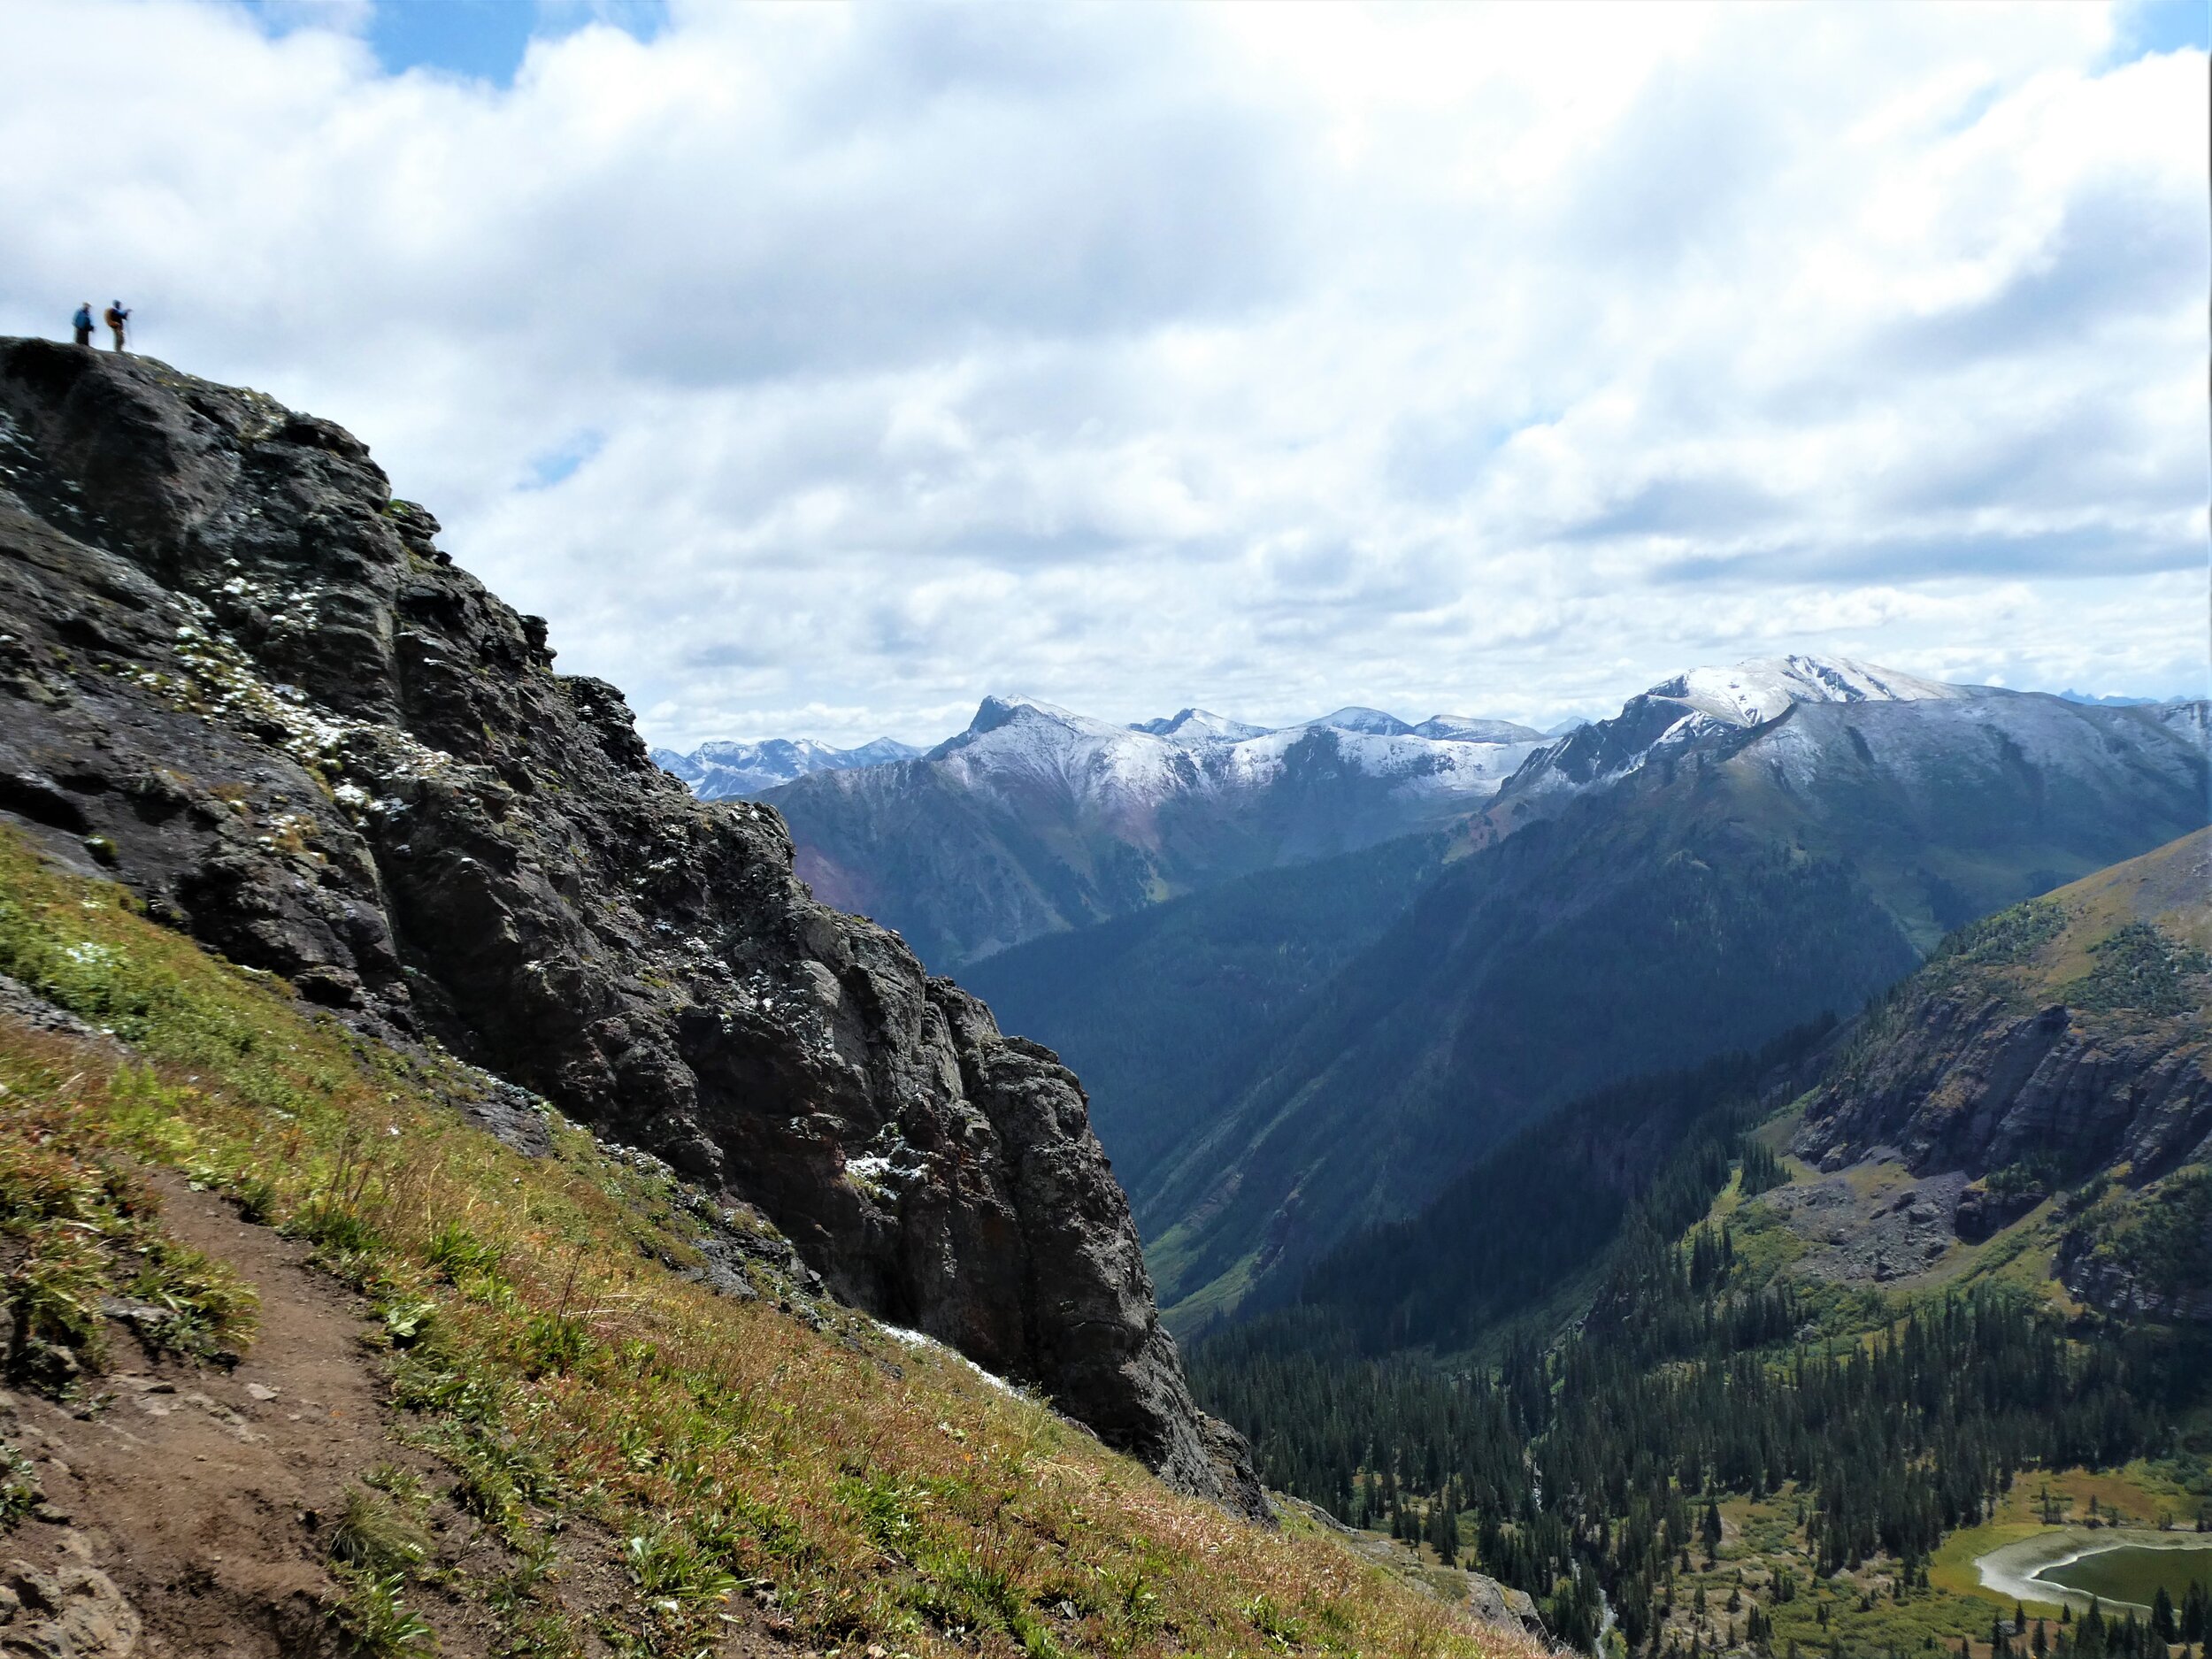
From here, you get a gorgeous view over Lower Ice Lake Basin. If you look closely, you can see the trail you’ll be taking later today back to the trailhead.
Once you round that corner and see the lake, it’s a steady descent down a narrow dirt trail that hugs the mountainside. There was just one mildly sketchy section involving a bit of loose rock and what you might call “exposure”, but it’s quick and manageable. Then after that, it’s an easy peasy straight shot down to Ice Lake.
Ice Lake definitely has more of a crowd than Island Lake, but it’s easy to see why. This lake is gorgeous. Its color is absolutely unlike anything I had seen before. When the sun shined directly on it, the color of the blue was almost electric. And I really wasn’t prepared for it! I think coming into this hike, I was just so focused on Island Lake and wanting to see that, that I realized I actually didn’t really know much about the rest of the hike or Ice Lake…Island Lake was the main show for me and the rest would just be along for the ride. I think it was partly the fact that I arrived at Ice Lake with zero expectations combined with just the actual sheer beauty of it that just made it, in my mind, so stunning.
There are a lot of people here, but the Ice Lake is big. Many people kind of crowd around the area right where the trail comes out at the lake, but if you walk a little ways in either direction around the lake, you can find a nice spot. We loved ours! Such a stunning backdrop…
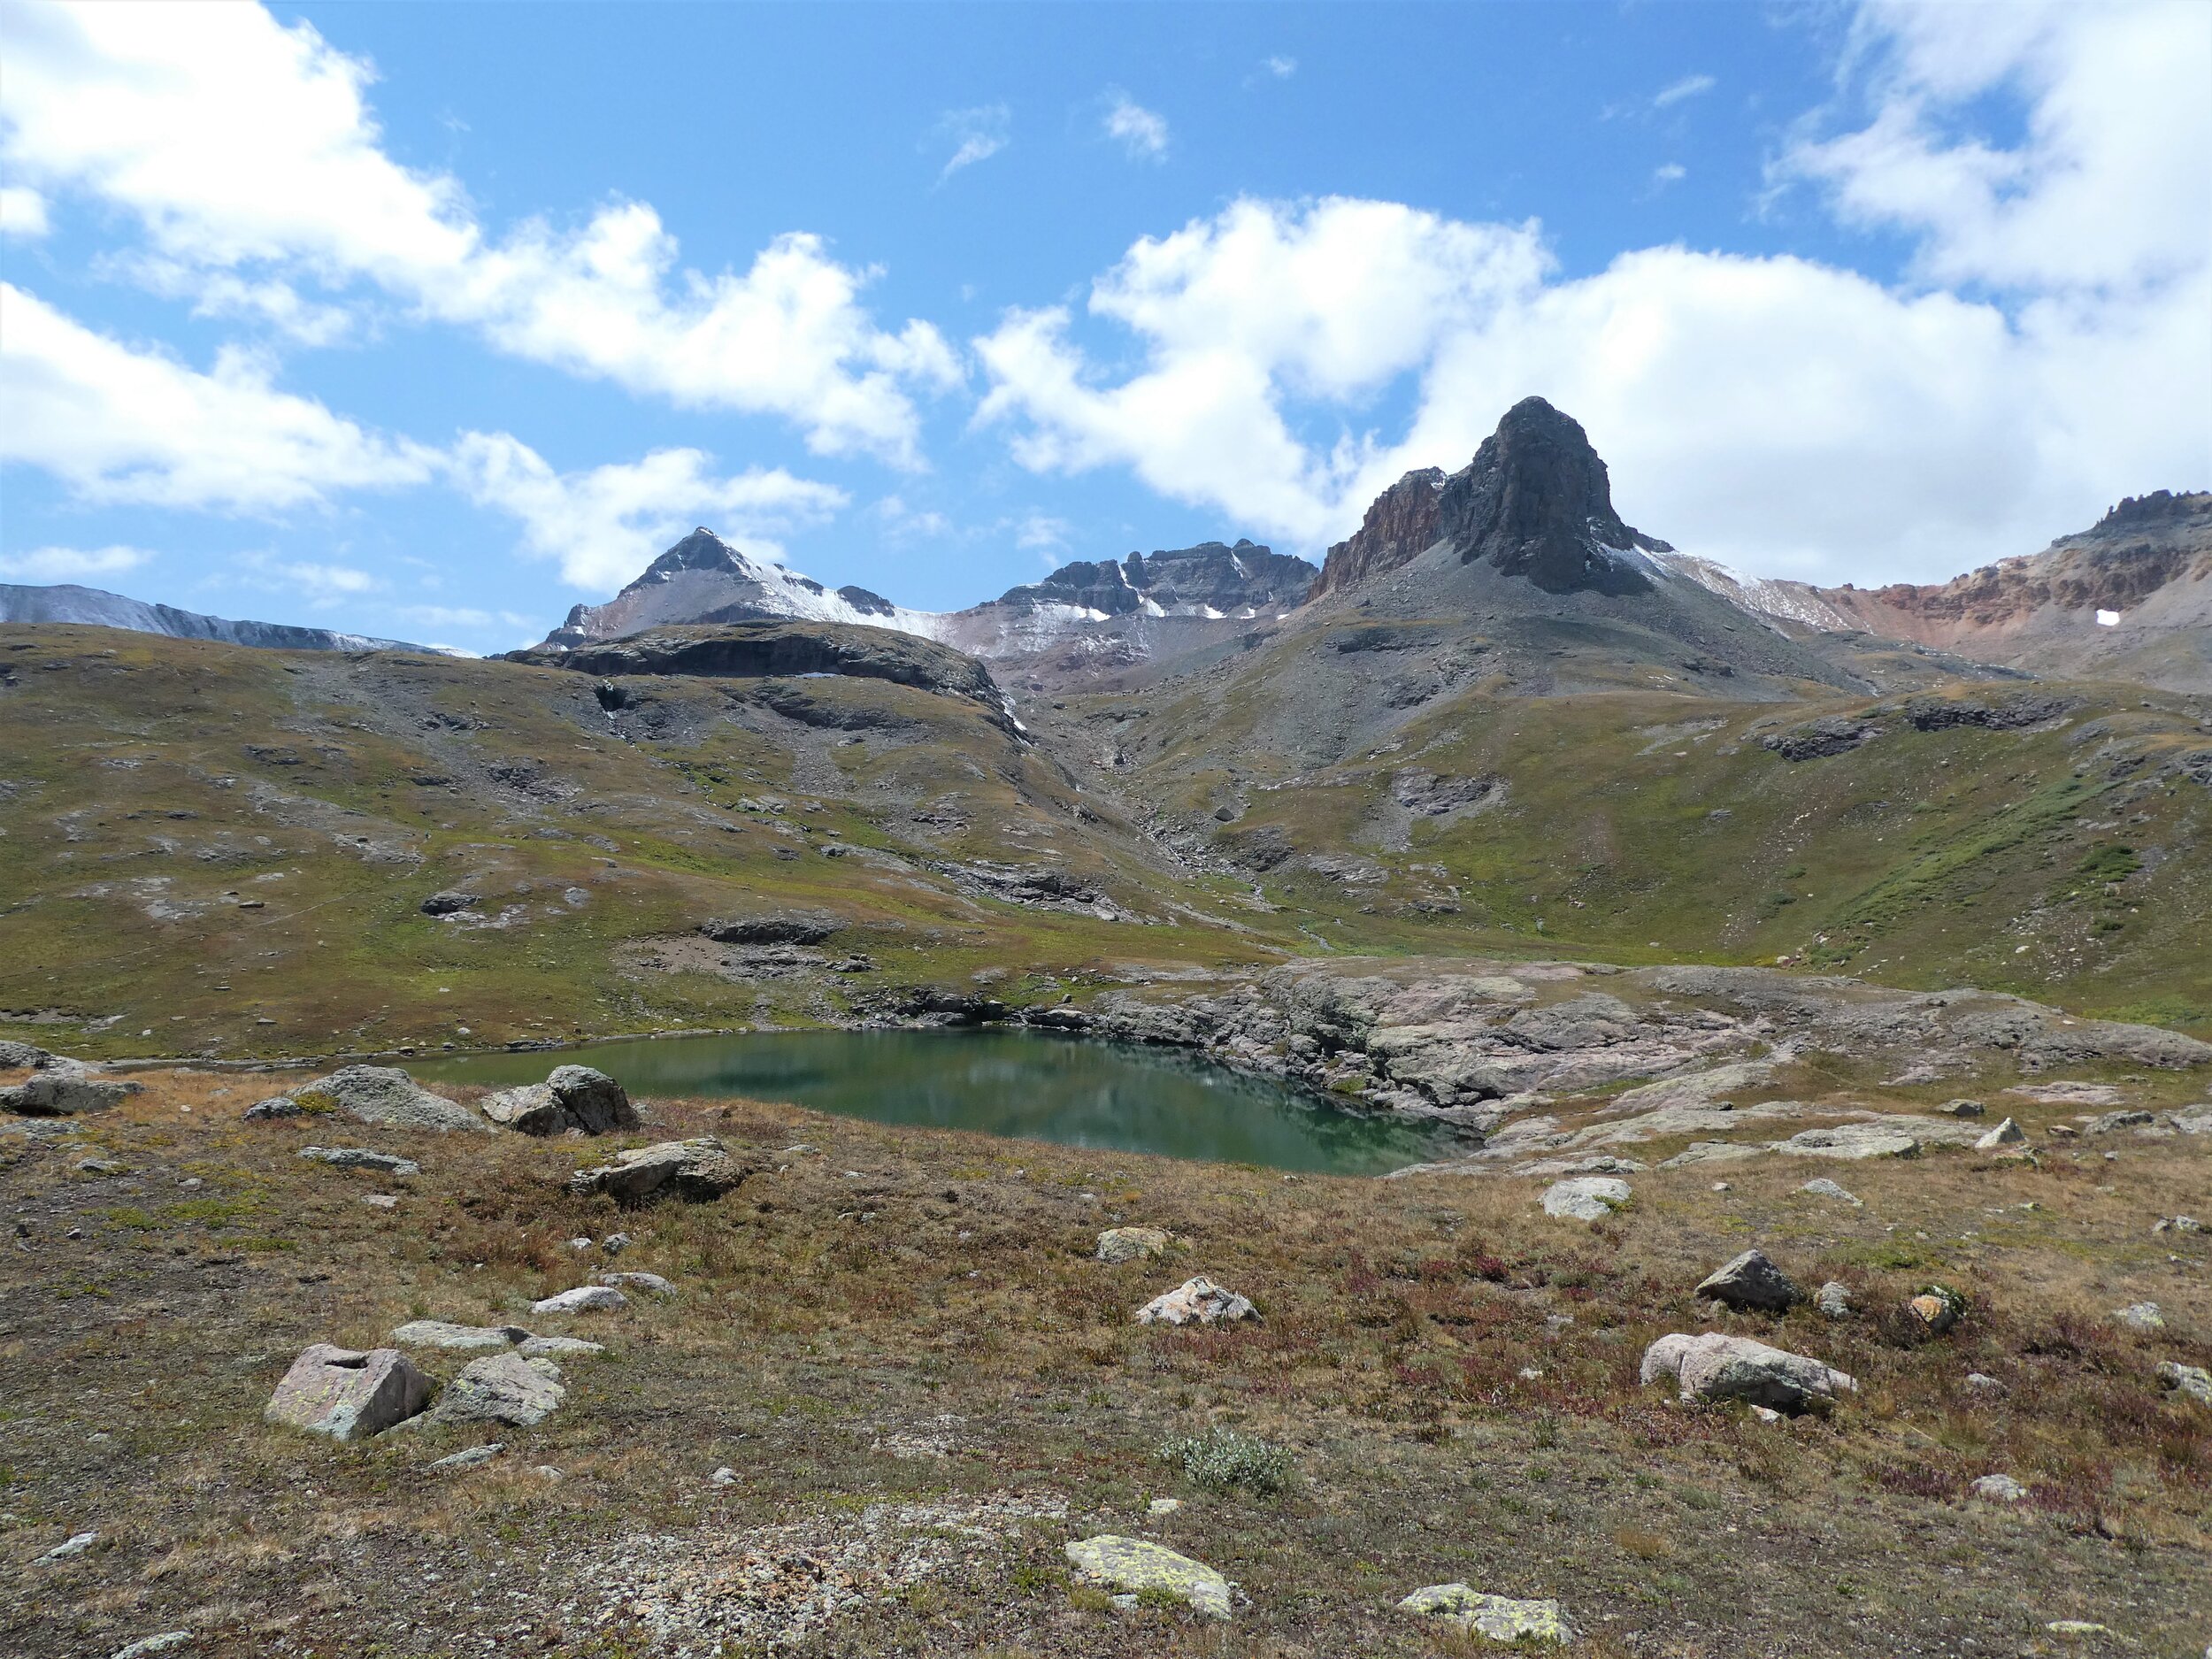
From where the trail comes out to the lake, if you continue left alongside the lake, you’ll climb up to a small greenish colored tarn. There are a few little herd paths that you can follow in this area.
Further up from here, if you have the time and energy, you can climb another few hundred feet up to Fuller Lake. From this vantage point, you can get a view back down towards both this tarn and Ice Lake, and the two in view together really accentuates the deep blue of Ice Lake.
We spent almost two hours hanging out at the lake and just taking it all in. It’s so worth waking up early to get here and just spend as much time as you can at the lake.
Back to the trailhead
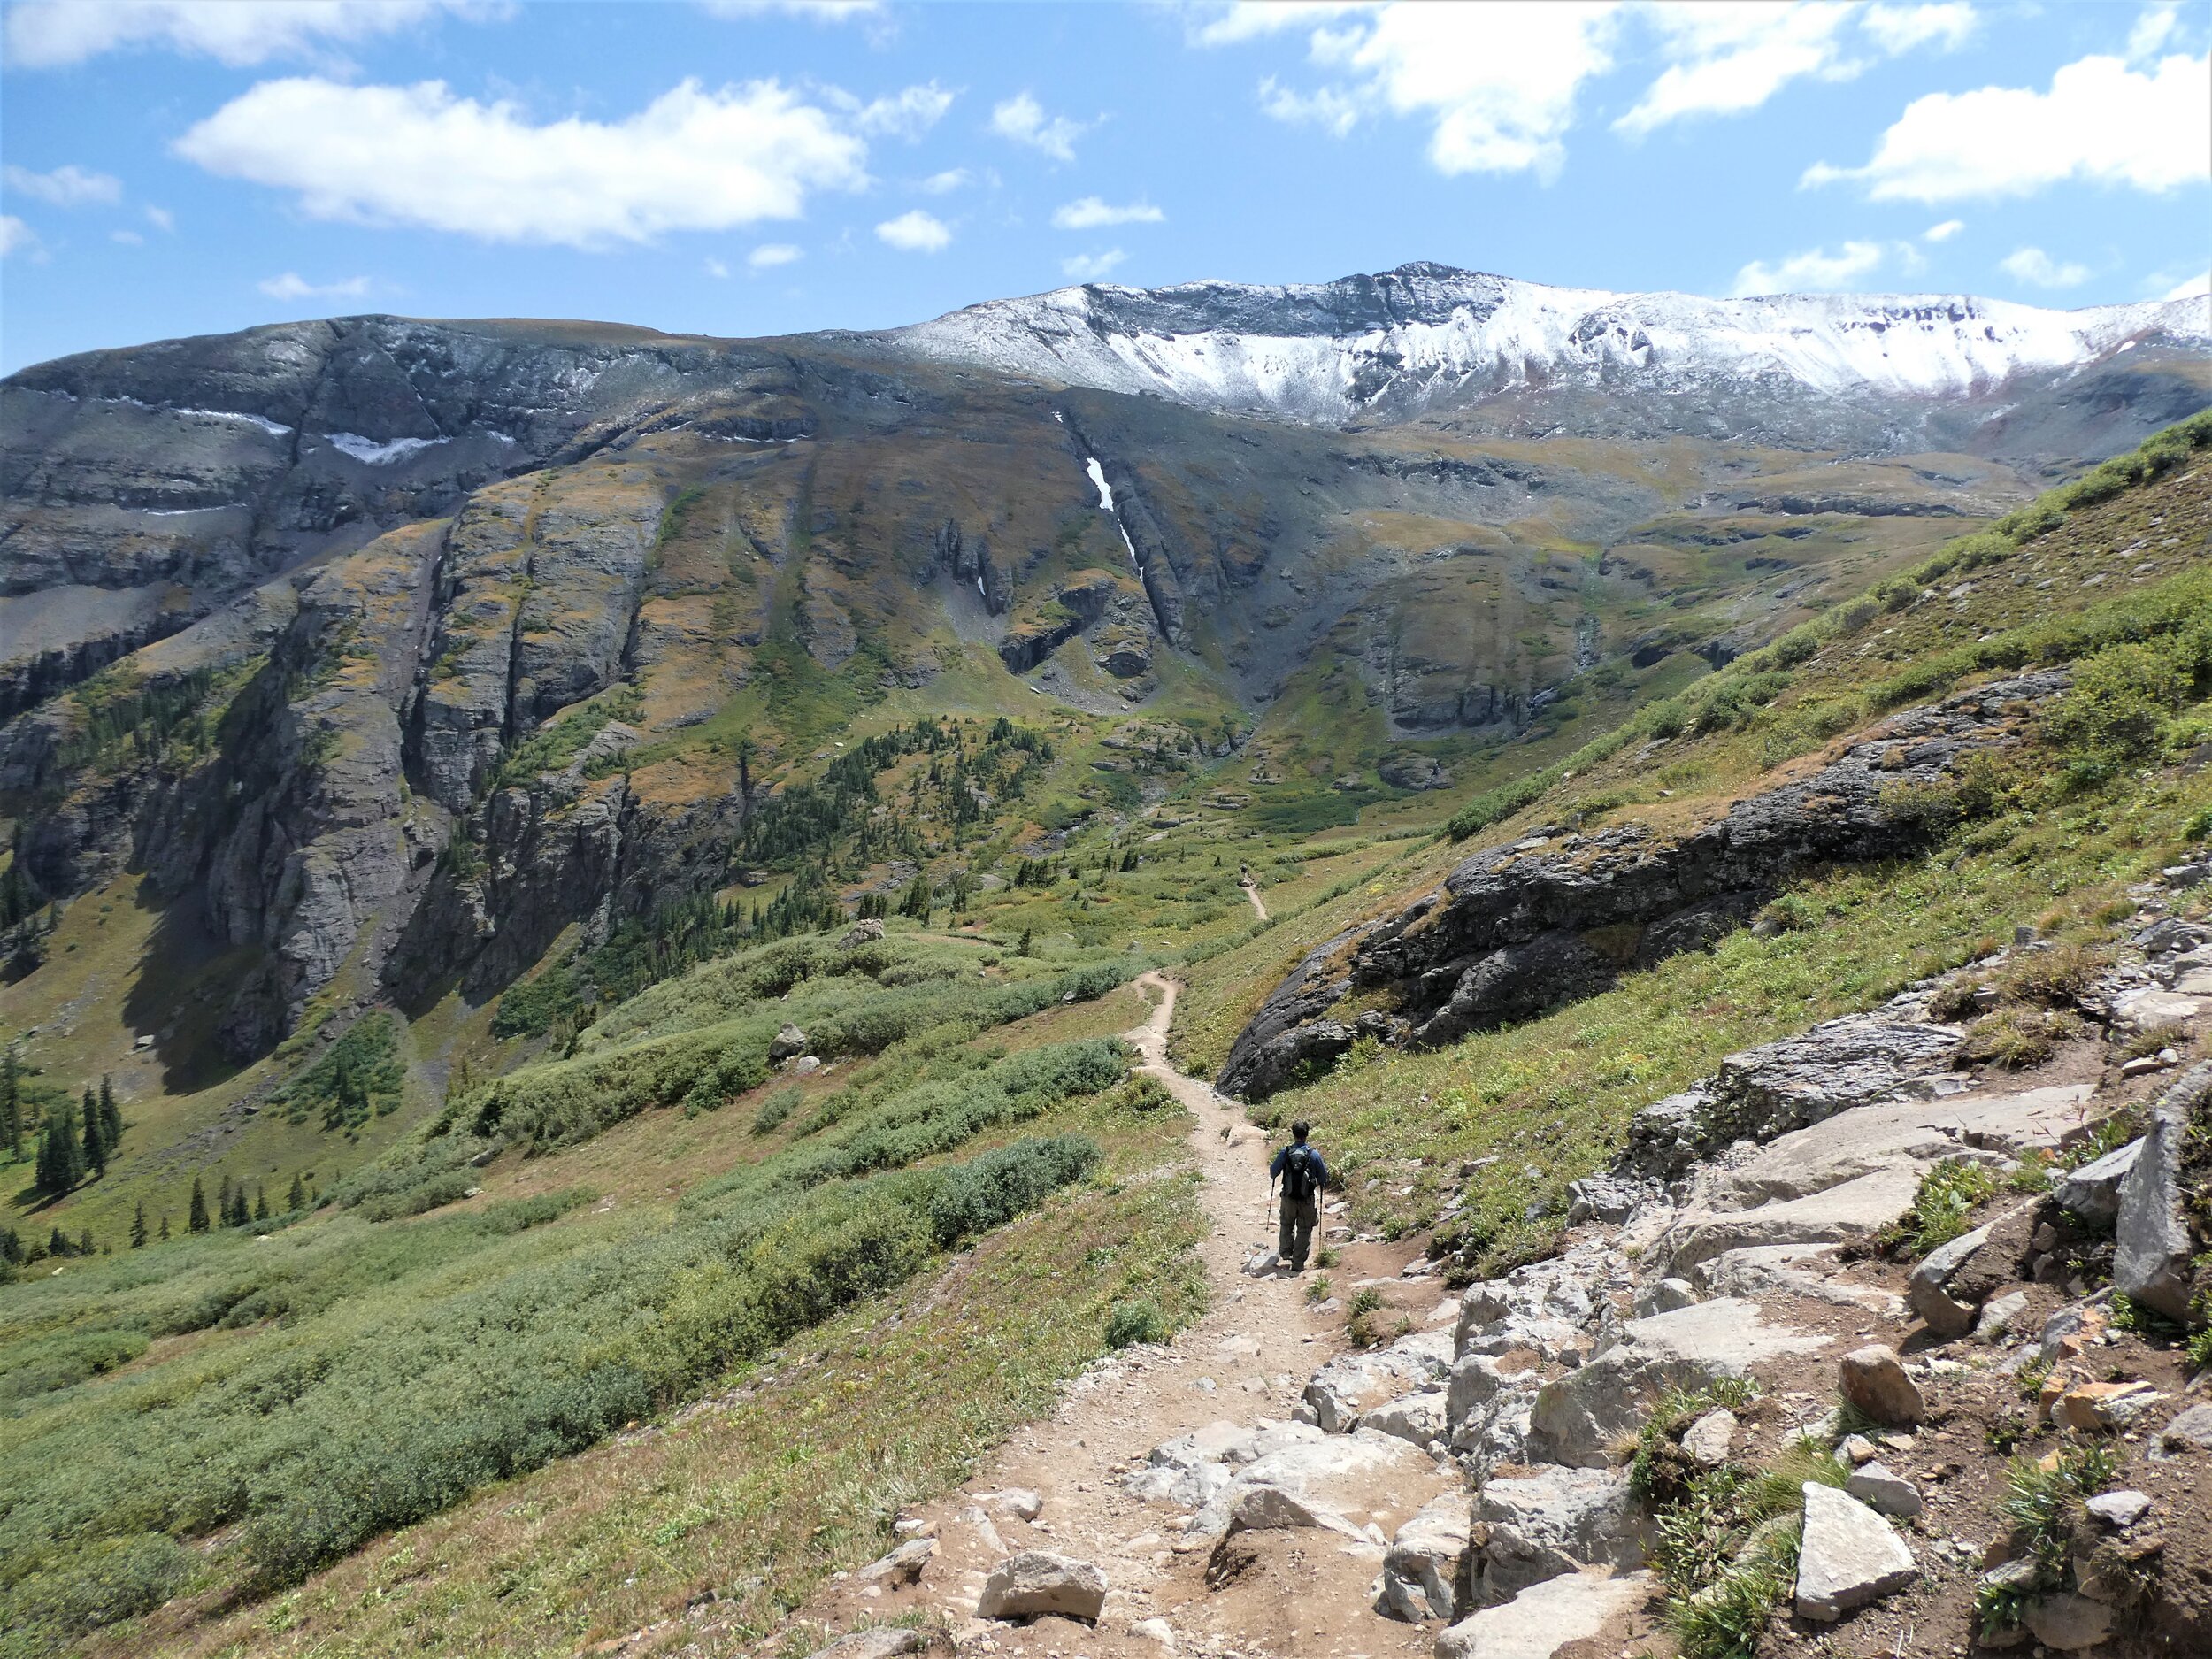
At some point, sadly, you’ll have to leave this beautiful lake. From here, you’ll continue along the loop, taking the trail toward Lower Ice Lake basin. It’s just a short walk until the trail starts to descend steeply down a headwall into the basin, but the views from here over the basin and out to the San Juan mountains are still stunning as ever. By this late in the day, the snow had melted off the mountains, but it was still gorgeous.
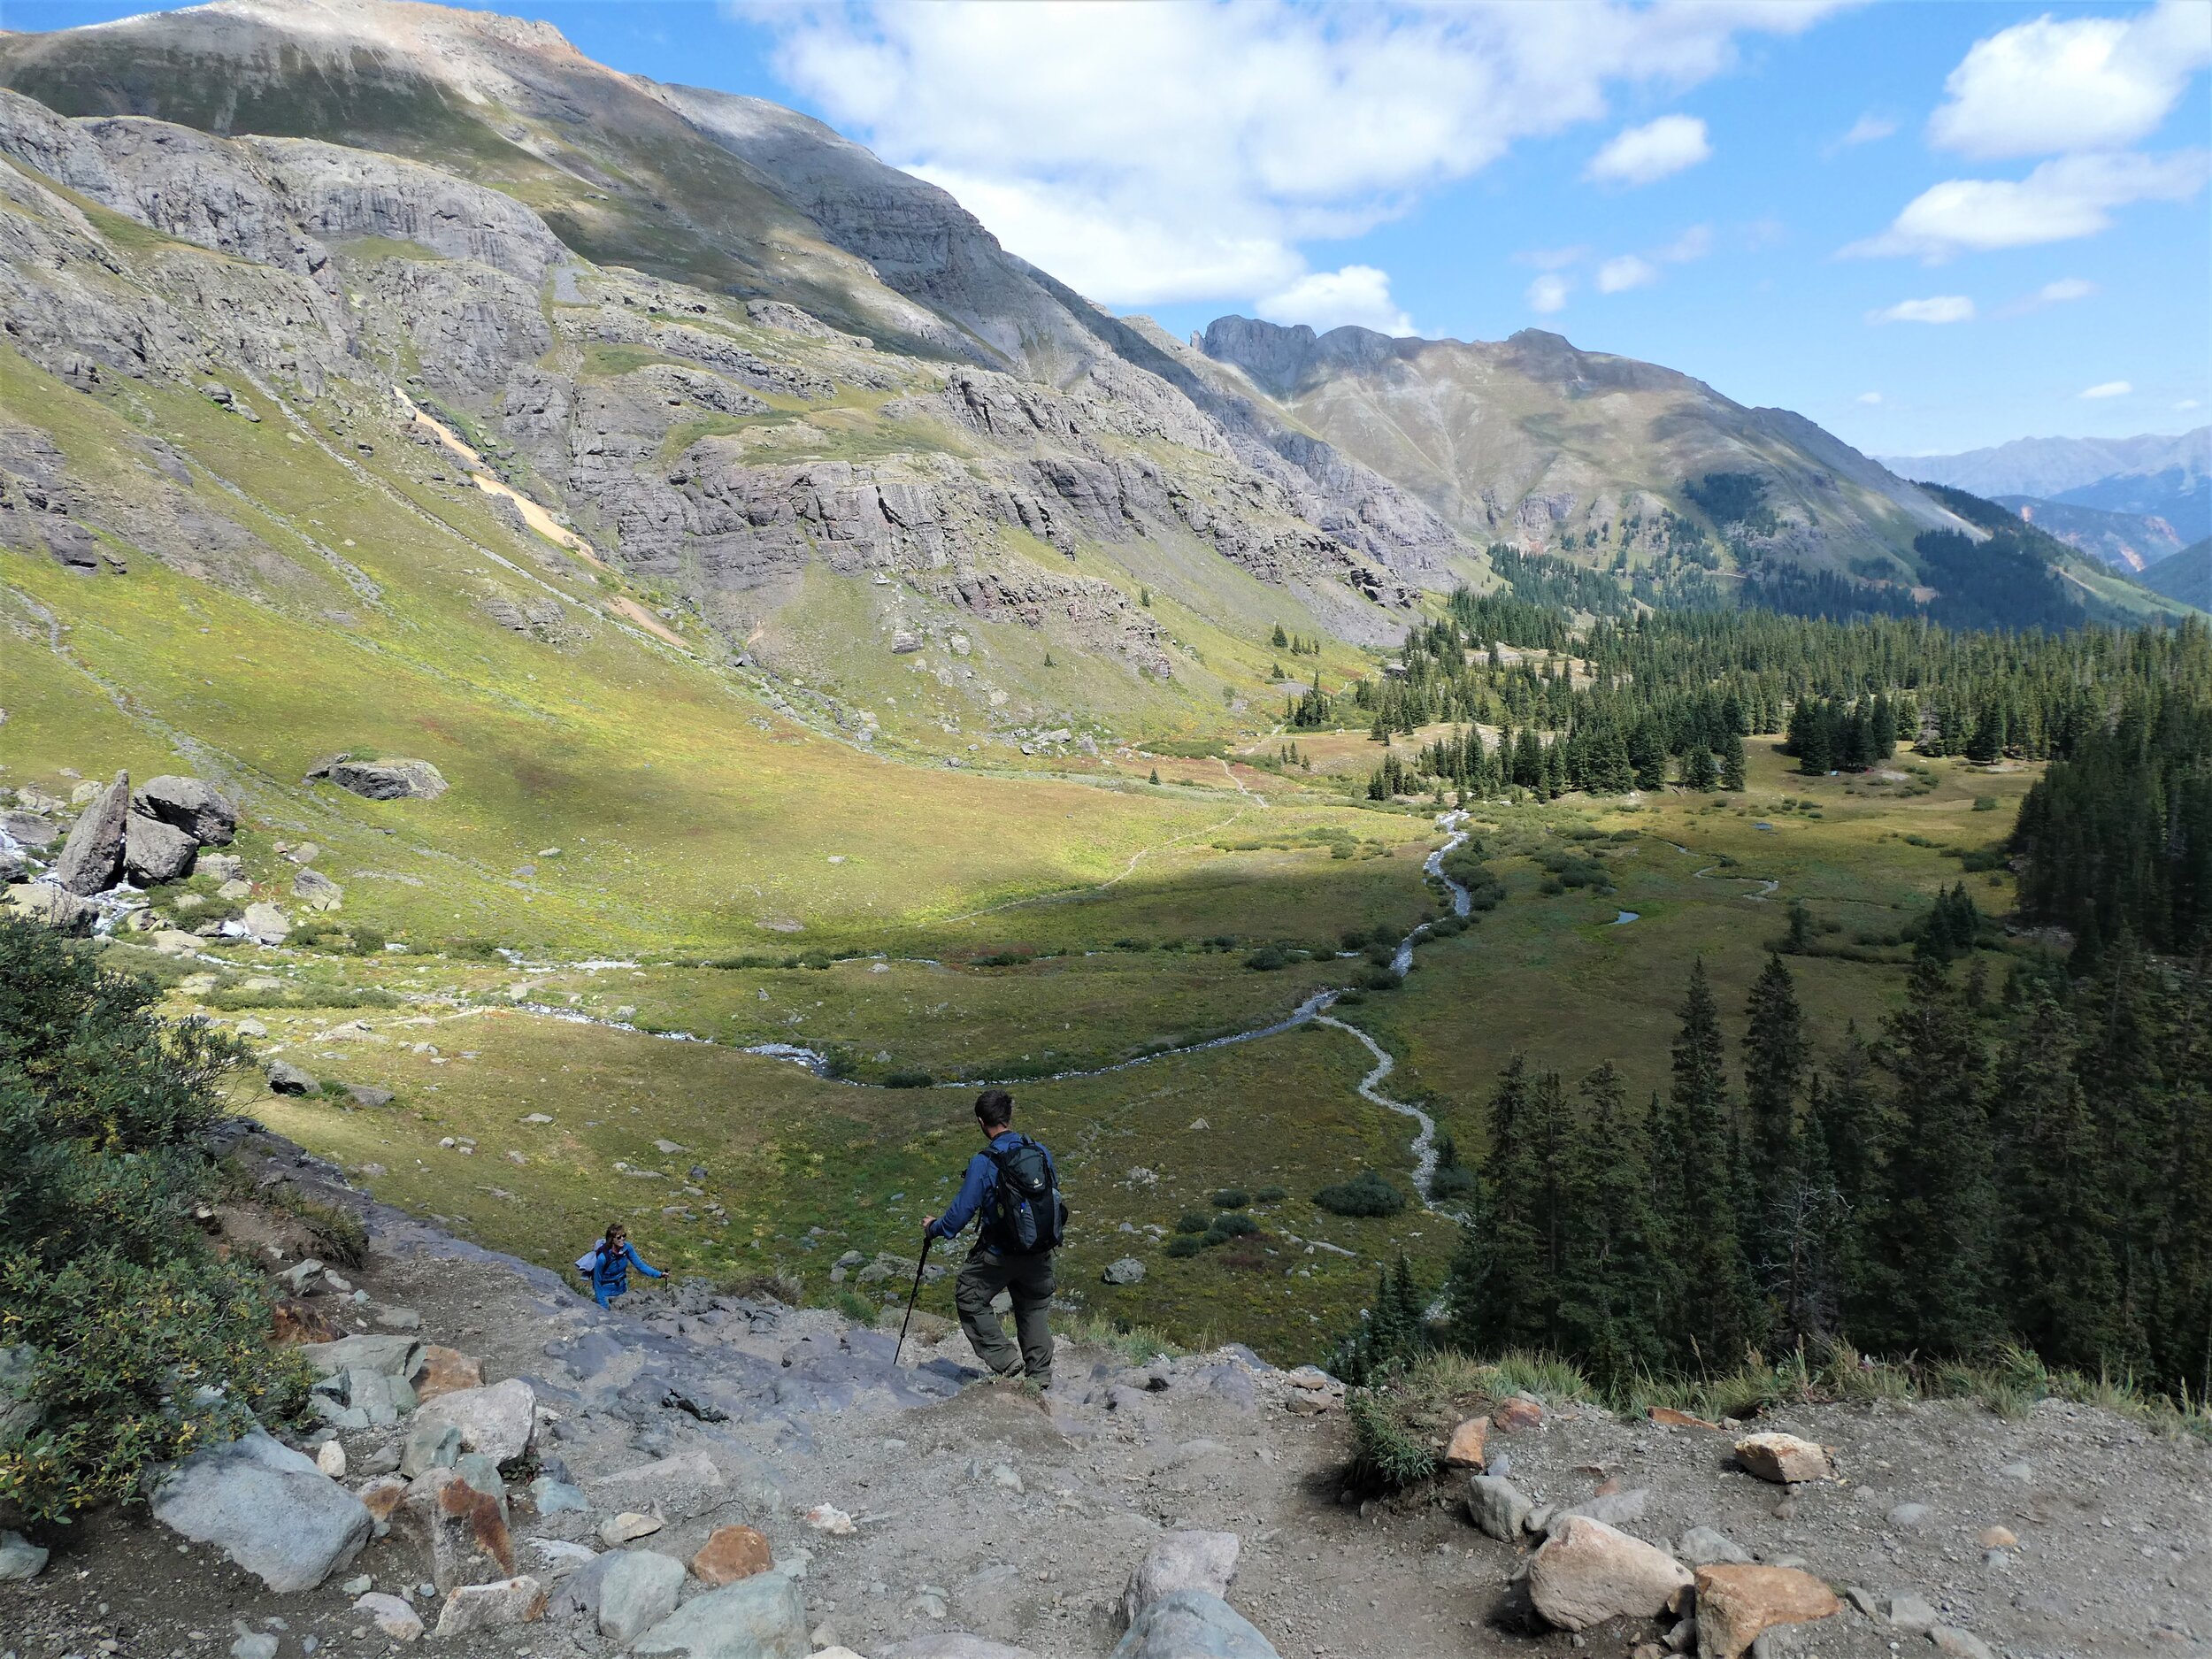
From here, it’s basically two giant switchbacks down into the meadow of Lower Ice Lake Basin. It gets a little rocky and steep at one point but nothing too challenging. At the bottom, you’ll have to do a quick rock hop over a small stream, and then it’s smooth sailing for a bit.
Once you reach the bottom, you’ll be in the meadows of the Lower Ice Lake Basin, and the trail is pretty flat for a while as you cross to the other side towards the tree line.
Once you hit the tree line, it’s not too much longer until you reach that initial junction with Island Lake. From here, you retrace your steps back down through the forest to the trailhead. From Ice Lake, it took us just under two hours to finish.
Goodbye for now San Juans…we’ll be back.
Tips for Hiking to Ice Lake and Island Lake in San Juan National Forest
Start early. This will help you get a parking spot at the trailhead, and it will also help you beat the crowds, especially on a clear day or weekend. We saw very few people on our way up, but crowds of people still making their way up to Ice Lake as we were heading down.
Cell service. You won’t have any service along the hike, or at the trailhead, campground, or the entire road in (route 585). So just remember to make any necessary plans and check the weather before driving in.
Avoid storms. Afternoon storms are a pretty common thing in the Rockies, and it’s no different here. Always plan to be below tree line before 2 pm. This hike is really exposed once you hit the Lower Ice Lake Basin.
Bring rain gear. Just in case you get stuck in the rain, it’s good to pack a rain jacket and pack cover.
Wear layers. It can get pretty darn cold at those higher elevations.
Bring sunscreen and a hat for sun protection.
Acclimate! Spend some time at slightly lower altitude for a few days and drink lots of water. When planning out your hike, prepare to potentially hike slower than you’re used to because of the altitude.
Practice good Leave No Trace Principles by staying on the trails and packing out everything that you packed in.
We hope you get a chance to hike to Ice Lake and Island Lake in San Juan National Forest. It really is a stunning hike from start to finish. Let us know if you have any questions!

